How to install a hood over a gas stove: step-by-step installation instructions
Self-installation of gas equipment in a private house or apartment is prohibited, but the requirements do not apply to hoods. Volatile devices can be installed with your own hands using the manufacturer’s manual.
We will tell you how to install a hood over a gas stove in accordance with the requirements of sanitary, hygienic and building regulations. We provide simple instructions to ensure a secure fit and excellent functionality with maximum impact. Our article discusses the most popular options.
The content of the article:
The principle of operation of an electric hood
First, let's remember why a hood is needed and how it works. The purpose of any model of exhaust equipment designed for installation above the stove is to clean the air from combustion products and the smell that spreads throughout the apartment during cooking.
As is known, when natural gas burns, it forms many substances harmful to the health of the human body, including large amounts of nitrogen, carbon dioxide, carbon monoxide, and various impurities.
The faster unnecessary elements are removed outside, the cleaner and safer the air environment will be. In a small room with a low percentage of oxygen in the air, a person quickly begins to get tired and feel unwell.
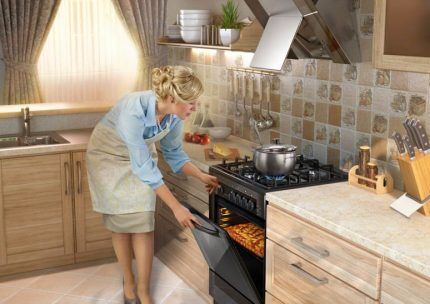
Air purification occurs in two ways. Some models simply remove it from the room, others pass it through cleaning filters. It should be understood that the hood cannot fully ventilate the kitchen.
In order for the air to become truly fresh and healthy, it is necessary to establish fresh ventilation. The simplest option for air access is regular ventilation by opening windows and vents.
Comparative review of models
Modifications, which are presented in large numbers on the modern market, differ in the type of air purification, design and installation method. When choosing, you should not focus only on the design of the device. It is necessary to take into account all the nuances and consider the possibility of installing equipment in a particular case.
By and large, all modifications of hoods can be divided into three large categories:
- flow-through;
- recirculation;
- combined.
The first type is designed to transport combustion products into the ventilation duct of a building through an air duct. Therefore, in addition to attaching the hood housing above the gas stove, it will be necessary to install channels for air to exit into the ventilation hole.
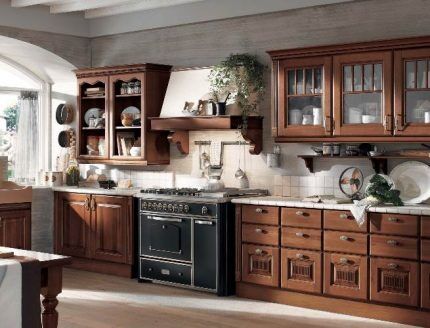
Recirculating models are not equipped with air ducts, so they take up less space and are installed much faster. They purify air masses by passing them through grease and carbon filters.Essentially, they circulate the air in a circle, freeing it from vapors, fat and harmful particles, but not refreshing it.
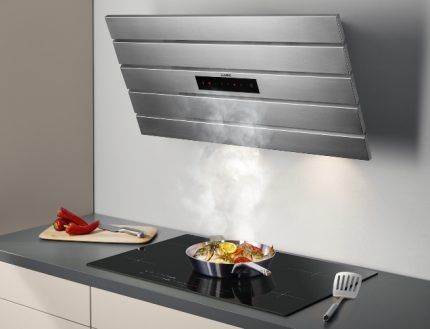
However, a huge segment of the market has been occupied by universal models that can operate in both modes: flow and recirculation. Cleaning through filters can be carried out temporarily while the discharge lines are being repaired.
And if it is not possible to install air exhaust channels, then filtration is the only possible way to improve the microclimate in the kitchen.
According to the installation method, kitchen exhaust equipment is divided into autonomous and built-in. The first is mounted separately, on a wall or ceiling, and the second is built into kitchen cabinets or other suspended structures.
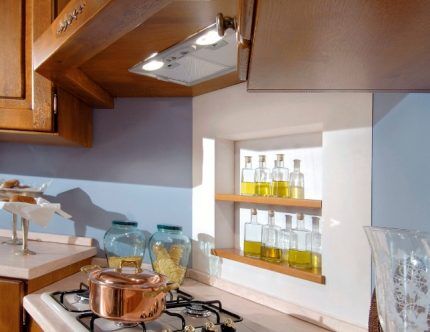
Based on their design and, accordingly, appearance, hoods are divided into several types, and different manufacturers may have different names. The most popular are the so-called built-in sliders, one part of which is movable, dome and inclined models.
Due to the popularity of the “island” kitchen interior, ceiling models for work areas installed in the center of the kitchen have also become in demand.
The installation of the hood depends on the design and functions of the model. To understand the installation features, you can ask your consultant for installation instructions before purchasing.
Perhaps there are some nuances indicated that prevent the installation of this particular product in your kitchen. Suppose the ceiling structure cannot support the weight of the equipment or the cabinets do not have openings for the passage of air ducts.
Requirements for installation of household devices
A few words about the standards for installing equipment in rooms with gas stoves. By law, the stove itself, powered by a gas supply, can be installed in rooms whose height is at least 2.2 m. This is worth knowing for those who are going to build volumetric suspended structures to mask air ducts or ventilation ducts.
Documentation regulating installation or selection is publicly available.General materials on the importance of forced ventilation can be found in SNiP 2.04.05-91, more details on the volumes of exhaust air can be found in SNiP 2.08.01-89, and on performance and other technical nuances in GOST 26813-99.
Strict rules regarding installation options ventilation ducts, no, so they can be placed outside or inside kitchen cabinets, behind partitions and above hanging structures.
Where exactly is it better to fix the purchased hood and what conditions are necessary for this, you will learn from our recommended article, the material of which is entirely devoted to this issue.
Features of installing kitchen hoods
The sequence and nuances of installation depend on the design features of the equipment. For example, the mounting order recirculation model and autonomous dome type with air duct are fundamentally different. Therefore, let’s look at how professional installation of three different modifications occurs.
How to install an inclined model?
The middle price segment is the most popular. This includes the inclined hood “Quartz”, which you can install yourself. It operates in perimeter suction mode, so it is placed in a clearly fixed position and has no moving elements.
After installation, you need to connect the device to the power supply and test its operation, checking its operation in various modes and at various speeds.
Sometimes, due to improper installation of false pipes or air ducts, a loud hum appears. In this case, you need to find the cause of the noise and try to get rid of it.
Installation procedure for the built-in module
Models built into wall cabinets are very popular due to their compactness and reasonable price. If you take care in advance about the correct design and dimensions of the special base cabinet, then the process of installing the cabinet itself will take no more than 20 minutes. When installing flow-through devices, it will take some more time to install the air duct.
Do not forget that the main document is the manual for installation of a built-in hoodcompiled by the manufacturer. Before starting work, open the instructions and check the list for the presence of parts and fasteners. If everything is in order, we check the integrity of the elements and proceed with installation.
If you plan to install plastic air duct, before installing the hood in the cabinet, it is necessary to secure the adapter on its upper side. This is a plastic universal part consisting of fragments of different diameters.
Using a jigsaw or hacksaw, you need to cut out a part that fits the size. If the diameter of the air duct completely coincides with the outlet, then an adapter is not needed.
Installing an island hood
There are individual instructions for each island-type model. However, the general principles of fastening and connection can be understood by analyzing the photo instructions below.
It presents the installation of a rectangular ceiling hood, which consists of three main parts: the casing-air duct, the engine compartment and the working panel.
After completing the work, we carefully wipe all the panels of the hood and check how it works.
If air duct installation, the mounting and connection of the hood are carried out without errors, it will function in various modes without making additional noise.
Conclusions and useful video on the topic
Video instructions from manufacturers and qualified installers will help even the average inexperienced person cope with the installation of exhaust equipment.
Video #1. How to install an inclined model yourself:
Video #2. Instructions and useful tips for installing a built-in hood:
Video #3. General recommendations for selection and installation:
As you can see, the installation process involves several simple steps. However, they will be absolutely useless if you choose the wrong model, neglect the accuracy of the markings and do not worry about the design of the cabinet or the possibility of installing an air duct in advance.
But compliance with the standards, competent calculations and accuracy will allow you to use the hood for a long time and with pleasure.
Would you like to tell us about how you installed a kitchen hood with your own hands? Do you have useful information to share with site visitors? Please write comments, post thematic photos and ask questions in the block below.


Before buying a hood, I consulted with a professional and spent another whole day on measurements and calculations. After the purchase, I carefully studied the instructions and mentally prepared myself. The installation itself took about an hour, everything turned out just fine. I was pleased with myself, a little ingenuity and my hands should grow from the right place. I think any smart guy can handle it on his own.
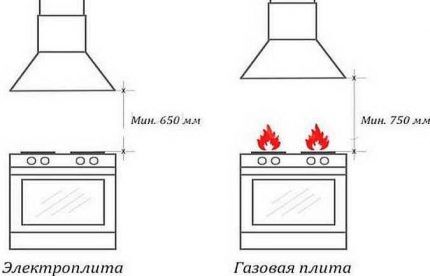
I installed a range hood in my friend’s apartment. This was my first time doing it over a gas stove; before that I had only done it over an electric stove at home. I want to say that there are no significant differences, except perhaps the minimum height above the stove. Gas ones should be higher.Well, you need to be more careful, of course, keep in mind that there are gas pipes nearby. And so, everything is the same, the installation principles are the same.
The specialist is lost in time. It would be necessary to change the numbers of the governing documents. Something has already been canceled or replaced.