Screed on a warm water floor: choice of thickness and popular installation methods
Comfort in a house, apartment or cottage depends on the correct arrangement of communications, an important element of which are heated floors.Their functioning depends entirely on whether the screed on the warm water floor is installed correctly.
And it doesn’t matter how the work will be carried out - with the involvement of a team or on our own. The main thing is that all processes are carried out correctly and in accordance with current regulations.
The content of the article:
What kind of screed can there be?
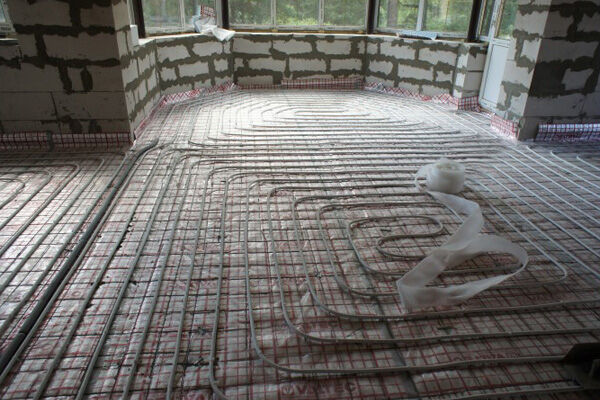
Pipes with water or other coolant used for heating are hidden inside the floor structure. Water heated floor assembled like a pie from several layers, among which there is a screed designed to protect the line from mechanical damage and ensure uniform heating of the entire surface.
Types by application method
Depending on the consistency of the substance used for arrangement, wet, dry and semi-dry screed are distinguished. The first option is made from available materials - most often sand and cement. Moreover, you can try to implement it yourself - you will need a little practice and effort.
The peculiarity lies in the correct preparation of the mixture and its uniform distribution. The consistency will be liquid, which makes application and leveling easier.

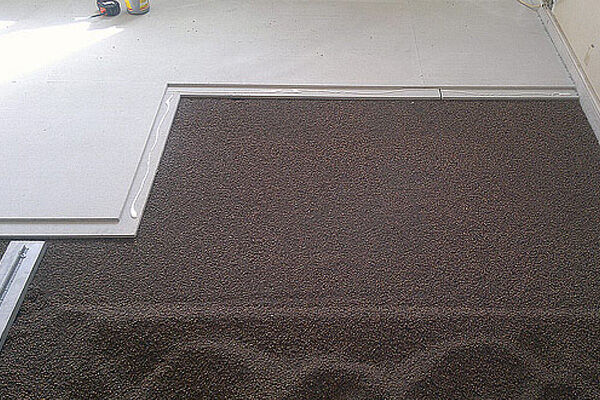
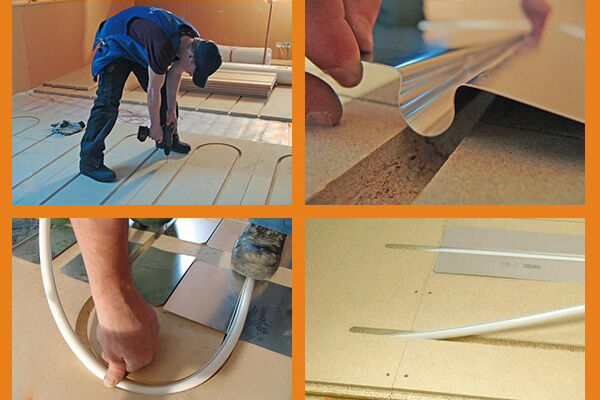
The dry method is quite easy to install and can be done on your own.All components can be purchased - manufacturers offer dry backfill made of composite materials and ready-made gypsum fiber boards. The filler must be placed over the entire surface and covered with GVL on top, which is fixed with self-tapping screws.
To perform the third type of screed, you will need additional equipment. We are talking about a pneumatic supercharger and other automatic devices. In order to distribute the semi-dry mixture evenly, you need experience in performing such work.
Equipment can be rented - construction organizations offer it for rent. True, without skills it will be difficult to cope with the work. It is better to buy the mixture ready-made - making it yourself will be difficult due to the unavailability of individual components. And manufacturers are in no hurry to share the correct recipe.
The choice of arrangement option depends on the characteristics of the room, skills and budget.In any case, having decided to make warm floors, you cannot skimp on quality. Even the best material can be ruined by crooked hands.
Moreover, the system is being created for more than one decade - the expenses are justified and will pay for themselves in the coming years. If you invite cheap scammers and do not control every process they perform, you can end up paying double the price.
Difference in material of manufacture
Various mixtures and materials can be used to make screeds. You can prepare the solution yourself, buy a dry mixture and mix it using the manufacturer’s recommendations, or order ready-made material, which will be delivered at a specified time.
The most commonly used options are:
- concrete - it can be ordered or made;
- a solution of sand, cement and additional additives to improve the properties of the future coating;
- ready-mixed cement with mineral fillers such as Ceresit CN 85 and others.
When choosing ready-made materials for screeds, you should carefully ensure that they are intended for heated floors and strictly follow the manufacturers' recommendations.

For screeding on top underfloor heating in the bathroom Concrete or a sand-cement composition made in appropriate proportions is more suitable. Moreover, its recipe can be improved by creating a more plastic mixture, which is most suitable for arranging a floating screed.
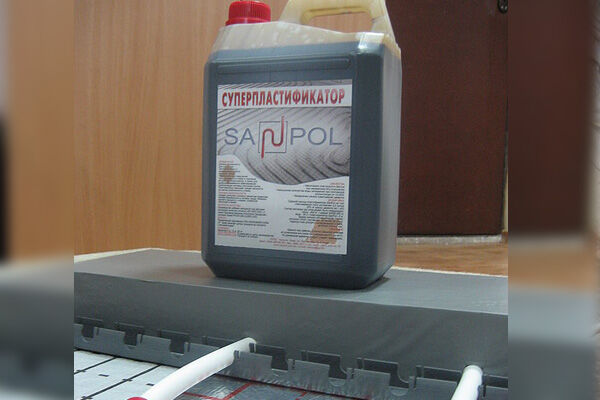
To do this, you will need to buy a special liquid - a plasticizer for concrete.This substance is added in the proportions specified by the manufacturer on the label. It allows you to obtain a plastic solution that is resistant to damage after drying.
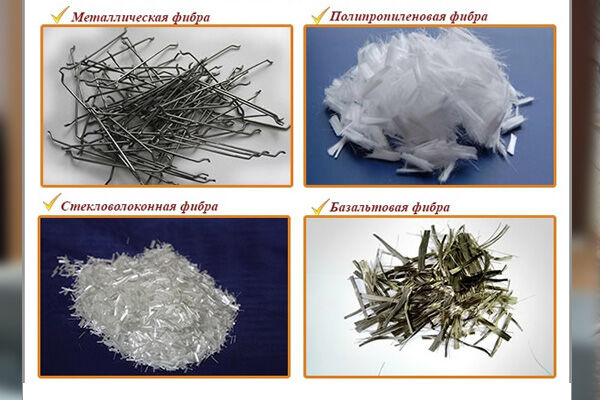
You will also need polypropylene fiber - this is a filler used to reinforce the mixture. With its help, it is possible to create a composition that is as resistant to cracking as possible.

It is important to remember that any mixture other than dry must be used immediately. Its storage is unacceptable - the hardening process will begin. And this can happen within 2-4 hours, unless otherwise specified in the manufacturer’s recommendations.
Features of choosing layer thickness
One of the key points is to choose the thickness of the screed for installation of water heated floors. Here it is bad that the value is too small, and vice versa. In the first case, the coating will quickly develop cracks across the entire surface and simply fail. And even heating will not work.

In the second, a layer that is too high above the coolant pipe will take a long time to heat up.
In addition, the user will additionally receive the following disadvantages:
- uneven heating - hot bands alternate with cold ones, especially if there are pipes with a diameter of 16 mm at the bottom;
- high consumption of materials, which results in unnecessary expenses;
- long time for arrangement - a thick layer will take more than 1.5 months to dry, which is not always acceptable;
- significantly raising the floor level will reduce the overall height of the room.
It turns out that choosing the optimal thickness should be approached responsibly. Moreover, if you look at the recommendations of manufacturers of equipment and materials for installing a heated floor system, they advise making a screed layer on average 40-45 mm above the pipe level.
The choice of thickness is directly influenced by the following factors:
- laying step;
- diameter itself underfloor heating pipes;
- the type of mixture to be poured onto the surface;
- ceiling height in the room;
- strength of floors.
He will introduce you to the specifics of calculating water-heated floors and determining the optimal installation step. next article, which we highly recommend reading.
Taking into account the initial data, it is necessary to determine the parameters of the future layer. Moreover, you cannot take less than 30-35 mm, and the maximum limit is 100-120 mm. These are the recommended limits for living rooms.

In the case of industrial premises, the approach will be radically different - everything depends on their purpose and the loads that have to be withstood - whether visitors will dance if it is a cafe, or forklifts will drive when it comes to a supermarket warehouse. We are talking about a thickness of 200 mm.
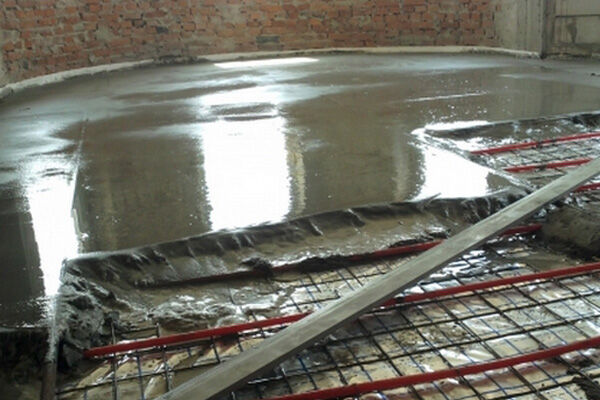
A more popular material for arranging screeds is concrete or cement-sand mortar applied wet.Here it is important not to forget about the need to make expansion joints, which will provide a high-quality, integral layer over the water pipes.
For this procedure, a 10 mm wide polystyrene foam pad is used - a damper. It allows you to get a floating floor that is not connected to the walls of the room, so it has no effect on them when heating or cooling.
The rules for making expansion joints depend on the characteristics of the room. The most basic requirement is to lay a damper tape made of elastic material around the perimeter of the room. It is important to do this before starting to lay the screed.
Arrangement of wet screed
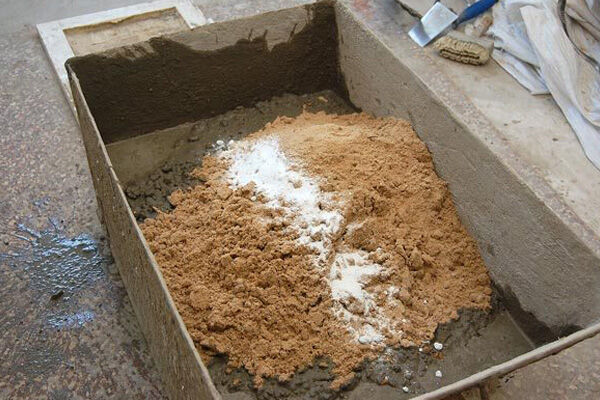
You can make a screed using sand-cement mortar on your own. It is easy to prepare it at home. Moreover, the purchase of additional inclusions will improve the strength and plastic characteristics of the mixture, making it look like concrete.
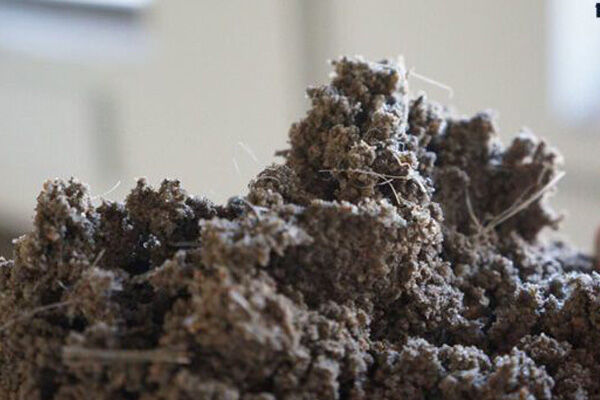
The recipe for preparing a wet working mass is simple: you need to take 3 parts of sand, add 1 part of cement to it. To improve the properties that contribute to better distribution of the mixture, you need to add a plasticizer, and for reinforcement you need to add fiberglass.
Before preparing the composition, you have to decide in how many layers to apply the screed - two or one? The volume of the mixture that needs to be prepared will depend on this.
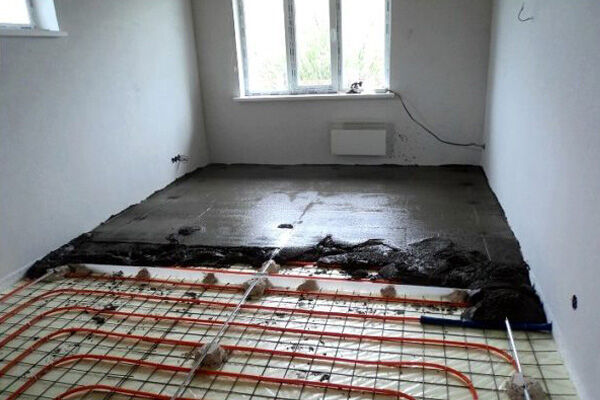
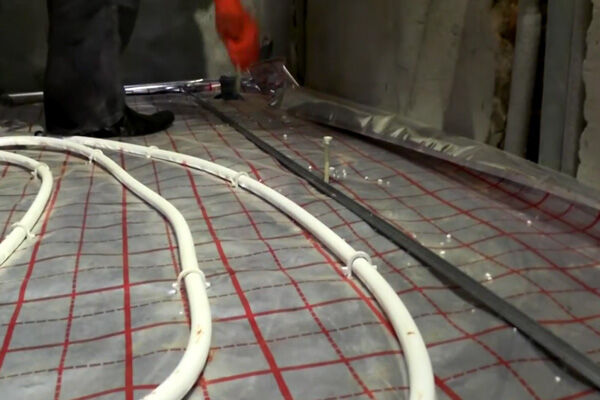
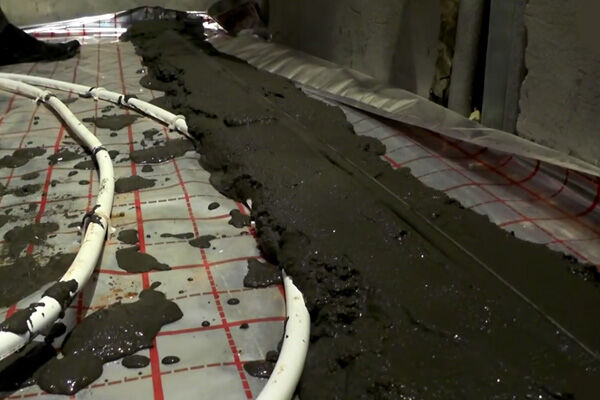
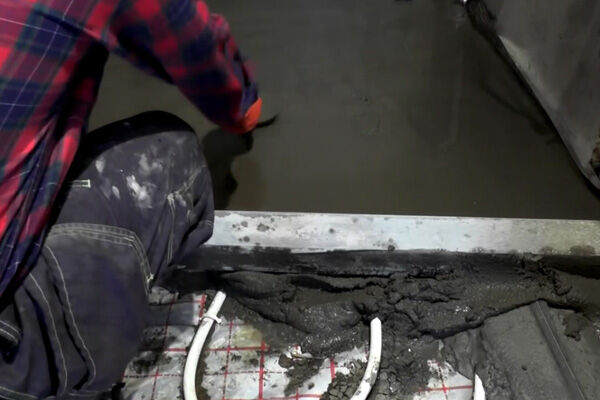
First, you can pour the laid on insulation layer pipes, obtaining a surface at the exit level with their placement. The second layer, which will be above them, will have to be done after the first has dried. Or immediately form a layer of the required height. For a self-taught master, the second option is simpler and more convenient.
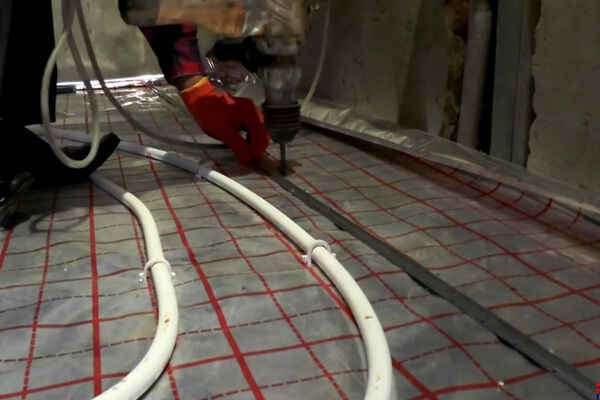
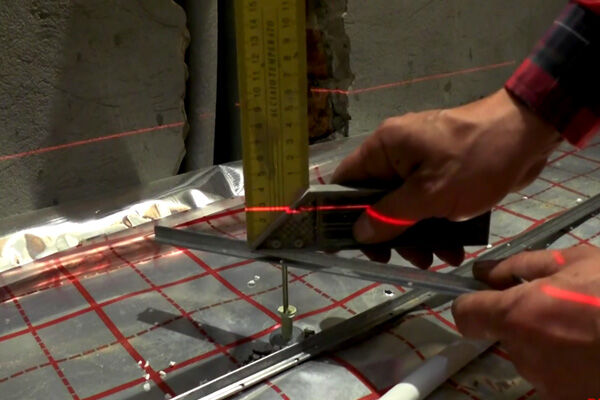
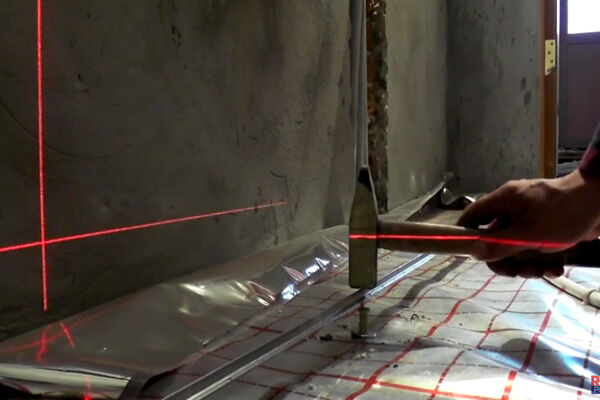
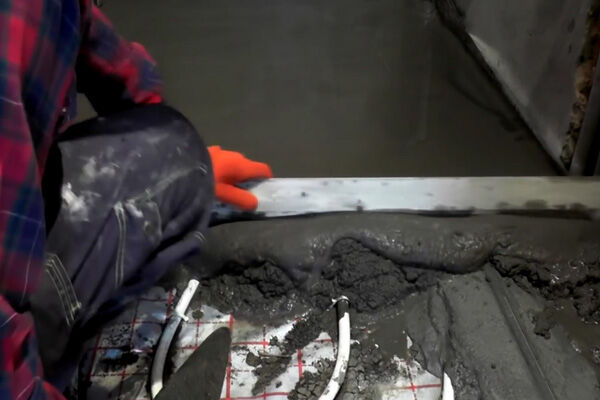
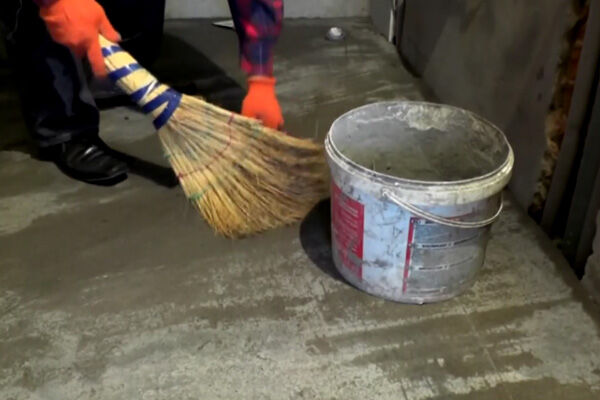
To complete this, you will need to mark the height of the future layer in the room. Here you need to use a laser level and metal guides called beacons.
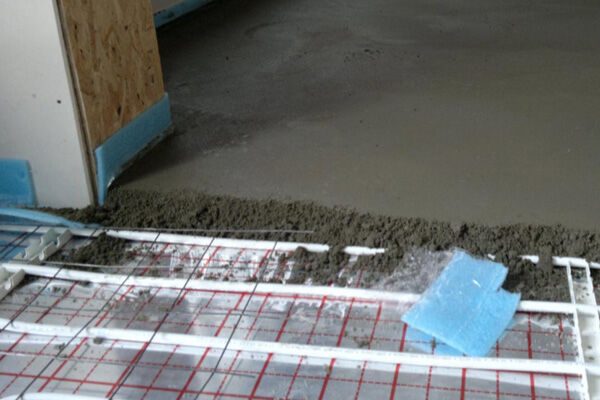
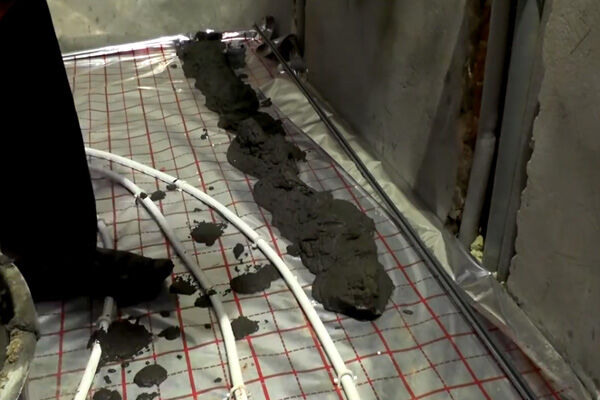
The option with beacons is the most reliable assistant in obtaining the correct screed surface.Moreover, at this stage the damper tape should already be glued around the perimeter and in all places where it is necessary to make an expansion joint. Without it, even the best installation technology will not justify itself - the surface will become covered with cracks.
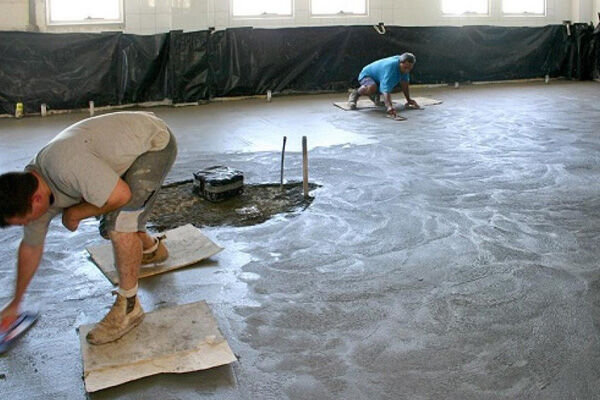
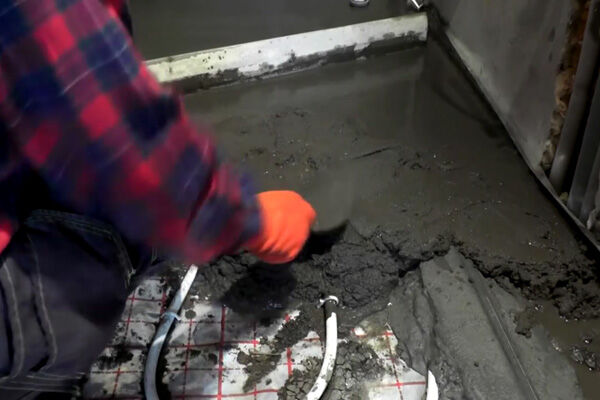
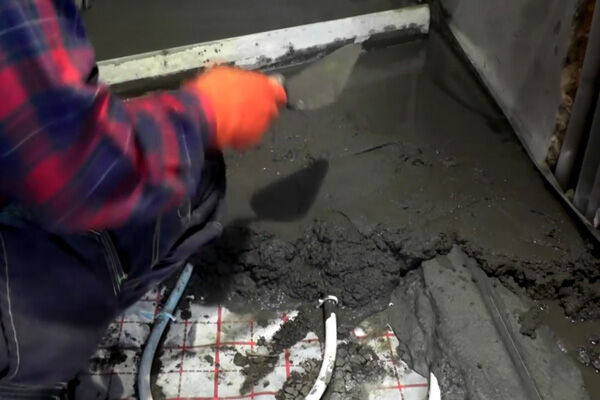
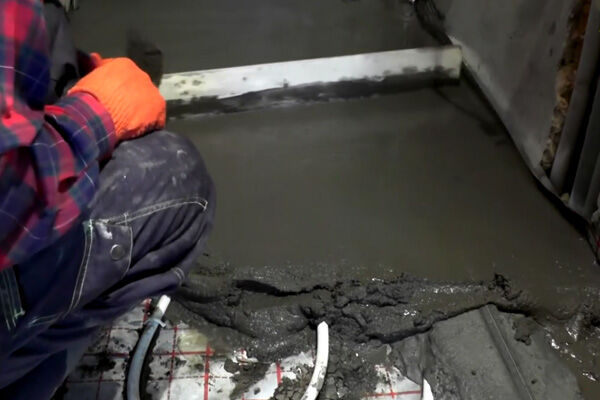
A day after installing the beacons, using a wet solution, you can continue work. The mixture will be poured onto the pipes.
In a similar way, all areas of the room will need to be filled, gradually moving towards the exit. It is important to get the job done before the mixture loses its properties. We are waiting for the laid layer to completely harden. This will take at least 28 days, unless otherwise specified in the instructions.
If you used a mixture purchased from one of the manufacturers and intended to cover underfloor heating pipes, the waiting time may differ. Here you have to follow the recommendations of the specific manufacturer whose brand of solution was used.
The surface is ready for laying tiles. But linoleum or laminate will require grinding. To do this, you need to pour water on the screed, take a polisher and rub it thoroughly. The procedure allows you to obtain ideal evenness at the output.
This result may not please every beginner who performs screeding for the first time. This is where a self-leveling mixture comes to the rescue, which is designed to remove all differences. It is used as prescribed in the manufacturer's recommendations.
After application, all you have to do is wait for it to dry and you won’t have to do any grouting - the end result is a flat and smooth surface, ready for decorative finishing.
Nuances of control check
When installing a wet screed made of concrete or a cement-sand mixture, a hired team should not rush and immediately pay for their services. You have to wait until the artificial stone hardens completely. Moreover, for the first 2 weeks the surface is covered with a film and periodically moistened with water in order to saturate it with moisture as much as possible.
Then you need to wait time, which is about a month, for the composition covering the underfloor heating pipes to crystallize. The period depends on the thickness of the layer - this is an individual indicator for each case.
As soon as the allotted time for hardening has expired, you can inspect the surface, which was developed by the hired team. There are some nuances that should be checked when accepting their work.

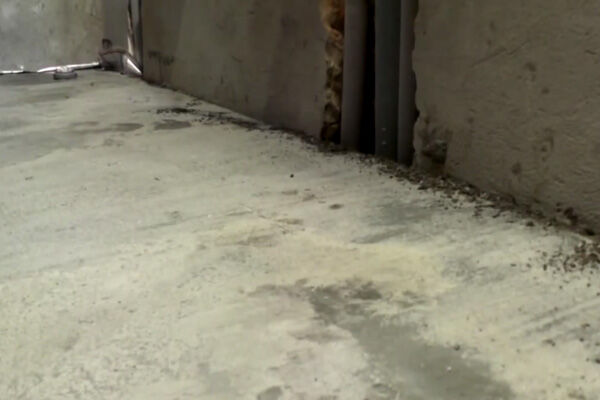
When inspecting, you need to pay attention to each section of the screed in all rooms - the presence of shine is undesirable, the top layer should be smooth, uniformly gray, without chips or cracks.
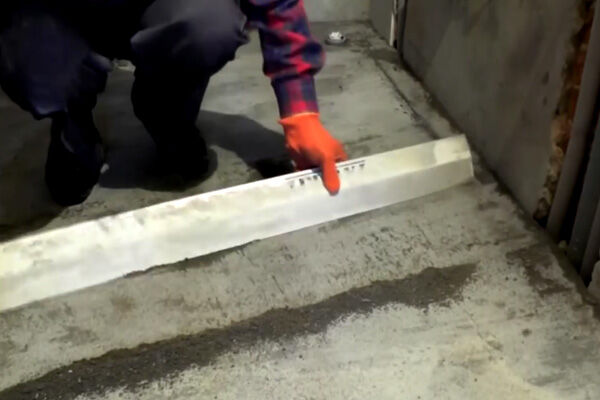
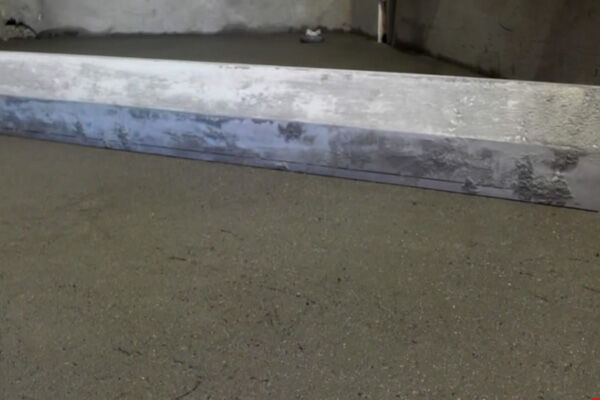
Then the evenness of the surface is checked with a two-meter strip - the rule. It is applied in several places to the screed. The norm is if the gap does not exceed 4 mm. This is SNIP 3.04.01-87, table 25.

To tap, it is better to take not a hammer, but a wooden block and tap the end. The entire surface is checked - the sound is the same, ringing. If it is deaf, then there are detachments of the screed from the base.
If the surface has passed the test with honor, the work can be accepted and the crew can be paid their honestly earned money. If this is the result of independent work, then you can be proud of it.
Now all that remains is to carry out thermal tests. It is important to remember that they are launched in a month, not earlier.Start at 25 with a daily increase in temperature by 5 degrees until it reaches the design value, not forgetting to monitor the pressure loss.
Rules and examples of calculations for a water floor heating system are given here. We recommend that you familiarize yourself with useful, systematic information.
Conclusions and useful video on the topic
Technology for laying screed in the video:
Detailed video with explanations about the minimum and maximum permissible thickness of the screed for water heated floors:
About choosing the type of mixture and the rules for its production for arranging a screed:
Existing methods for creating screeds for underfloor heating pipes allow you to choose the most suitable option for your room.
Whether to do this work yourself or invite a team - the decision depends on the chosen method and the characteristics of the room being equipped. In any case, knowledge of the nuances will be useful to check the quality of the surface after completion of work.
Would you like to talk about how you made the screed for your underfloor heating system? Is there information about the work that is useful for site visitors? Please leave comments in the block below, post photos related to the topic of the article, and ask questions.


I’ve been planning to install a “warm floor” in my apartment for a long time. But there were a lot of unclear questions, so I put this question off “for later” until I figured it out. I had no idea that when choosing the thickness of a heated floor screed, so many factors must be taken into account. And if you ignore them, then in the future the “warm floor” design can bring a lot of trouble. And it’s also better not to skimp on additional materials, so as not to redo it later.
Very useful for beginners... I started doing home renovations, but after looking at reviews and a bunch of articles on this topic, I decided to contact an experienced company and order a screed from them.