Corner sinks for the bathroom: general overview + installation instructions
The desire to make a limited space as comfortable as possible prompts the choice of plumbing equipment of an unusual configuration.This problem is also solved by a corner sink in the bathroom, the installation of which allows you to use previously empty space.
Such products are comfortable, functional, and have an extraordinary design. But for trouble-free operation, it is important to install the plumbing correctly. And we will talk about this in our article. We will also consider the main differences between different types of corner sinks, their features and characteristics that affect the complexity of installation. And here is a list of the best manufacturers of such plumbing fixtures.
For a better understanding of the installation process, the material is provided with videos with installation instructions and an analysis of the most popular errors.
The content of the article:
Types of corner sinks
Corner sinks are sometimes the only option for rational arrangement of plumbing fixtures and furniture in a small bathroom. These products are classified according to installation method, shape, and material.
Corner models by installation method
Depending on the order of installation, these corner sinks are produced in different versions:
- tulip-shaped;
- hanging;
- built-in;
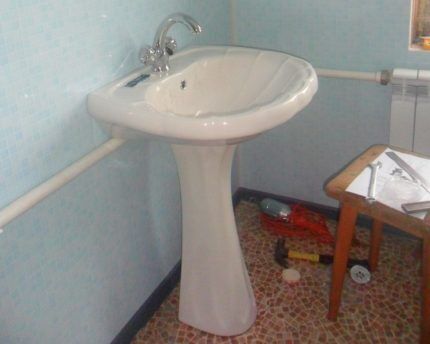
The first model is produced complete with a leg with a height of 0.7 - 0.8 m, which is enough for the average user. More about sink installation height we wrote here.
The tulip stem is very useful: on the one hand, it masks the pipeline and siphon, on the other hand, the remaining space under the sink cannot be fully used. But such sinks are produced in a rich range of colors and, as a rule, are beautifully decorated.
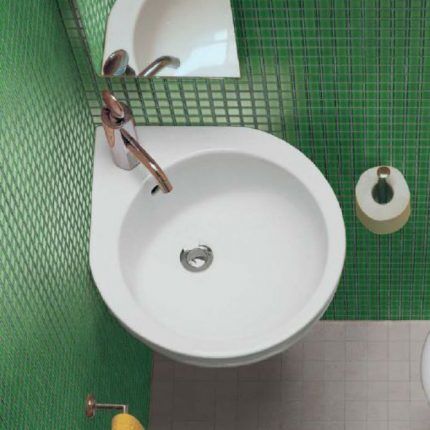
A wall-hung sink opens up prospects for more rational use of space. It may be enough to place some objects and even a washing machine under it. In order for this unit to fit, you need a corner sink with a flat bottom and a specially designed siphon. This option is ideally compatible with the top of the washing machine.
Hanging sinks or consoles, as they are also called, are attached to the wall using special brackets. The mixer is mounted on the sink or to the wall. Their height can be changed based on your own needs.
Such a modern solution as installation of a countertop sink on a hanging tabletop.
A built-in corner sink may seem bulky. It will really require more space than the first two types. But the cabinet in which it is built will hide sewer lines and serve as storage for many things necessary in the bathroom.
In addition to the cabinet, a wall-hung countertop can serve as a place for installing a wall-hung sink.
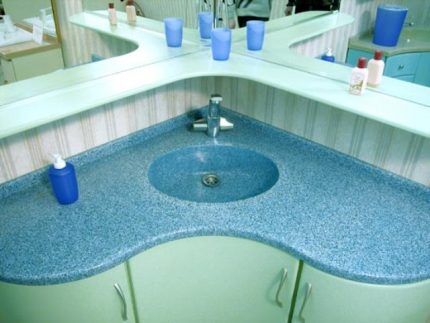
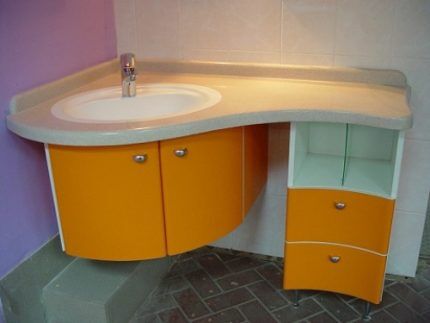
Usually a sink and a cabinet for it are sold as a set. Models have different dimensions. The sides of the cabinet in contact with the walls have a length of 35 to 70 cm.
Manufacturers produce similar models in two versions - right- and left-handed. In the first version, the sink is placed on the left, in the left-handed version - vice versa.
Classification by shape of plumbing fixtures
According to their design, there are corner sinks of both traditional triangular shape and asymmetrical, elongated ones.
The triangle shape saves space to the maximum. Such a sink can be built into the smallest bathrooms. We looked at more ideas on sinks for a small bathroom in our other article.
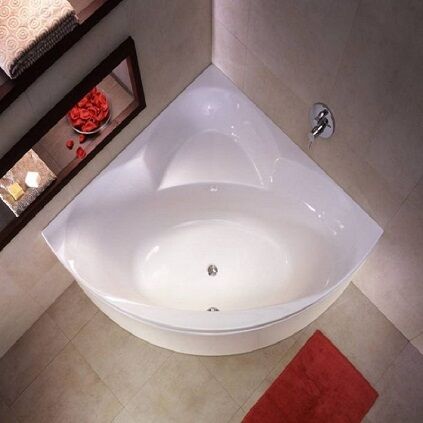
If there is no space at all, a triangular hanging model can be placed above the bathtub.
Models in which one side is significantly longer than the other fit well into an elongated bathroom. Their use provides broad prospects for the design of compact bathrooms.
Types of sinks depending on material
Corner sinks are made both from materials that have long become traditional, and from unusual ones that have been used more recently. Each has its own advantages and not entirely positive sides. Old materials include ceramics and metal. A new trend is the use of glass, artificial stone, and wood for the production of sinks.
The most common type in bathrooms is earthenware (ceramics). It is durable, hygienic, smooth and pleasant to the touch. The color is most often white, but different colors are possible.The strength characteristics are high and maintenance is easy.
The disadvantage of faience is its porosity; its durability depends on the quality of the glaze applied to the surface. This type of ceramics, like porcelain, is more beautiful, but is more fragile. A faience sink, decorated with a branch pattern over the entire surface or just around the perimeter, looks natural in a bathroom decorated in Provence and country styles.
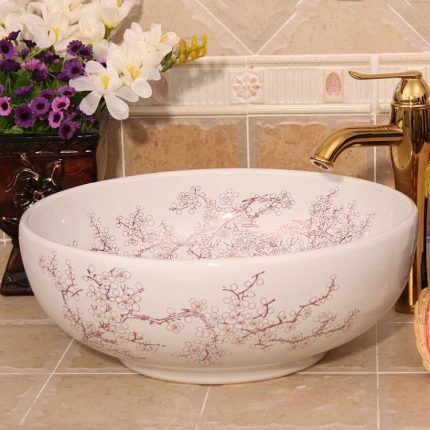
Porcelain models differ little in cost, unless they are hand-painted. They are produced using high-quality clay; subsequent high-temperature annealing makes the material very dense. There are no roughnesses on the surface of such a sink; it can be cleaned with any household chemicals.
Another advantage of ceramics is that a water jet in contact with it does not make loud sounds.
Metal sinks are most often found in the kitchen, but if the bathroom is decorated in a minimalist style, then the metal in it will look organic. Manufacturers paint their products with colored glazes, apply relief patterns, and finishes that imitate precious metals. The surface can be either glossy or matte.
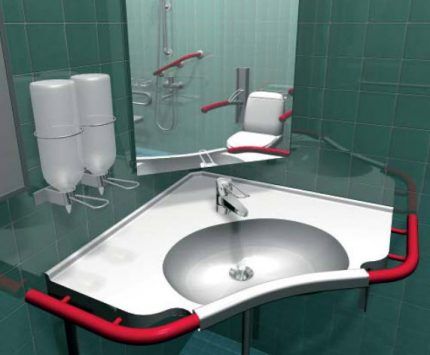
Sinks are made from metals such as stainless steel, brass, copper, nickel, and bronze.When installing plumbing fixtures made of metal alloys in the bathroom, it is necessary to select appropriate accessories.
A sanitary product that brings lightness and a sense of spaciousness to the interior of the most cramped bathroom is glass sink. To make glass sinks, their creators use tempered glass of a certain thickness - 15 mm or more. The color and shape of the products are varied.
The strength of these glass products is comparable to porcelain stoneware. They respond well to cleaning with aggressive chemicals and sudden changes in water temperatures. But hard brushes and abrasives should not be used.
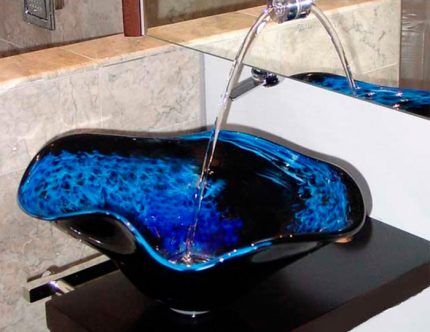
These beautiful, elegant products are no different in practicality. To keep them looking neat, they need daily care. The main enemy is stains and drips that are clearly visible to the naked eye. After each wash, you need to wipe it dry, otherwise drops of water will dry out and leave an unsightly mark.
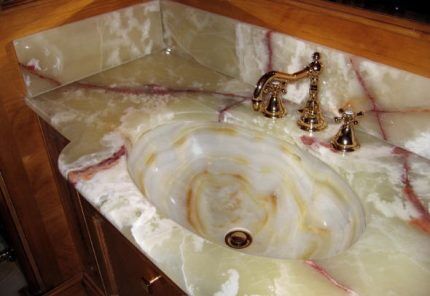
Super resistant to cracking and delamination, a corner sink designed for a natural stone bathtub. Usually granite or marble is used. These products look solid and are always exclusive, because... There are no two identical stones in nature. They create an aura of reliability, special coziness, and comfort.
The stone is highly resistant to mechanical damage and fungus will not appear on its surface. Scratches that appear can be easily removed by sanding. Their prices are quite high.
Having decided to spend money on stone sink, you should know that she is afraid of acid- and alkali-containing substances. If serious damage occurs, the sink cannot be restored.
Only an experienced specialist can visually distinguish natural from artificial stone. The surface of a composite sink is just as hard and resists mechanical stress well, but artificial material resists impacts better. Its price is much lower.
Among the disadvantages of acrylic stone, it should be noted that it has a shorter service life than natural material due to the presence of seams. Do not allow drain cleaners to come into contact with the surface of artificial stone sinks.
An unconventional material suitable for making bathroom sinks is microconcrete. The material is completely safe due to its environmental friendliness. It is easy to care for and resistant to mechanical stress, but temperature fluctuations are dangerous for it. Basically, such sinks need to be ordered individually.
Microconcrete, no matter how high-quality it is, is hygroscopic, so it becomes darker over time. This sink has no seams, which means that dirt will not accumulate on its surface.
The elite category includes sinks made of wood. They are made from durable, moisture-resistant wood: teak, hornbeam, larch, oak, cedar, and others. There are models made of bamboo. Such products are polished, stained and varnished several times, so they are reliably protected from mold. The sink can have any shape.
These noble products require special care. Cleaning products are only soft, no scratching or sharp objects. Periodic restoration is also required for a wooden sink - every 3-4 years.So, to the considerable cost of the sink itself, you should also add the price of this service.
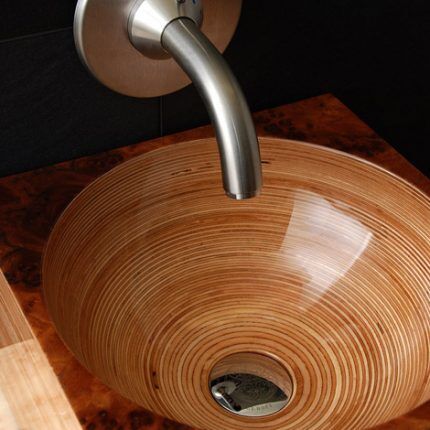
Wooden sinks are decorated with paintings, carvings, and the surface is polished to a mirror shine, but the best decoration is a design created by nature. The cost of products is influenced by the value of the wood species, but they are never cheap. They are not made on an assembly line; no matter the model, it is almost exclusive.
Installation of a corner sink
For a cramped area, plumbing fixtures are chosen based on its ergonomics. The installation technology depends on the type of corner model and is almost the same as for conventional analogues. They are most often secured using brackets, but anchors, studs, and dowels are also used.
Before purchasing, you need to take measurements of the room and calculate sink size taking into account the location of the entrance and exit of sewer and water supplies.
Instruction #1 - installing a wall-hung sink
Corner wall-hung washbasins attached to the wallsforming an angle using consoles. This installation method creates a rigid, reliable fastening.
Experts advise following two rules:
- The best installation location is in the area where sewer and water pipes are located.
- The optimal height from the floor is within 0.9 – 0.98 m.
Lightweight wall-hung sinks are secured with screws and dowels. This installation method is not suitable for stone products due to their heavy weight. More reliable support is needed here, so the sink is fixed using special brackets. The walls to which the corner product is attached must be strong; plasterboard partitions are not suitable for this purpose.
In the area where the sink will contact the wall, draw a line horizontal to the floor using a level. Places for mounting studs are marked on the surface, then holes are drilled, dowels are screwed into them, and the studs are screwed to a certain depth.
There should be a pin left on the outside with a length equal to the width of the sink plus 1.5 cm, otherwise there will be nowhere to screw the nuts upon completion of installation.
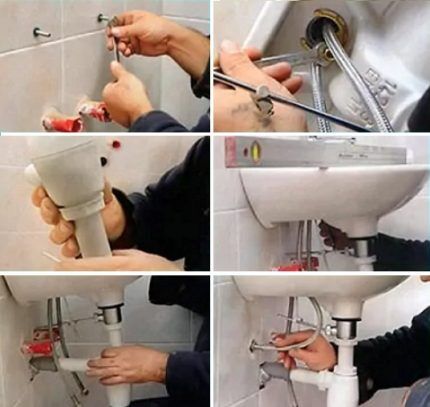
Before fixing the sink, install the mixer on it, having first screwed flexible hoses and studs into it. A hose supplying water is pulled into the hole, putting a seal on it. Place a washer behind the seal and tighten the nuts on all hoses.
The threaded part of the corner valves is covered with sealant, wrapped with hemp and tightened. Putty is applied to the back of the sink. The sink is placed on studs. Seals made of plastic or elastic rubber and washers are put on them, then nuts are screwed on.
To ensure that the forces are evenly applied to the sink, the nuts are tightened one at a time. After final fixation of the sink, it is connected to the water supply and sewerage system. The flexible liner is connected on one side to the water pipe, and on the other side to the mixer through the corresponding pipes.
The sewer discharge pipe can run in the wall or under the floor. You need to find the outlet hole in it and screw the siphon intake pipe into it. To prevent the joint from allowing all sorts of aromas into the room, it should be sealed with a rubber ring.
The release also includes overflow tubewhen there is an overflow hole in the sink.
Instruction #2 - installation of a built-in corner sink
When purchasing a sink with a bedside table, the latter must have an opening in which all the pipes and siphon can be conveniently placed. The doors in the cabinet should open freely and not catch equipment or furniture standing nearby. The cabinet is installed first, followed by the sink, then the pipes and siphon.
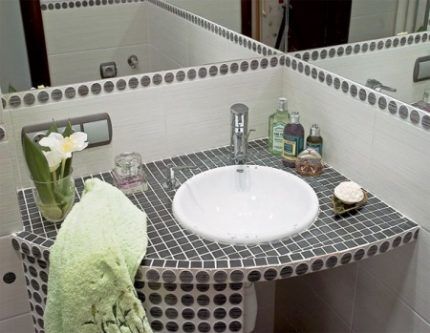
Having placed the bedside table in the corner, adjust the legs and try on the sink. Next, mark the mounting location and make holes in the wall. After this, the bedside table is fixed and everything else is mounted.
Instruction #3 - installing a sink on a pedestal
The sink should fit snugly into its intended location. When installing tulip-type plumbing fixtures, an important role is played by correct markings. The lines must be applied extremely accurately, controlling the process with a hydraulic level. It is mounted in the same way as a suspended one, but it has additional support.
The technology is simple:
- Mark and prepare places for pipes. Shut-off valves are connected.
- Place the leg in the corner and place the shell on it. Moving the structure close to the wall, draw a horizontal line and mark the location of the fasteners.
- Holes are made in the walls for dowels. Having installed the latter, screw the studs into them.
- The washbasin is placed on the studs and the nuts are tightened through the gaskets.
- The corrugated hose is inserted into the hole intended for draining, and the siphon is screwed on.
- Having connected the flexible hoses to the mixer, insert the latter into the designated place on the sink.Next, the hoses for heated and cold water are connected to the corresponding outlets, and the shut-off plumbing fittings are connected.
Finally, a leg is slipped under the sink. Then everything is leveled, horizontality is checked and the structure is fixed by tightening the nuts under the sink.
We provided step-by-step instructions for installing a tulip-type sink In this article.
The best manufacturers of corner sinks
The range of corner sinks on the market is huge, which makes choosing difficult. To avoid purchasing a defective product, you should focus on well-known manufacturers.
Among domestic companies, the following brands stand out:
- "Aquatone";
- Astra-form;
- "Keramin";
- 1MarKa.
They produce models from all sorts of materials, but most of them are ceramics.
Imported products are represented by such brands as SVEDBERGS, GUSTAVSBERG (Sweden), CEZARES, GLOBO (Italy), KERAMAG, KOHLER, Villeroy & Boch (Germany).
Brands are popular JIKA RAVAK (Czech Republic), SANINDUSA (Portugal), Delafon (France), Roca (Spain), KOLO (Poland).
Conclusions and useful video on the topic
The video shows the process of installing a conventional built-in sink, but the same technology is used to install a corner model:
Mistakes made when installing sinks and their elimination:
Even a very small bathroom can look stylish. A beautiful corner sink in the interior changes and unifies the space. The main thing is to preserve the holistic style of the room when choosing it.
Installation is not very difficult, but all recommendations must be followed in the stated sequence.
Would you like to share a photo of a beautiful corner sink in your bathroom or give some advice to beginners regarding installation? Or would you like to supplement our material with valuable comments and clarifications? Please write your recommendations in the block below the article - we will be glad to hear your opinion.


We have a very small bathroom. There is practically nowhere to place a sink. I had to wash myself over the bathtub. And here I found a way out of the situation. A corner sink is an excellent solution in our particular case. Also, if you put two mirrors on both walls from the corner, it will be convenient and the room will appear larger. That's it, I went to the online store to look for a corner sink.
And we don’t seem to have a small bathroom, but when we bought a washing machine, there was no place to put it. They rushed around with it, rushed around, and there was no decent place for it in the kitchen either. And then they found a way out. We replaced the sink with a corner one, and put a washing machine in its place. My husband, of course, had to tinker with the re-equipment, but now everything has a place. It turned out even more convenient than before.