Installing drainage around the house: designing and installing a do-it-yourself drainage system
The drainage system is designed to protect underground structures from the effects of groundwater.It is needed in areas with difficult hydrogeological conditions, which include most of our land plots.
Timely installation of drainage around the house will extend the life of the foundation and eliminate eternal repairs. After all, it’s cheaper to prevent the destruction of the foundation of a building than to endlessly restore it, don’t you agree?
You will learn how to properly organize drainage around a private house from this article. A detailed description of the types and operating principles of the drying system will help you decide on the optimal device option. Using the information provided, you can build a workable underground water drainage network yourself.
Land owners who want to independently build a closed-type drainage system will find a detailed description of the technology and a step-by-step description of the sequence of work. The text part is supplemented by photo confirmations and video instructions.
The content of the article:
Reasons for organizing a drainage system
A special system of drainage pipes or channels is arranged in such a way that as much moisture as possible gets inside and moves to a safe distance from the house or other buildings. The problem of the influence of moisture on the foundation is usually typical for clayey soils: sandy loam, loam, clay.
In areas with a predominance of clay rocks in the section, water is slowly absorbed or does not leave at all. Due to stagnant water, the foundation of the house is destroyed.The existing waterproofing protection of the foundation may be insufficient; there may be weakly taped seams and areas not treated with mastic.

As a result, mold and mildew appear on the concrete monolith, and corrosion occurs on the reinforcement, which in the future often becomes the cause of destruction of the foundation.
On sandy, well-permeable soils, moisture disappears faster, so this kind of problem occurs less frequently. But still, the home owner should not relax and rely on “maybe” in this matter.
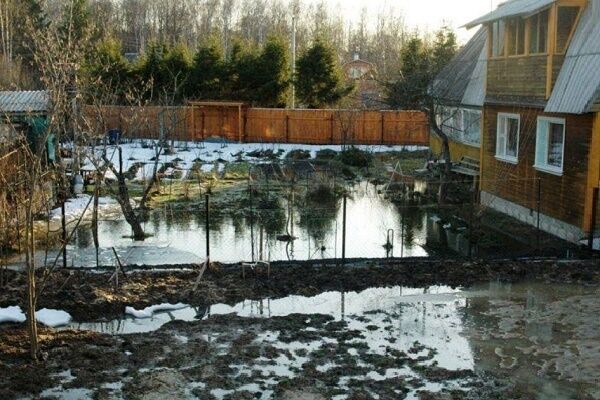
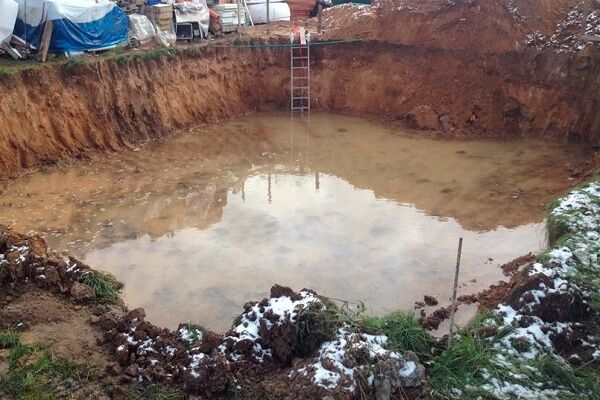
Excessive moisture in a structure can be caused not only by the characteristics of the soil, but also by other features of the site. For example, a high level of groundwater, which prevents moisture from seeping down from the overlying layers.

If the bottom of the wall is covered with wet spots for a long time after rain, this indicates that you need to think about the need for drainage structures. Wet walls in the basement, the presence of mold or mildew indicate that the drainage problem in the area should have been addressed yesterday.

Even very good foundation waterproofing deteriorates over time.This is another reason to ensure good drainage around your home. The less the impact of groundwater on the structural parts of the structure, the less often large-scale work will be needed to restore the waterproofing layer applied to the foundation.
If the collection and disposal of groundwater and flood water were not provided for at the construction stage, after construction you can take care of the drainage around the house and its installation with your own hands.
Typical types of drainage
There are several basic drainage systems that can be used to collect and remove unnecessary moisture from your home and site. With proper design and installation, each of them demonstrates fairly high efficiency, but the cost of time, effort and money depends on the complexity of the design.
There are three options for organizing the drainage system:
- open;
- backfill;
- closed.
Open drainage systems They are ditches about 50-70 cm deep and about half a meter wide. Having these ditches dug around the house is not a problem, but the landscape will noticeably suffer as a result. And jumping all the time through the recesses surrounding the house is not very convenient.

Open drainage is usually covered with neat decorative grilles. They protect the structure from large debris and blockages caused by it. And such grooves with gratings look more aesthetically pleasing.
Backfill drainage systems They are approximately the same ditches, only they are not covered with protective gratings, but filled with moisture-permeable material, for example, large gravel, broken brick or crushed stone. Installing this type of drainage is not that difficult, and the costs will be quite reasonable.

Before starting work, you need to mark and carefully cut the turf at the excavation site. The ditches are not filled to the top so that there is little space left.
The turf saved for this purpose is laid on top of the backfill to minimize damage to the landscape of the site. It is recommended to lay a layer of geotextile at the bottom of the ditch to extend the life of the structure.
This version of the drainage system has some disadvantages: it is more difficult to clean than an open system. Of course, debris getting into such a drainage is unlikely, but the problem of silting up the contents of the ditches remains.
If the moisture removal efficiency noticeably decreases, you may have to remove the turf again, completely replace the infill, and then return the system to its previous condition.
Closed drainage The most difficult to install, but at the same time it is reliable and has a long service life. A layer of gravel or similar materials is placed in the drainage ditches, and pipes with a perforated surface are installed on top.
Plastic structures are usually used; they are cheaper, weigh less, and it is easier to perforate their surfaces than their metal counterparts.

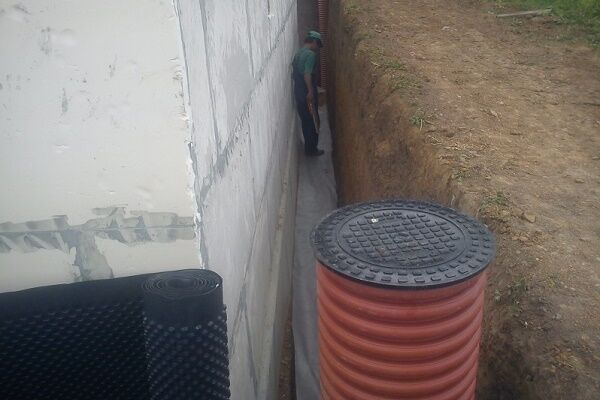
Closed drainage systems are most conveniently installed along the curb of paths surrounding the house. Here the entire system will be securely hidden and will not affect the appearance of the site at all. There is also such a thing as wall drainage.
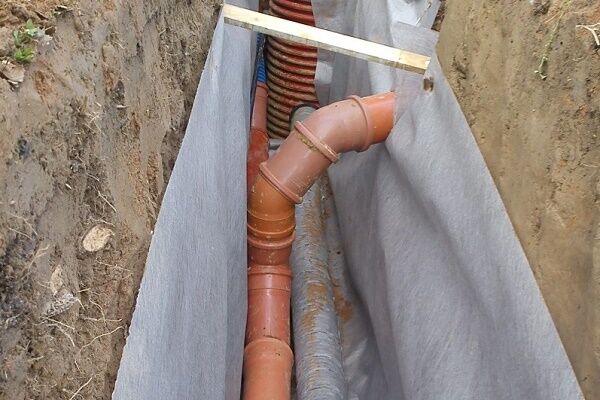
It is arranged during the construction of a house in cases where the construction of a basement or ground floor is planned. Drainage pipes are laid directly in the pit under the foundation near the walls, and then the whole thing is covered with filter material and soil.

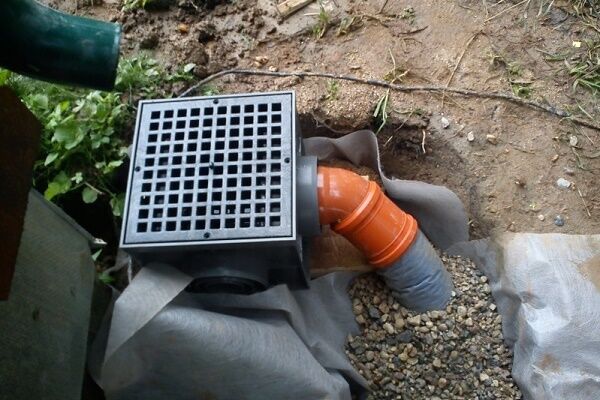
Another important element of the system is storm drainage. These are open trays that are designed to collect and transport water collected from the roof and blind areas of the house during rain. Storm drainage can also be open or closed and is usually installed under downspouts connected to gutters and funnels.
Features of organizing drainage of a garden plot are described in detail in this article.
Design of a groundwater drainage system
Of course, the drainage system consists of more than just pipes and trays. To monitor the condition of the system, inspection wells are needed, and a drainage well should be installed into which this excess moisture will be drained.For this reason, the ditches in which the pipes are laid are given a slight slope towards this well.

It makes sense to consider the procedure for installing a closed drainage system, since it is the most complex to implement. The open and backfill option can be arranged based on the same principles.
Pipes of a closed system are laid around the perimeter of the building at a distance of 0.7-1.0 m from it. By analogy, grooves are formed for open and backfill drainage schemes.
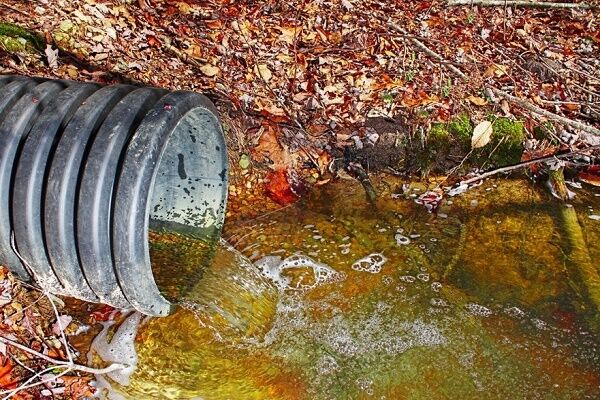
At each corner where the trench is turned, there must be installed inspection wells. It is necessary to determine in advance the location of the collector well into which the diverted water will be discharged.
If it is intended to collect water outside the site, then install a drainage well. Another pipe is laid from it, which usually goes to a roadside ditch. You can also divert it to a local reservoir, if there is one in the immediate vicinity of the house.

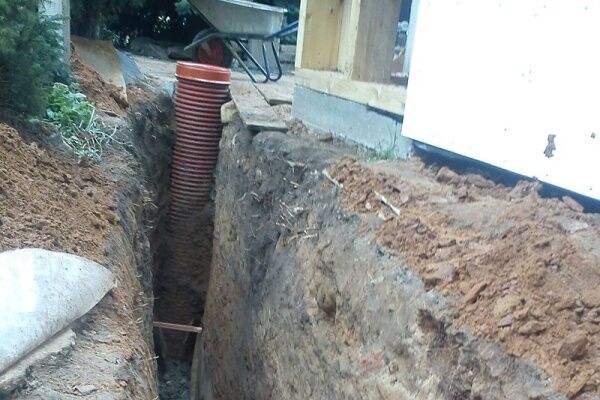
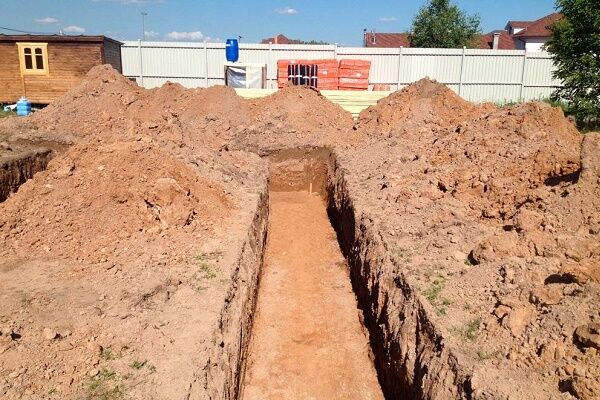
The depth of the trench for closed drainage depends on the size of the foundation. The pipes should be laid 50 cm deeper than the foundation slabs. In this case, the slope of communications should be 0.7-1%.
Do not lay pipes at a steep slope, as this may cause blockages. A small slope is also not recommended, as this will negatively affect the process of moisture removal.

The width of the trench should be 20 cm greater than the diameter of the drainage pipe: 10 cm of clearance on each side. The location of the drainage system should be schematically reflected on paper, indicating all its elements. This will allow you to calculate the length of communications, as well as the number of additional elements necessary for proper installation of the system.
Features of the closed version
Having figured out how to properly make drainage around the house and drawn up a project, you should prepare for further work. You should stock up on materials, as well as the necessary tools.
During the work you may need:
- twine for marking and marking the position of communications;
- building level and plumb line to control the slope of the pipes;
- bayonet and shovel;
- soil compaction tool;
- a bucket and/or wheelbarrow for transporting unnecessary soil;
- tape measure for taking measurements;
- hacksaw for metal, etc.
A certain number of drainage pipes will also be required. These are special designs with perforations, usually made of plastic. You can use plastic ones instead pipes for external sewerage, having previously made holes on their surface with a regular drill.
Additionally, you need to prepare: geotextiles, sand, crushed stone or other similar material, inspection wells according to the number of turns, etc.

Geotextiles are necessary to protect the filler surrounding the drainage pipe from the penetration of fine clay particles and siltation. There is no need to skimp on this material. It should be enough to completely cover the walls and bottom of the excavated trench, and also cover the backfilled pipe with a substantial overlap.
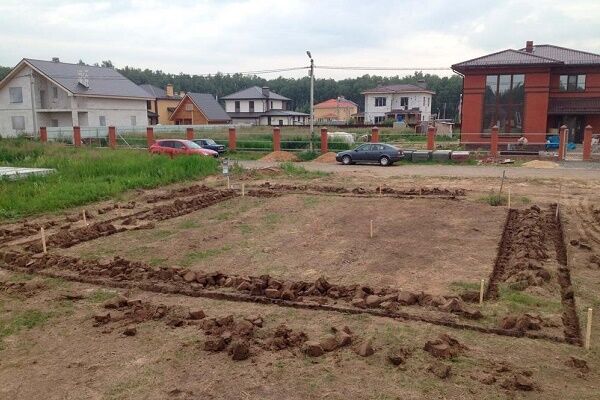
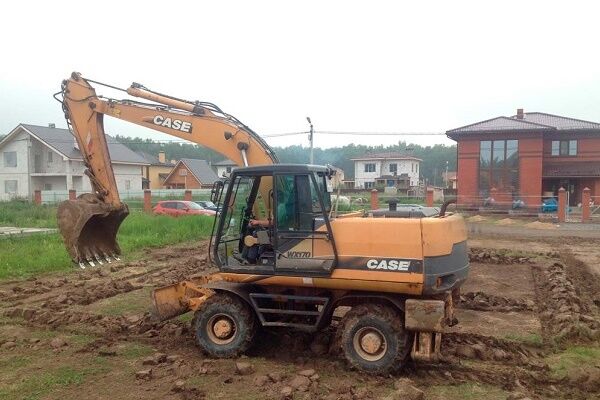
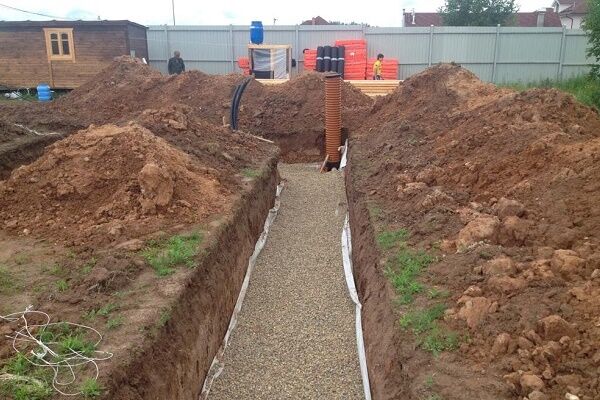
It is recommended to first mark the ground and then begin excavation work. They usually start digging from the highest point of the system, gradually deepening the trench.
When calculating drainage pipe slope You can focus on the standard of 1%. If the length of the trench is 20 m, then the height difference between its starting and ending points should be 20 cm. The necessary measurements are made using a regular tape measure.
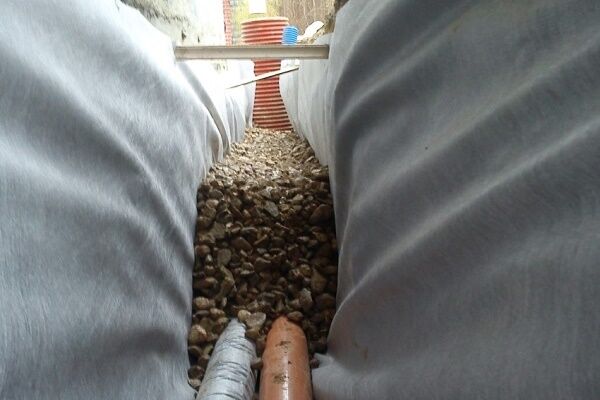
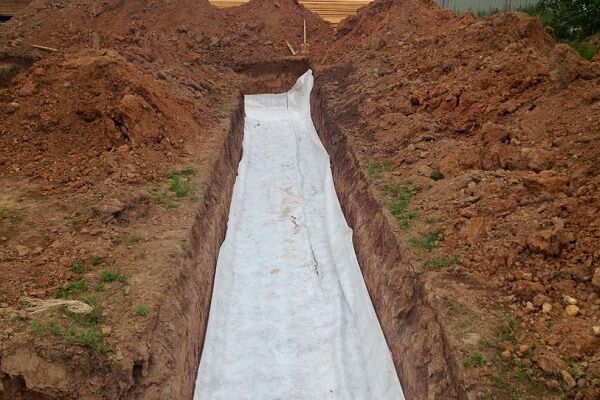
After the trench is ready, its bottom must be thoroughly compacted. Then a 10 cm layer of sand is poured onto the bottom, which is also thoroughly compacted. After this, it is recommended to cover the entire trench with a layer of geotextile so that both the bottom and walls of the structure are covered, and the edges of the material come to the surface and lie freely on the ground.

Now, at the bottom, hidden by geotextile, you need to pour a layer of gravel about 20 cm. Any filter material will be acceptable: crushed stone, expanded clay, brick fragments, etc. The main thing is that its fraction is larger than the size of the holes in the drainage pipes, otherwise blockages cannot be avoided.
After laying, the gravel must be leveled and the slope of the communications must be checked; it must correspond to the previously carried out calculations and measurements.
If everything is in order, drainage pipes are placed on the gravel and connected to inspection and drainage wells. Then the system is covered with another layer of gravel (crushed stone, expanded clay, etc.). The height of this layer should also be 20 cm. The edges of the geotextile that remain free are wrapped over the backfill layer.

The overlap of the layers of non-woven material should be about 30 cm. Sometimes it is recommended to secure the position of the geotextile material using twine or plastic fasteners.
Now you can fill the rest of the trench with sand (a 10 cm layer is needed) and soil. The sand again needs to be compacted, especially in the space on the sides of the drainage pipe. Previously cut turf is laid on top or paths are installed.
You can come up with your own version of decorating the place where drainage pipes are laid. There must be access to the covers of the inspection wells, as well as to the point of discharge of the diverted moisture.
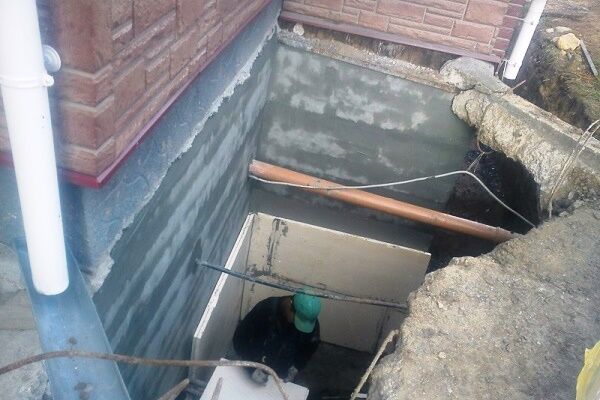
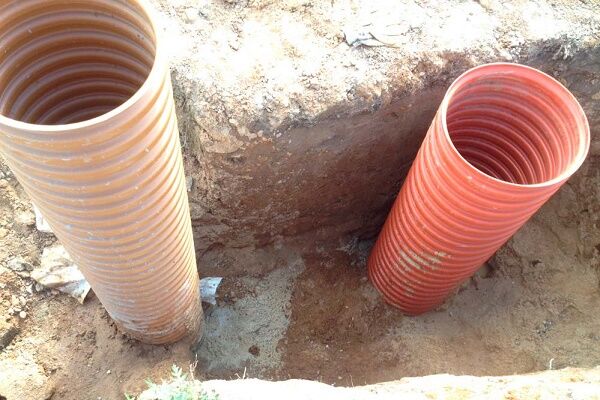
Inspection wells are plastic vertical containers closed with lids. They are used to periodically check the status of the system.
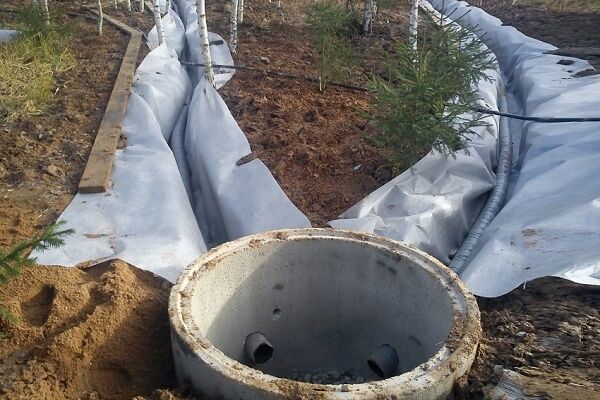
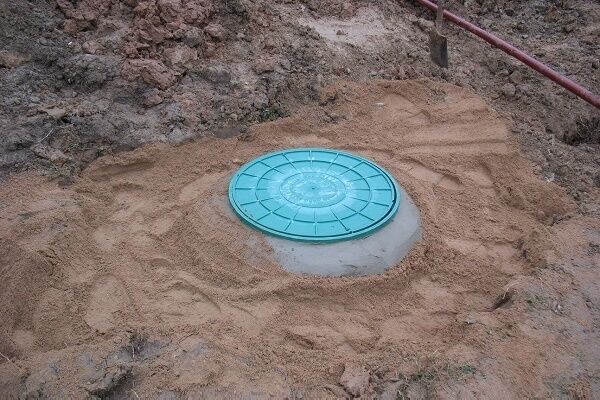
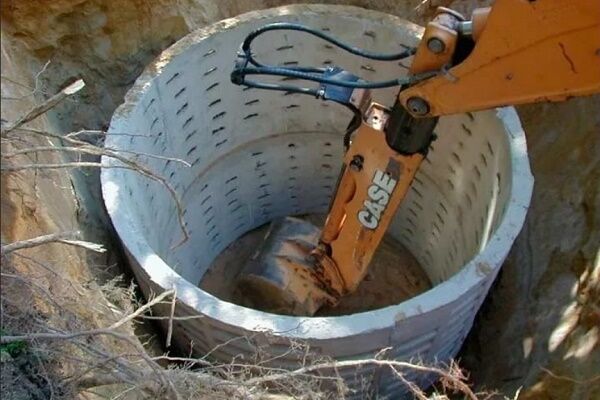
A drainage well is a wider container; it can be round or square in configuration. Most often, an old plastic barrel is used to arrange it.
You can also use concrete rings of a suitable diameter or make walls from monolithic concrete. In the latter case, it is imperative to reinforce the structure. The top of the drainage well should be covered with a strong lid.
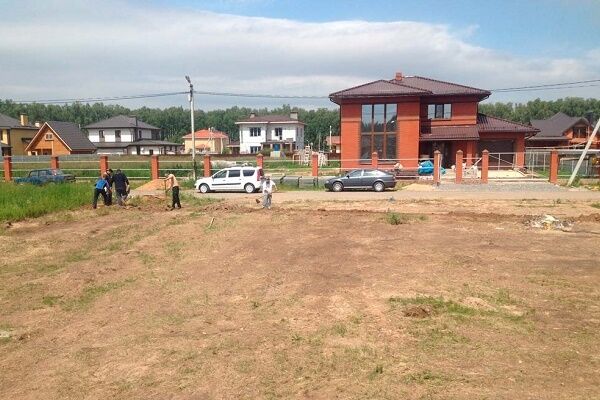
Stages of constructing drainage around the house
The construction of a drainage system, calculated at the drainage stage and laid during the construction of a house, includes a number of standard stages following each other:
Purpose of the blind area and its arrangement
Supplemental drainage will also help protect walls and foundations from unnecessary moisture. blind area around the house. This is the name given to a layer of waterproof material that is laid along the walls with an outward slope. Precipitation falling on the blind area immediately flows away from the house, so the contact of the walls and foundation with moisture will be minimal.

To make a blind area, you can use the following materials:
- clay;
- stone;
- paving slabs;
- asphalt;
- concrete;
- PVP membranes.
Installing a blind area made of clay and stone, as well as paving slabs, can be quite labor-intensive, but this finish looks just great. Asphalting and concreting will cost much less, but it looks very modest, even utilitarian.
PVP membranes are installed deep into the soil; any convenient covering can be placed on top: turf, tiles, lawn, etc.
Conclusions and useful video on the topic
The procedure for doing home drainage with your own hands is clearly presented in this video:
Interesting tips on drainage work can be found here:
Option for making a blind area around the house:
Obviously, to protect the house from moisture, a number of measures must be taken, and the drainage system should be effectively combined with a blind area, storm drain, etc. In the future, all efforts will pay off, since the foundation of the house, its walls and the basement will not need repairs for a long time.
Do you have personal experience with drainage around your home? Would you like to share practical recommendations or ask questions on the topic? Please leave comments - the discussion form is located below.


