How to install a steel bathtub with your own hands: step-by-step instructions
Enameled steel bathtubs have not lost their relevance even with the advent of comfortable acrylic models on the market.Inexpensive, relatively lightweight types of plumbing fixtures, when treated with care, last 20 years or more. However, they have features that you should know for proper installation and connection. Do you agree?
If you plan to install a steel bathtub yourself, then you need to clearly know the technological rules for working with metal containers and master the intricacies of connection. We will tell you how they are produced, what measures need to be taken to prepare the premises for the upcoming work. Let's list common mistakes.
The content of the article:
Selection of plumbing fixtures and fittings
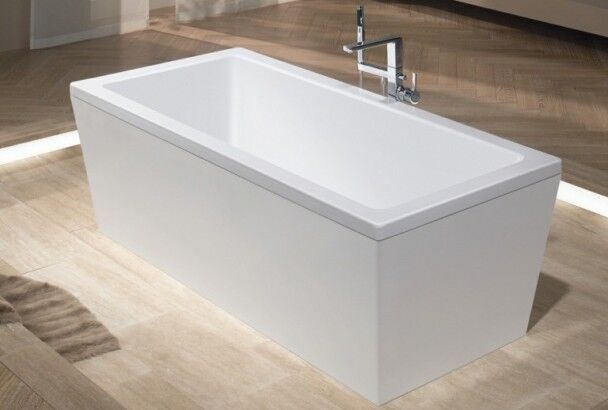
Initially, you need to select a model that is suitable in size and shape. If the bathroom is spacious, then there are no special requirements for the configuration, but for limited space it is better to opt for compact or corner products.
Plumbing stores offer a line of plumbing fixtures of standard dimensions from 1 m to 2 m in length and from 0.7 m to 1 m in width.
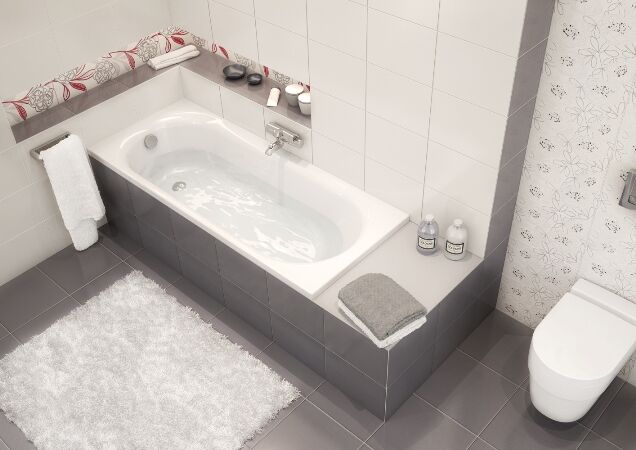
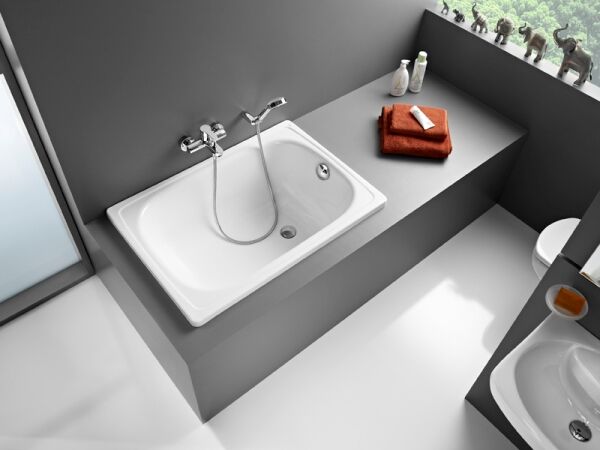
Along with the device, it is necessary to purchase fittings for connecting to the sewer network. Drainage devices differ in design, size, and material of manufacture.
Combination devices made of polypropylene with a water seal and a corrugated overflow pipe have proven themselves well. Visible parts can have different shades (white, silver, gold), usually they are chosen in accordance with the color of the faucet.
Preparing the premises for installation
The process of preparing wall and floor surfaces for installation in advance selected steel bath You can start even before the moment of purchase, but a lot depends on the purpose of the repair.
If an old plumbing fixture is replaced with a new one, but with the same bowl dimensions, then the activities come down to cleaning. Another approach for major renovations is when the walls are covered with ceramic tiles or plastic.

It’s easier with plastic: the walls are finished in full, and then the bathtub is installed. There are different ways to deal with tiles.
There are three options:
- cladding-installation;
- installation - cladding;
- partial cladding – installation – cladding.
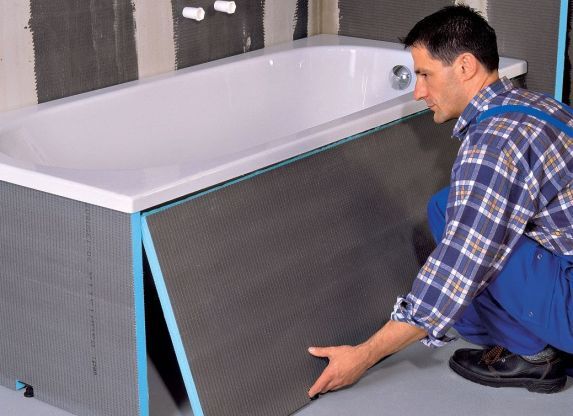
The last option is relevant when it is not known exactly bath height or a small area is required to install the bowl on a frame attached to the wall. In this case, a free strip is left above the intended installation location of the bathtub, and after installing the bowl, it is tiled.
Installation instructions for a steel bathtub
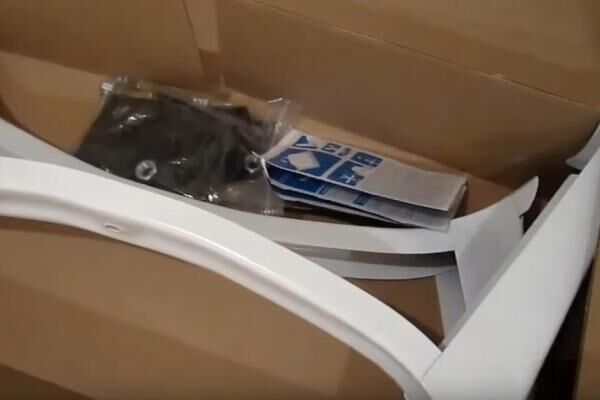
A universal-type steel plumbing fixture has a simple design: a metal bowl with two holes for draining and overflowing, plus four legs. The supports are fastened with two blocks at both ends and end with bolts at the bottom for height adjustment. A standard steel bathtub can be installed either on legs or on a support frame.
How to install a bowl on legs?
First, let's consider the simplest option - installation on legs supported by a simple wooden frame. The role of the frame is played by three bars fixed directly on the wall.
The sequence of work is as follows:
- Unpacking the bowl, checking the integrity of the enamel coating.
- Installation of legs, height adjustment.
- Marking work on the wall.
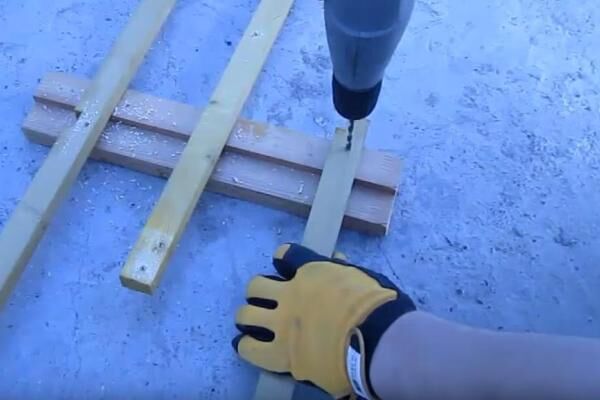
- Preparation and installation of wooden blocks on the wall.
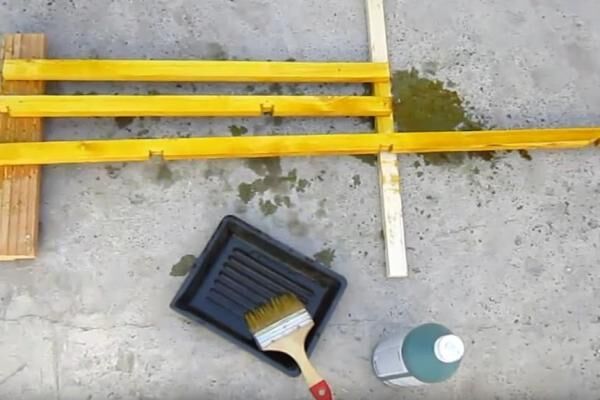
- Treating timber and walls with sealant.
- Putting the bath in place.
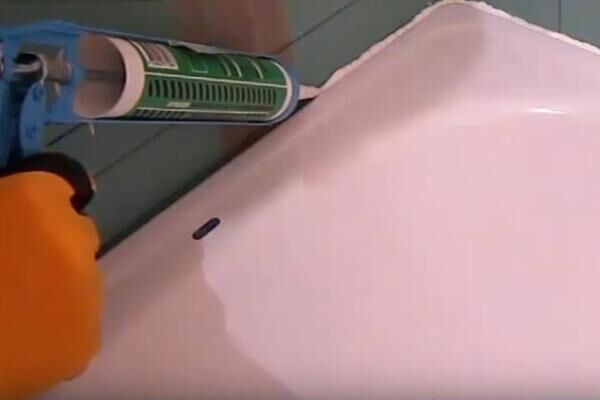
- Seal the gap with sealant.
To work, you will need a key for attaching the legs, pliers, a hacksaw or jigsaw for sawing bars, sanitary sealant, protective impregnation for wood, a brush, a drill, self-tapping screws or dowels (depending on the nature of the wall material).
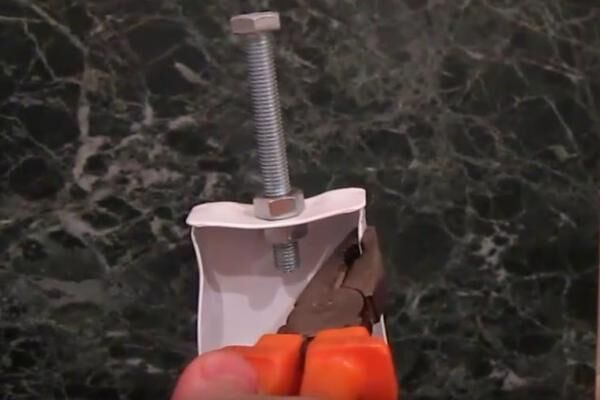
The first important step is screwing the legs to the base of the steel bowl.
At the same stage, it is convenient to install drain fittings - decorative linings with a mesh, which are installed on the inside, plastic siphon with water seal and a branch leading to the sewer main.
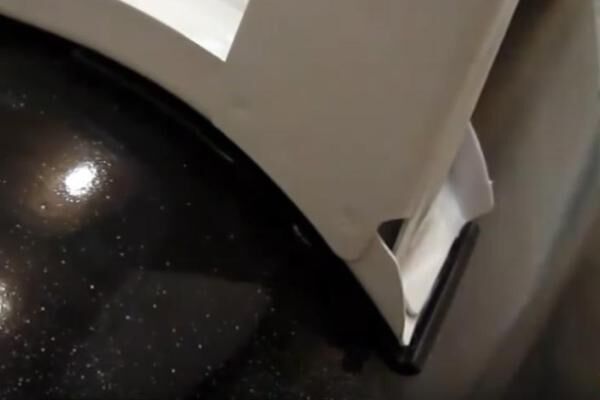
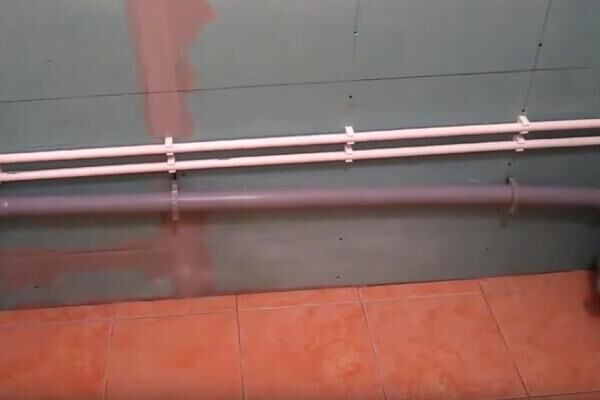
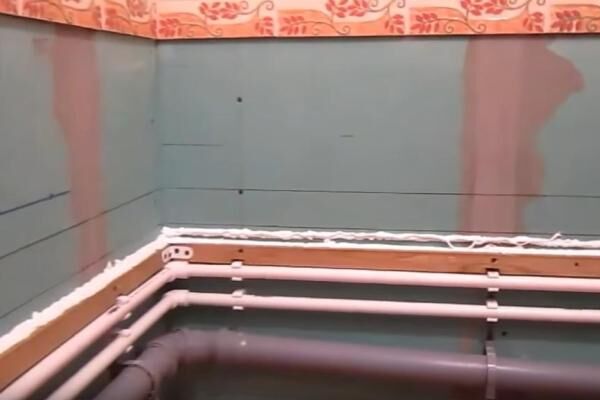
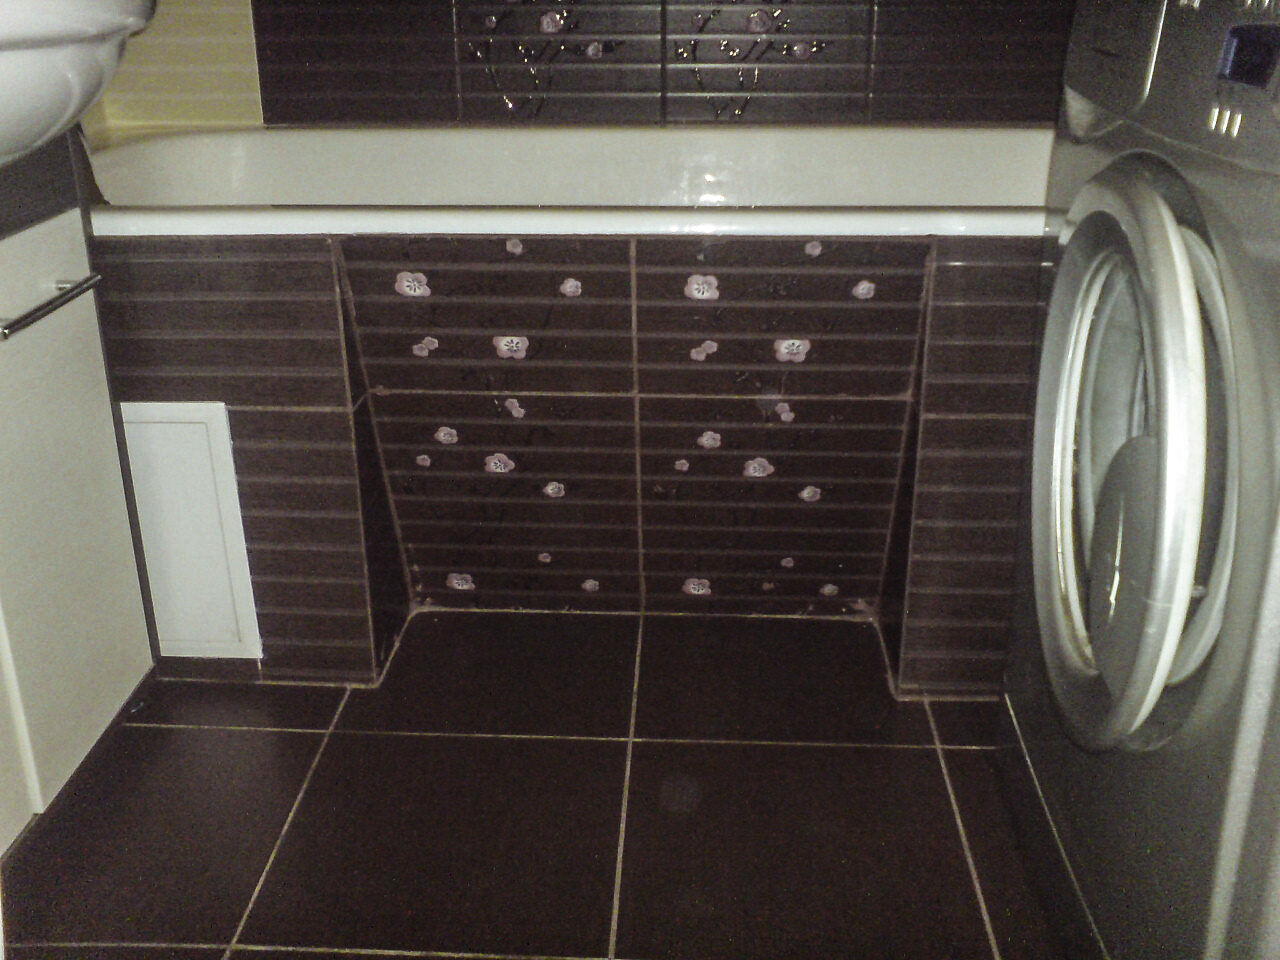
Installation can be complicated by the fact that water pipes run around the perimeter of the room. It is necessary to ensure that the bathtub stands firmly, without damaging the pipeline, and the tiles that will be glued later have a reliable base.
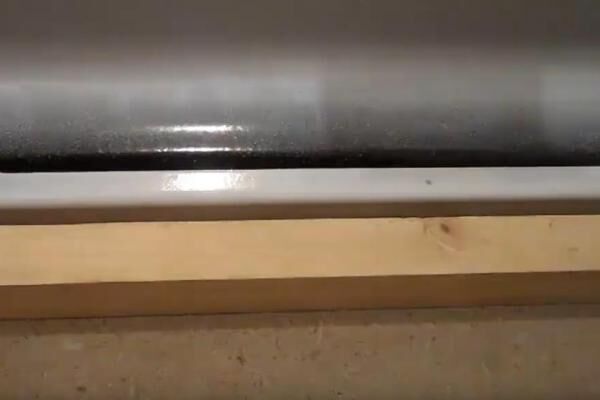
The best solution is to secure a contour of timber around the perimeter above the pipes, which will support the bowl and protect the pipes. This will be the next stage.
All that remains is to cover the wall. Plastic corners or other devices for masking the wall gap are not required, since the tiles will be glued end-to-end. This option looks aesthetically pleasing and, unlike using a corner, completely eliminates the risk of yellowing or mold growth.
Installation on a brick frame
A brick base is chosen for two reasons: the frame is strong and does not deform over time, its cost is relatively low.
Nothing depends on the choice of this or that type of brick; you can use silicate, red refractory or solid. In addition, you will need cement mortar for masonry and finishing material.

But there is a simpler method, in which instead of a large base, two brick supports are made, replacing the legs. The advantages of this option: a small amount of material, cost savings, work takes a minimum of time, cement sets quickly.
Step-by-step instructions for making brick supports:
Step 1 – preparing the room for installing a bathtub. This type of installation requires the mandatory use of a decorative screen, so the screed can be left in its original state, without tiling.
Step 2 – marking work. In the instructions you can find the exact distance between the legs of the bowl; the same must be maintained between the centers of the racks. The installation locations are marked, maintaining the distance to the walls.
Step 3 – brickwork. Usually, to complete this, three pairs of bricks on each side are enough, which are simply laid one on top of the other, without the traditional shift.

Step 4 – plastering of supports.Plaster increases the strength of the brick - thanks to additional protection, it becomes less hygroscopic and lasts longer.

Step 5 – putting the bathtub in place. We place a thick layer of mortar on the upper surface of the supports and install the bath so that the uncured cement mixture takes on the shape of the bottom.
With the same solution we cover all the cracks where the bowl is attached to the supports. To brick-mounted bathtub was located evenly and did not change its position; along the walls we also secure a perimeter of bars or a metal profile. When the solution has completely dried, you can carry out further finishing - finish repairing the walls, installing a screen.
Ways to design an installed bowl
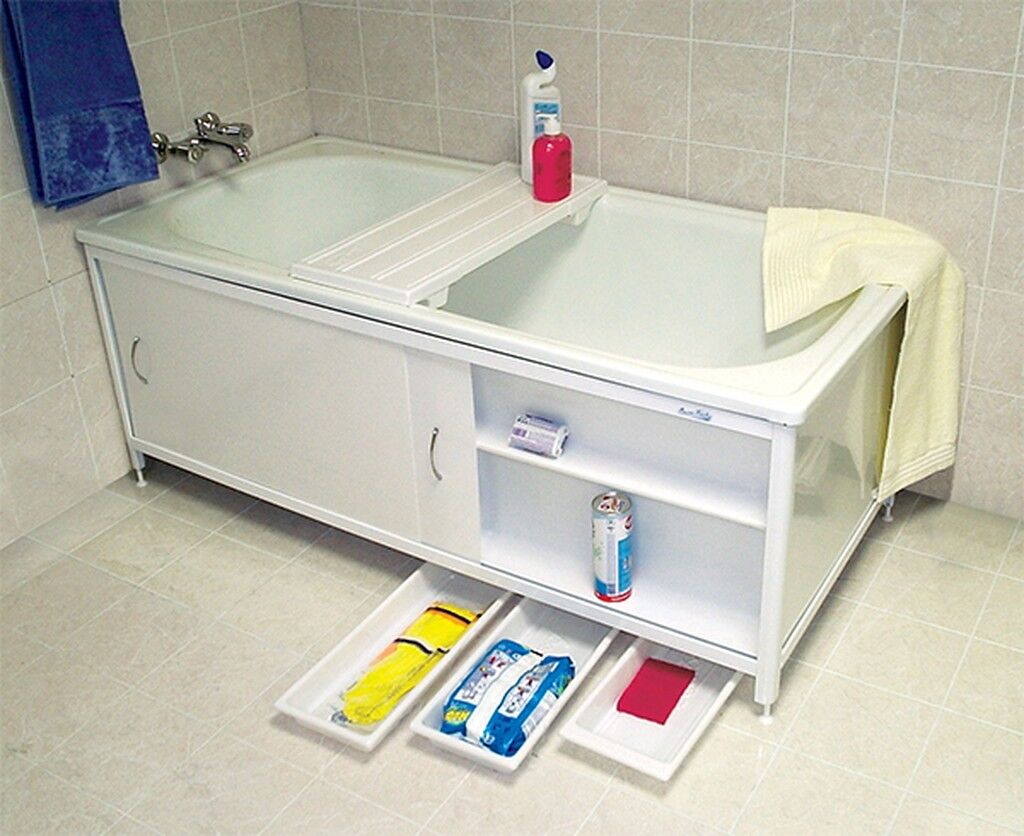
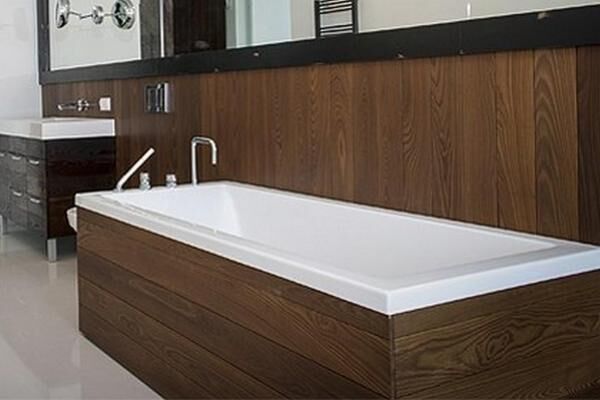
If the bathtub is a budget model and does not have a special frame with screen, the decorative panel must be made independently. Various materials are used for its manufacture: ceramic tiles, mosaics, plastic, processed wood, plywood, drywall, etc.
Ready-made plastic models with sliding doors are popular. Build frame for fixing the position of the bath You can do it yourself; our recommended article will introduce you to the options and implementation schemes.
In small bathrooms screen installation can visually make the room even more cramped. To prevent this from happening, you can use light tile cladding or glossy materials. An excellent solution for limited space will be mirror screen, the stages of construction of which will be introduced in our recommended article.
Sliding doors provide access to the space under the bath where you can store useful items. Instead of doors, you can make a convenient hatch.
List of common mistakes
Considering that the bowl is installed for a long period, and sometimes “tightly” sits on the sealant or polyurethane foam, you need to carefully and carefully perform all stages of installation.
Here are the mistakes that residents encounter most often:
- Late installation of drain and overflow. If the bathtub is already fixed in place, the fittings are much more difficult to install, especially given the low seating of the bowl.
- Inaccurate leg height adjustment. It is very difficult to tighten the bolts when the bowl is already glued to the sealant. A special tool and additional effort will be required.
- No gap between the floor and the screen. It is very inconvenient to perform any actions while standing near a bathroom with a blank front wall.
- Loose leg fastenings. Loose nuts can cause the structure to weaken. The bathtub will not fall to the floor, but it may move to the side.
- Installation without taking into account the location of sewer pipes. If the outlet into the pipe is higher than the bottom of the bowl, draining the water will become difficult.
Some shortcomings lead to the fact that repairs have to be done unscheduled, and not only at home, but also at neighbors. Unpleasant moments are associated with inaccurate sealing of the gap between the bathtub and the wall and with poor waterproofing of the floor under the bowl.
Sometimes preliminary sound insulation is not performed. Not all steel bathtubs need it, but if the water jet makes a loud noise, the bottom of the bottom must be covered with polyurethane foam. This can also be done after installation.
Conclusions and useful video on the topic
In practice, there are many more different options for installing bathtubs, and their choice depends on the rationality of one or another method. We offer videos in which professional craftsmen share their secrets.
Video #1. The role of silicone sealant when installing a plumbing fixture:
Video #2. Tips for protecting metal surfaces:
Video #3. Step-by-step instructions from A to Z:
As you can see, even such a seemingly simple event as installing a steel bathtub on legs or a frame has many interesting nuances. It is not always possible to do everything correctly the first time. But if high-quality plumbing fixtures are chosen and all installation rules are followed, using the bathroom will be a pleasure.
Please write comments in the block form below.Tell us about how you installed steel plumbing with your own hands. Share technological subtleties that may be useful to site visitors, ask questions, publish thematic photos.


Our problem was lack of space; not every bathtub would fit. Therefore, we were looking for compact models. They took a steel one with legs, it’s cheap and cheerful, but it will last for a lot of years. The most important thing is to adjust the height of the legs, because otherwise you will have to redo everything. The bottom was filled with foam to prevent the water from knocking like in a bucket; steel bathtubs are very noisy. The frame against the wall is wooden, everything is very inexpensive, but reliable
I don’t know, for me it’s generally unprofitable to put a bathtub on feet. After we installed the bathtub on the frame according to our design, we added space for storing all household chemicals. And one more thing: when I stood on legs, I had to move the screen forward a little, but with the frame everything came out “like a glove” and looks better. As for a steel bathtub, it’s even easier to care for than ceramics! There was experience for comparison and it was not a matter of budget purchase.
I'm setting up a bathroom in my house. knot. I chose a steel bathtub as it is more reliable compared to acrylic and cheaper than cast iron. The information was useful for me.