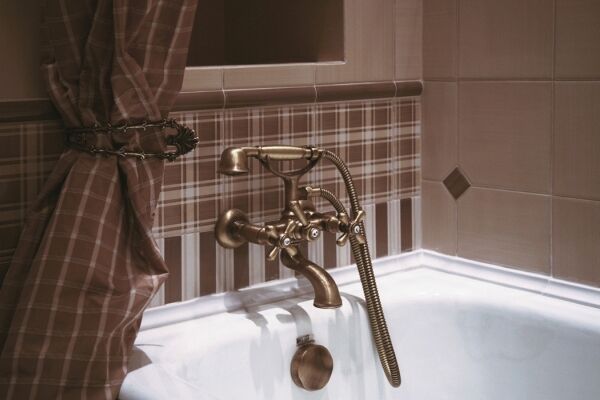
How to seal the joint between the bathtub and the wall: options and sealing technology
The process of renovating a bathroom does not end with laying beautiful ceramic tiles and purchasing new plumbing fixtures.There are many small nuances that also need to be taken into account. One of them is a small wall gap between the wall and the side of the bathtub.
We will tell you how to seal and mask a gap that is dangerous for leaks, and also not aesthetically pleasing. From our article you will learn how to seal the joint between the bathtub and the wall. To get ahead of the most suitable option for you, we present several methods.
The content of the article:
Causes of a gap at the wall
No matter how levelly you try to install the bathtub, there will still be a small gap between its side and the tiles or concrete wall. The minimum gap is 0.1 cm, but in some cases it reaches 2-3 cm in width.
We do not take into account the distance to the wall of 10 cm or more, which remains on the narrow side of the bathtub - it can only be sealed using a structure made from a profile and plasterboard or other available materials.
There are several reasons for the appearance of a gap, and almost all of them come down to imperfections in the geometry of the room.

Among the most common shortcomings are the following:
- uneven screed on the floor, causing the bathtub to skew - part of the problem can be solved by leveling the floor or tightening the bathtub installation bolts;
- “wavy” walls formed by a layer of poorly laid plaster;
- angles of non-standard size - more acute or obtuse than 90 degrees;
- defects in the plumbing product - not a perfectly smooth side.
The last problem is extremely rare, mainly in economy class bathtubs. Sometimes it is easier to seal an unesthetic joint between steel or acrylic bathtub and a wall, rather than changing the product or plastering several walls again.
It is impossible to leave even a slight gap. While bathing or taking a shower, liquid will definitely fall on the wall, and then not into the bath, as usual, but straight onto the floor. And water on the floor will certainly lead to conflict with neighbors from the apartment below, regardless of quality and reliability waterproofingdone in the bathroom.

You can get rid of trouble in different ways: with your own hands or with the help of professional finishers. Since special skills are not needed to seal the gap, many do it on their own.
Overview of methods for sealing a joint near a bathtub
Various materials are used to mask the gap. Some are applied using a caulk gun, others are simply glued on.
Let's look at popular methods that you can take note of and implement yourself.
The choice of one material or another depends on the width of the gap, interior features and wall decoration. If the gap is very narrow, borders and corners will be redundant.
A wide gap, on the contrary, requires the use of additional elements. The best option here is to combine two materials, for example, polyurethane foam and curb or sealant and plastic edging.
Let's look at the simplest ways to disguise the joint between the bathroom and the adjacent wall, or rather, the walls. It is problematic to adjust the plumbing fixture to the size of the room, so the sealing has to be done on two or three sides. At the same time, a large indentation on the third side is most often covered with a kind of “shelf”, decorated to look like cladding.
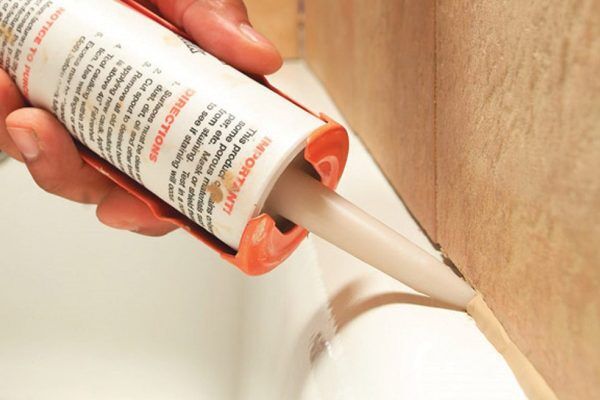
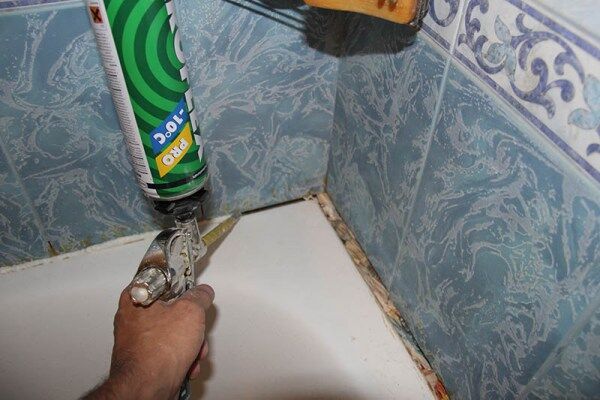
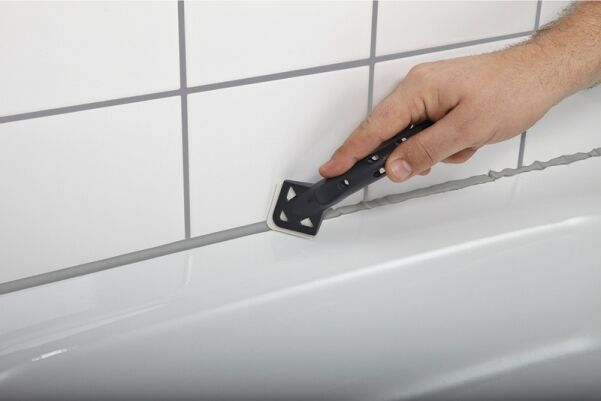
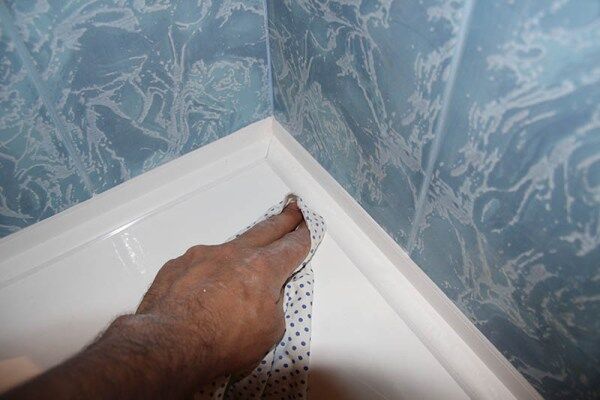
How to seal a gap with silicone sealant
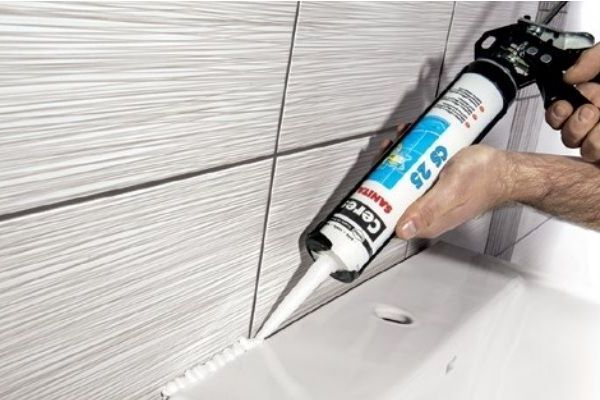
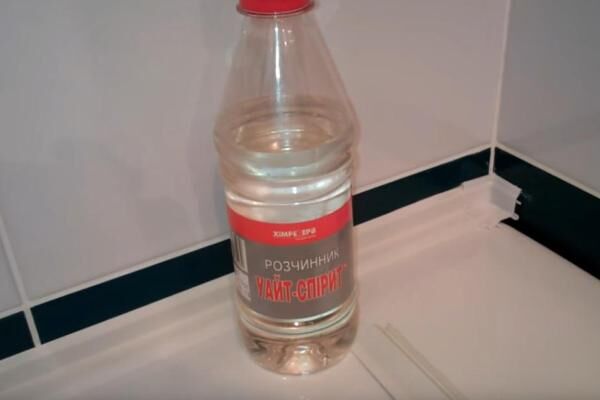
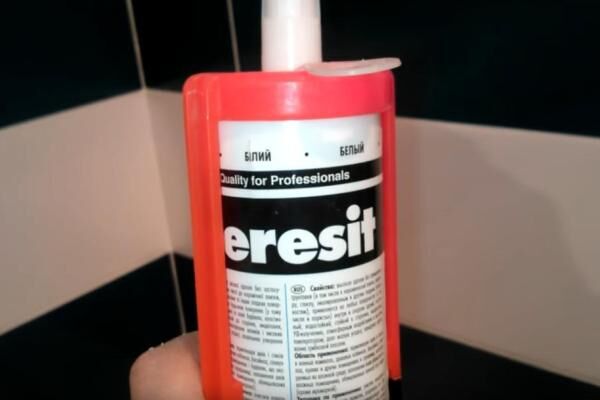
Using sealant is an inexpensive and easy way. The only condition for its use is the size of the gap, which should not exceed 3 mm. The thick product placed in a tube can have different shades, but the same color is best for masking a white bathtub. It is not recommended to take transparent ones.
In construction stores you can find a huge number of high-quality sealants. You will need a sanitary one, specifically designed for finishing a bathroom or toilet. Among the characteristics of the product must be moisture resistance and antibacteriality.
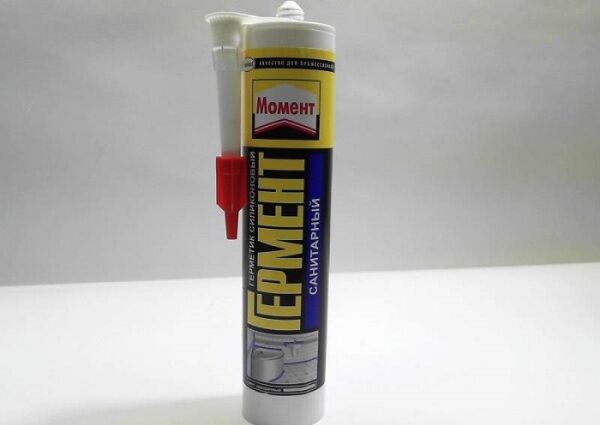
To hide the gap, one package is enough, so you don’t have to save money, but choose high-quality branded products. We offer four examples, the positive characteristics of which were noted by professional builders.
In addition to the listed brands, you can find other proven sealants in hardware stores: KRASS, S 400, Dow Corning, CIKI FIX. Correctly selected material is 50% of successful sealing of a wall joint.
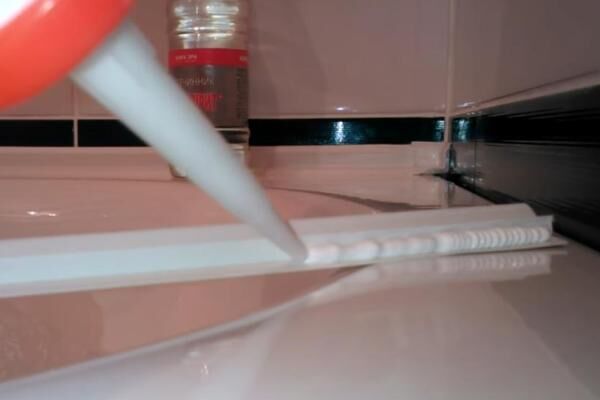
Instructions for applying sealant:
- Thoroughly clean the work surfaces: wipe the edge of the bathtub, which is located near the wall, and the wall itself, first with water, then with an alcohol-based degreaser and dry.
- Place the tube in the gun, cut off the tip of the “spout” with a construction knife or scissors. The diameter of the hole should be slightly larger than the gap that needs to be masked.
- Starting at the edge, slowly squeeze out the caulk until it lies straight and completely covers the gap.
- Gently level the resulting roller with a special spatula or your finger so that its edges merge with the work surfaces. Wet your finger with soapy water - this will prevent the sealant from sticking to it.
- Wait for it to dry and then remove the residue. They resemble a rubbery elastic substance and are easy to scrape off and remove.
Silicone sealants are often used instead of glue when sealing joints in the bathroom. It is on them that it is recommended to glue plastic and ceramic borders.
Recommendations for choosing sealants for use in bathrooms and toilets are given in the article, the contents of which we advise you to familiarize yourself with.
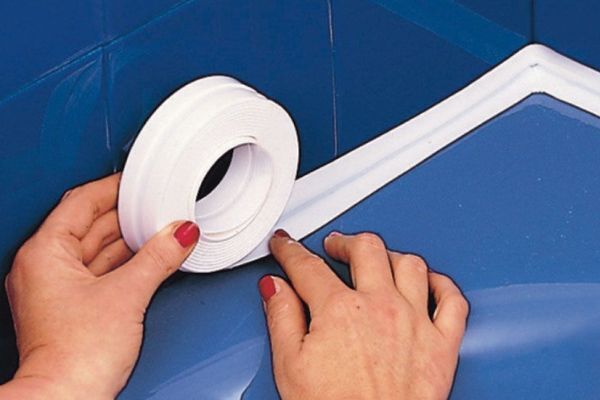
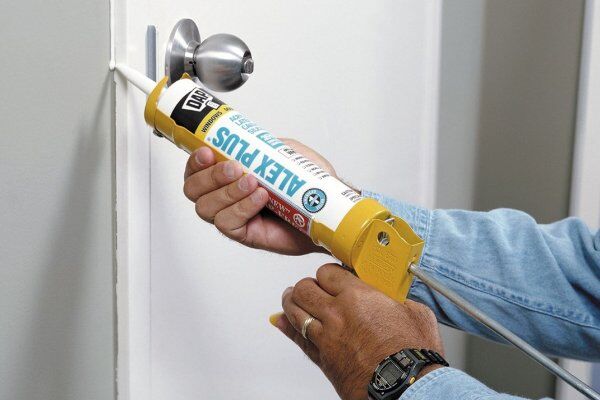
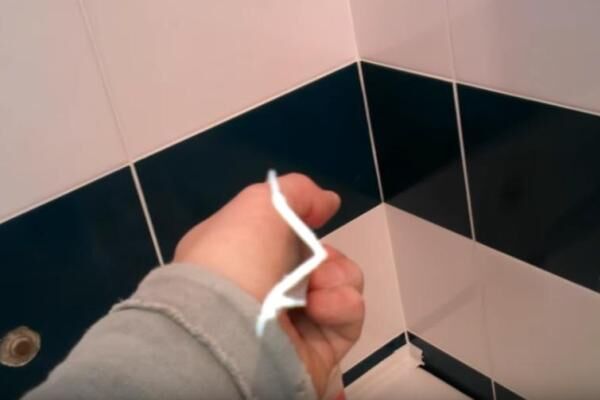
Instructions for gluing a plastic corner
Corners (curbs, skirting boards) made of PVC are inexpensive, lightweight, easy-to-use products that can be easily processed and, when installed correctly, harmonize with the bathroom. There are also color options, but a white border, matching the color of the plumbing, is considered more appropriate.
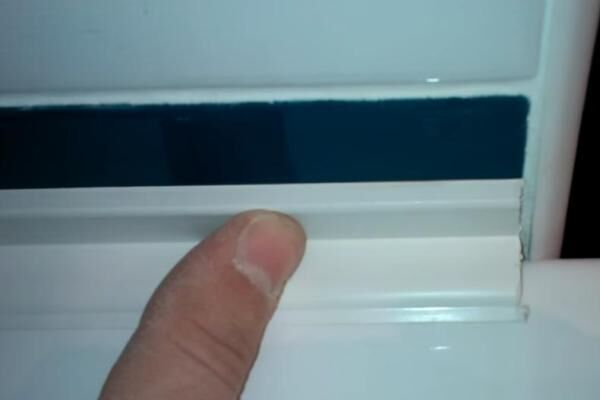
Before buying a skirting board, you need to measure the length of the sides of the bath along which you need to mask the gap. You will need a small margin since you will have to trim the corners.
We put the plug on at the very end, after drying. For better adhesion of the corner, it is pressed with something heavy, for example, a piece of tile. After about 3-4 hours, you can use the bathroom, but it is better to wait about a day.
The good thing about work done using sealant is that any mistake can be corrected during the gluing process.
Installation of a ceramic border
Ceramic definitely outperforms plastic, which is why it is still preferred by those who love reliability and durability. The smooth, glossy border does not change shape or color over time, easily withstands mechanical stress, and does not react to alkalis and acids that are part of detergents.

Preparation for work consists of purchasing the required number of products: several horizontal elements and two corners. You also need to purchase a reliable silicone sealant and a surface degreasing agent.
Operating procedure:
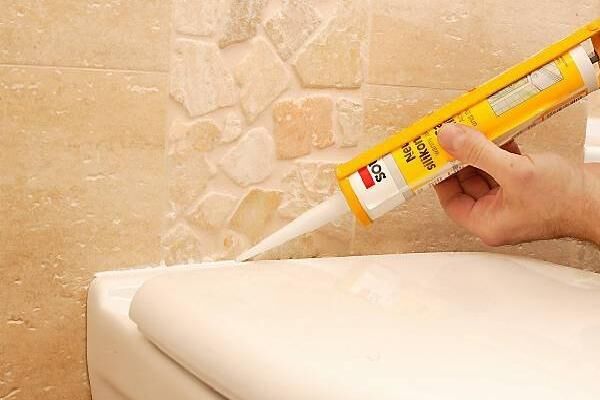
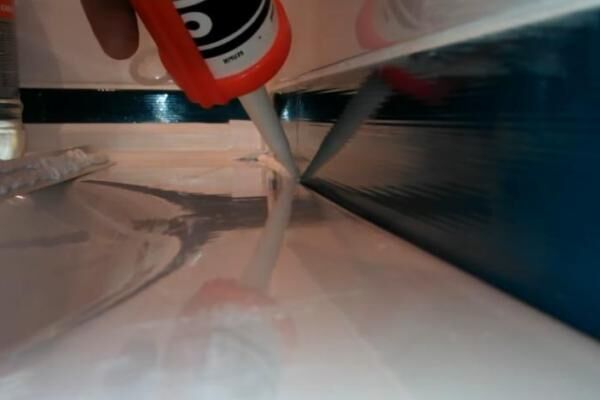
- We treat the edge of the bathtub and part of the wall along the entire length with a solvent and dry it.
- We fill the gap with sealant, trying not to make gaps.
- We glue the ceramic corner into the corner that immediately catches the eye upon entering.
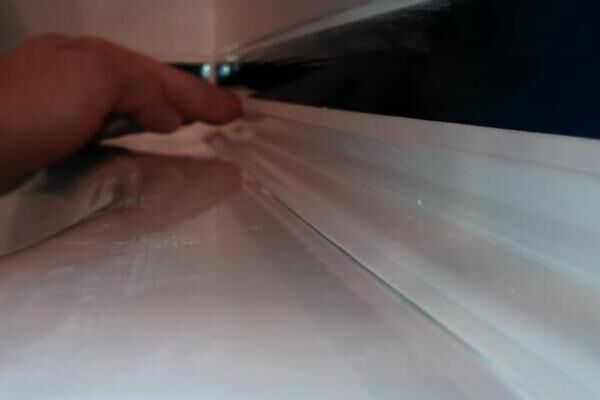
- We glue the border elements one by one, trying to create an even line.
- The ceramic parts may need to be trimmed around the edges and around the second corner. To do this, we use a grinder and sand the edges.
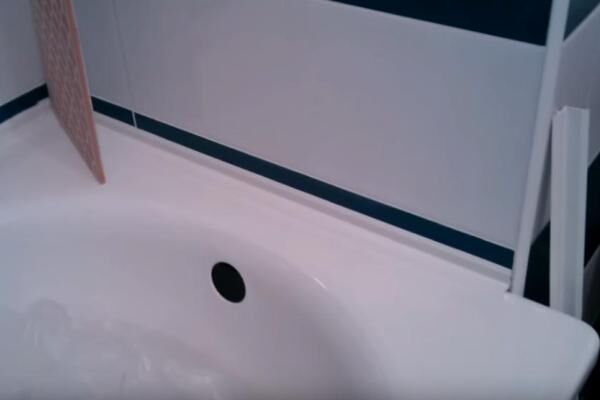
- Upon completion of installation of all parts, we rub the seams. You can use both tile grout and sealant.
Finishing gluing a border to a bathtub We remove the remaining grout material with a damp sponge and wait for it to dry completely. If over time the grout or sealant turns yellow, you can dismantle all the parts, clean them and the wall, and then repeat the gluing procedure.
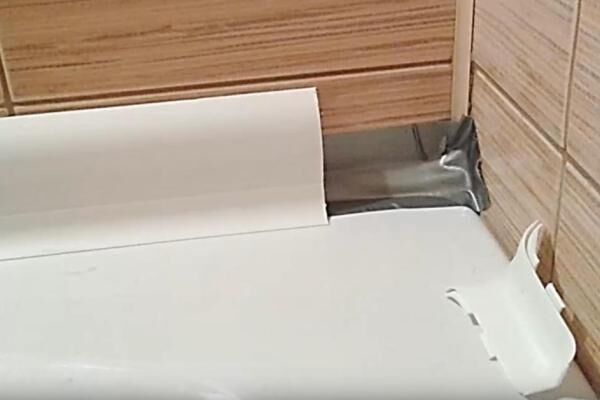
How to make the connection airtight?
Experienced builders recommend using curbs and other materials for sealing joints as a last resort.They offer a modern alternative that will eliminate the need for regular repairs - gluing the tiles after installation of a steel bath, as well as installation and connection cast iron or acrylic sanitary ware to home communications.

This method is often used when tiling a bathroom with expensive collection tiles, next to which plastic corners look out of place. The only difficulty is choosing the right size of ceramic parts. You need to decide in advance on the height of the bathtub and calculate everything so that the tiles do not have to be cut.
The minimal gap at the border with the bathtub bowl is easily masked with grout, which dries and is not washed out with water. But to be on the safe side, before laying the tiles, you can apply sealant around the perimeter of the tank to be completely sure of the reliability of the insulation. The border tape or plastic corner may come off, but there is no such danger here.
Conclusions and useful video on the topic
You can use any of the listed methods, and several informative videos with detailed descriptions of the actions will help you with this.
Video #1. How to properly apply silicone sealant:
Video #2. An interesting idea using floor plinths:
Video #3. Tips for gluing the plastic corner:
Video #4. Curious consequences of installing curb tape:
The technologies for masking the joint between the bathtub and the wall are simple, so you can do all the steps to seal the gap yourself. But don’t forget that quality material is half the success.
If you doubt your own abilities or the choice of building material, seek help from finishers. Consultants at construction stores can also explain a lot.
Tell us about how you yourself sealed the joint between the wall and the bathroom, and how did you cover the not-so-attractive seam? It is possible that your advice will be useful to site visitors. Please write comments, ask questions and post photos in the block below.


In general, silicone should definitely be in the arsenal of the modern owner. Another thing is that you shouldn’t buy the cheapest samples to seal a bathtub. Naturally, you need to choose taking into account the composition. The manufacturer can write a lot, but it is worth checking that the sealant composition contains antifungal components. It is then that mold will not appear on its surface.
We had this problem for three months. All this time, water got on the floor, where it was quite problematic to wipe it off; as a result, mold formed, not a very pleasant situation. I had to clean the bathtub and clean off all the mold; they bought a plastic flexible corner from a hardware store and glued it with a special glue; now nothing gets under the bathtub.
In the summer of 2016, a team renovated our bathroom. At first glance, everything was fine. It so happened that they did their job poorly. I discovered this only a couple of months later. Water got onto the floor between the wall and the bathtub. Although outwardly the marriage was not even noticeable. I solved the problem on my own using silicone sealant. Great stuff.