Connection diagram for a single-key pass-through switch: analysis of the diagram and order of work
A variety of electrical installation products allows for comfortable control of lighting equipment.Despite the external similarity of the models, the connection diagram of the pass-through switch is fundamentally different from the standard device, as well as its functionality.
You know that situation where you have to get out of bed to turn off the lights in the bedroom before going to bed? Or, having turned off the light, you have to go to the bedroom along a long dark corridor? An unpleasant task, don’t you agree?
To eliminate such situations, you can use a pass-through switch - it will provide the ability to control lighting from different points in the room. The information offered in this article will help you understand the operating principle of such a switch and its connection diagrams.
The content of the article:
Features of using a pass-through switch
It can be difficult for ordinary users and home DIYers to determine which switching device to choose. Walk-through switches practically do not differ in appearance from standard ones - these electrical installation products also allow you to control lighting, but their connection diagram is completely different.
The key difference is that a regular switch can only make or break a circuit, while a pass-through switch provides the direction of voltage from one contact to another - switching.
We recommend that you familiarize yourself with the intricacies selecting a pass-through switch.

The use of such devices is advisable in the following situations:
- In the corridor. The two-point connection scheme makes it possible to install one product at the beginning of the corridor, and the second at the end, which will eliminate the need to walk along a dark corridor after turning off the lamp.
- On the stairs. This is an excellent solution for apartment buildings and private cottages with several floors. Such switches can be located on all or several floors. The user can turn on the light on the site upon entering the house, and turn it off before entering the apartment on his floor.
- In the bedroom. The principle of operation is no different from previous situations; it allows you to turn on the light when entering the room, and turn it off at the head of the bed.
Above are the main options for using pass-through switches. In practice, the devices can be installed in any premises, including not only residential, but also technical and industrial. This solution provides convenience when controlling light and reduces energy costs.

The design of a simple switch assumes the presence of one input, one output, while a walk-through switch has two outputs. Thanks to this, the flow of current can not only be interrupted, but also redirected. Although experienced electricians are able to determine the type of device by external signs, many manufacturers put a connection diagram on the product, which simplifies the selection of a switching device.
You can make sure that you are purchasing a single pass-through switch if you carefully examine the terminals. There should be three of them. It essentially acts as a switch that directs voltage from one contact to another.
To control one lighting device from different points in the room, at least two pass-through switches are used. When the position of the key changes, the circuit closes and the light comes on. When either of the two switches is turned off, the circuit opens and the lamp goes out. Thus, when the keys of the pass-through switches are in one position, the light is on, when in a different position, it goes out.

Using such a switch, it is easy to control lighting from three, four, six points. To do this, just add the required number of switches to the existing circuit.
Product connection diagram
For convenient control of light from several places, at least two single-key pass-through devices are used, since they only work in pairs. Each of them is equipped with one contact for input and two for output.
As with the installation of any electrical equipment, before installing the pass-through switch, it is necessary to de-energize a section of the electrical network by turning off the power at the distribution board. To make sure there is no voltage in the wires, you can use an indicator screwdriver. A similar check is carried out at all connection points.

When laying hidden wiring for connecting wires grooves are laid, holes are made for distribution boxes and socket boxes in accordance with the arrangement of devices.
When planning work, it is important to understand that simply replacing a regular switch with a walk-through one will not work. It is recommended to lay the wires at a distance of 15 cm from the ceiling. They can not only be pulled out in a hidden way, hidden in grooves, but also laid open method, hide in boxes, trays.
The second method will reduce the labor intensity of the work, as well as minimize costs if repairs are necessary. The ends of the cable are inserted into junction boxes and connected using connectors.
Device installation procedure
All actions carried out during the installation of the pass-through switch are carried out in accordance with the connection diagram. It differs from the installation of a standard switch in that instead of two wires, three are used. The two wires in this circuit serve as a jumper connecting adjacent switches located at different points in the room. The third wire provides the phase supply.

When connecting a pass-through switch, any type of lamp can be used, from a traditional incandescent lamp to modern fluorescent and LED lighting sources.
There will be five wires going to the junction box:
- cable from the lighting fixture;
- power cable from the machine;
- wire from the second pass-through switch.
To ensure long service life of electrical wiring, it is recommended to properly select cable section for home wiring.
To build a circuit with two single-key switches, a three-core cable is used. In this case, grounding, “zero” is output to the light source.And the phase highlighted in brown in the diagram provides power. It goes through both switches and the lamp.
Since these switches are located in the phase cable break, the safety of work during repair and maintenance of the lighting device is ensured.
Work on connecting a single-key switch (pass-through) is carried out in the following sequence:
- release from isolation wire ends;
- using an indicator, find the phase and neutral wires;
- lay the neutral wire from the machine through the junction box to the chandelier/lamp.
- to the input contact of the first switch, connect the phase of the supply wire that passed through the junction box;
- connect (via the junction box) the two output contacts of one pass-through switch with the two output contacts of the other;
- All that remains is to connect the phase going (through the distribution box) to the chandelier/lamp to the output contact of the second switch.
The connections can be twisted, soldered and wrapped with electrical tape. Or use self-clamping terminal blocks.
We considered other methods and rules for high-quality and correct connection of wires In this article.
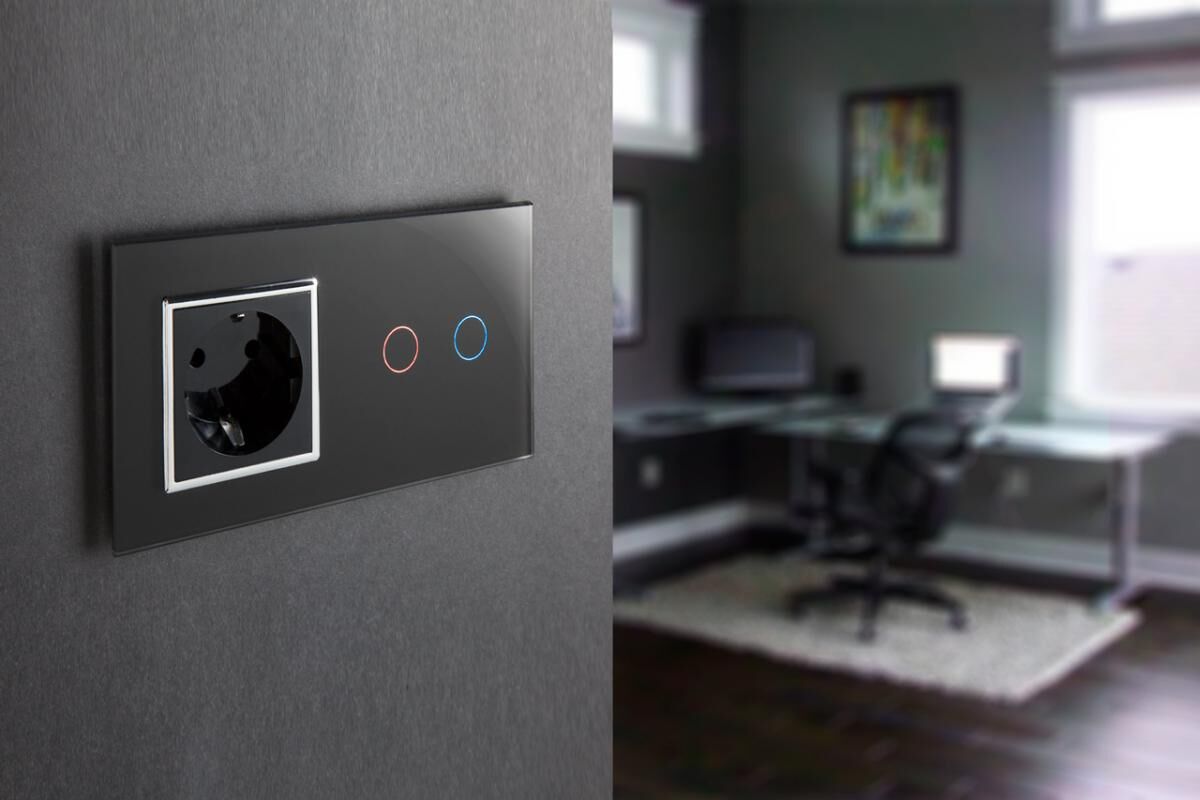
In addition to keyboard models, manufacturers offer touch panels. However, when installing them, you cannot do without professional help.
If it is necessary to control lighting from more than two points, up to six pass-through switches can be used in the circuit. In our other article we looked at the nuances step by step connecting a pass-through switch from two and three places, providing the material with visual diagrams.
Conclusions and useful video on the topic
Having a wiring diagram for a pass-through switch and basic experience in electrical installation work, you can upgrade your home lighting control system yourself.
The video below will help you understand the differences between a regular and a pass-through switch and determine the order of installation work:
This video will help you connect pass-through switches without using a junction box:
And this video will help you control lighting from three or more places.
The possibility of increasing living comfort, combined with reducing energy costs, is of interest to many, so the use of walk-through switches is becoming increasingly popular among owners of spacious apartments and private cottages.
If you have experience in installing such switching equipment yourself, please share your achievements with other visitors to our site. If you are just looking at such a solution or have questions, ask our experts in the block below.


