How to properly install guides with a concealed door closer: step-by-step instructions
Guides are a set of technical elements that ensure the linear movement of an assembly or other part along a selected path. Mechanisms for furniture drawers are divided into several types. But what type of design should you choose and how to properly install guides with a closer?
The content of the article:
Types of guides
The main qualities of home furniture, especially kitchen sets, are reliability and durability, simplicity and ease of use. One of the main elements of furniture fittings is guides. They contribute to the easy and silent removal of drawers in cabinets, cabinets, and chests of drawers. Widely used in the manufacture of pull-out shelves and table tops. According to their design, they are divided into roller and ball guides.
Roller skids are also called skids. They are simple both in terms of design and installation. They consist of 2 metal plates coated with epoxy resin. They move relative to each other using a plastic roller. Permissible dynamic load – up to 15 kg. They are used for containers ranging in size from 150 to 800 mm.
To install the device, one plate is mounted on a furniture block, the second is fixed on the side of the box at the bottom. Then it is inserted into the base so that the plates interlock. In this case, there should be a gap of 12.5 mm between them on both sides. That is, the width of the container is 25 mm smaller than the inside of the cabinet.
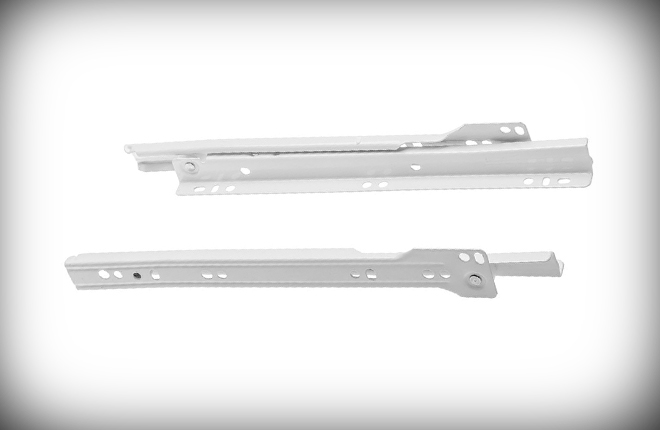
Roller guides are popular and economical compared to ball mechanisms. Used in assembling cheap budget furniture.But there are also disadvantages - this is a partial, but rather noisy, drawer extension. If you make a mistake in the calculations and install them incorrectly, the rollers quickly wear out and the structure jams.
Interesting! DIY furniture from pallets: best ideas + step-by-step assembly instructions.
Advantages of ball guides
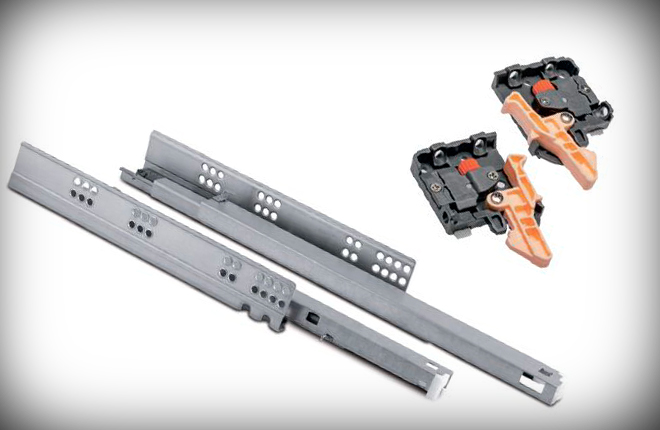
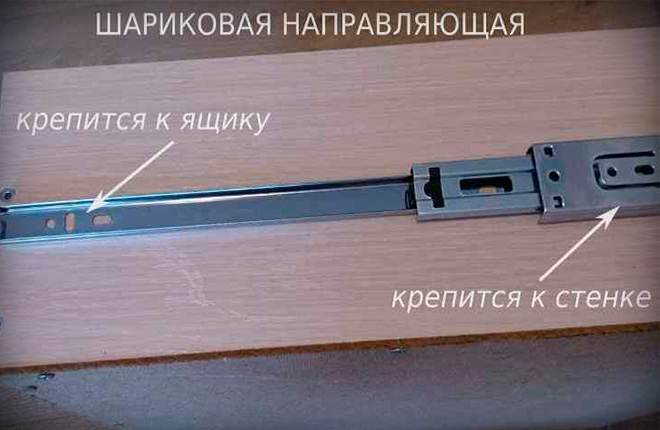
They have a more complex design, are reliable and durable. These are two stamped metal plates connected by perpendicular grooves. Instead of plastic rollers, they have metal balls - bearings. They can hold a weight of up to 35 kg, they extend/retract easily and without noise. Their disadvantage is their high cost.
There are several different types of ball guides. They differ in height (17; 27; 35; 45 mm), length (300-700 mm), and extension level. Telescopic mechanisms are equipped with a self-actuating system - a closer, a damper. When the container is open to a certain position, the closer picks it up and smoothly closes it. The damper in this case is a shock absorber. It guarantees smooth and silent closing.
The full extension fittings are equipped with a special ball bearing, which makes it possible to extend the drawer all the way. The thickness of the metal during production is at least 1 mm. Therefore, to install such a system, it is important to maintain the integrity of the parts. Planks with a thickness of 0.7 mm will not last long, especially under significant loads.
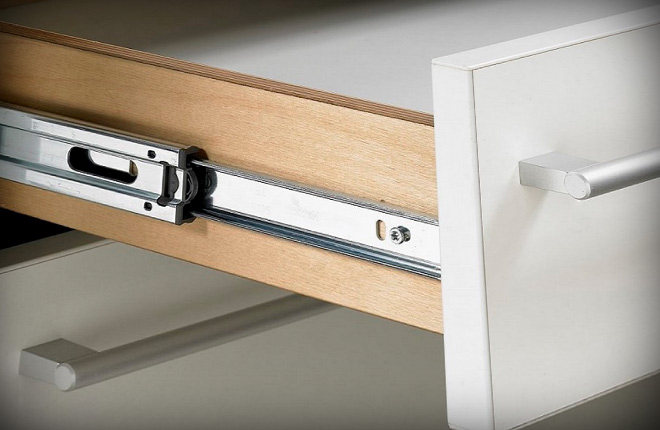
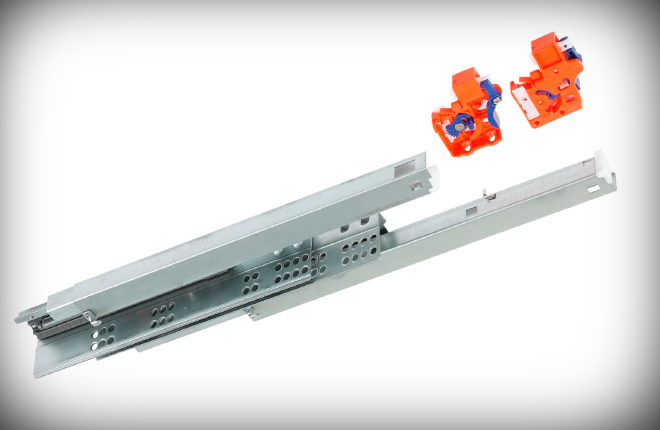
Fittings for hidden installation with a closer are in demand. These devices are convenient, reliable, operate smoothly, without any extraneous sounds. Attached to the bottom of the box. But it will take a lot of time to install them. A similar device is used for furniture made of wood, chipboard, MDF.The system with a closer can support a weight of up to 40 kg.
Reverse-action guides differ little from a retractable system with a closer. The difference is that the drawer slides out on its own after pressing the front. Plus - no handles or recesses are required for control. The downside is that it cannot be installed on children's furniture. After pressing the front side, the box pulls out abruptly, which can frighten and injure the child. Plus, closing it will require some effort.
Metabox is a retractable advanced system. It is represented by two symmetrical sidewalls and support rollers. They are installed inside the metal side wall. Equipped with closers and dampers. Made of high-strength steel, covered with enamel.
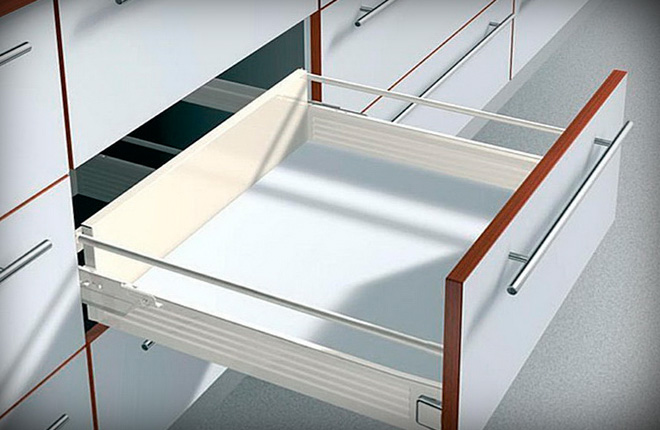
Metabox increases space since there is no need for wooden sides. It has a fastening for the facade, which allows you to install it evenly relative to the body. The system with a closer can only be extended ¾ and can withstand light loads (10-20 kg).
Tandembox is the most expensive retractable system. It is designed on the basis of hidden mounting guides. It can only be installed on a structure with sidewalls made of thin-walled steel. Used in professional kitchens, furniture made of wood and other expensive materials.
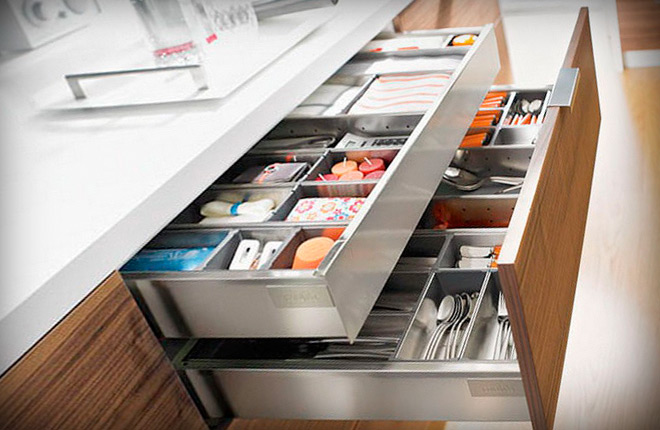
Tandemboxes can withstand heavy loads. Nomination, both full and partial. Silent operation, controlled by pressing the front panel. If necessary, the tandembox can be easily removed from its place.
Interesting! How to make a cabinet from plasterboard at home.
Preparing tools and components for installation
The functionality of the kit is related to its design features and quality. When choosing accessories, it’s a good idea to consider the following recommendations:
- It will be easier to install guides with a closer if their size matches the drawer.
- Before purchasing, you need to pay attention to the thickness of the metal.
- Make sure there are no defects or scratches.
- Check the complete set of accessories.
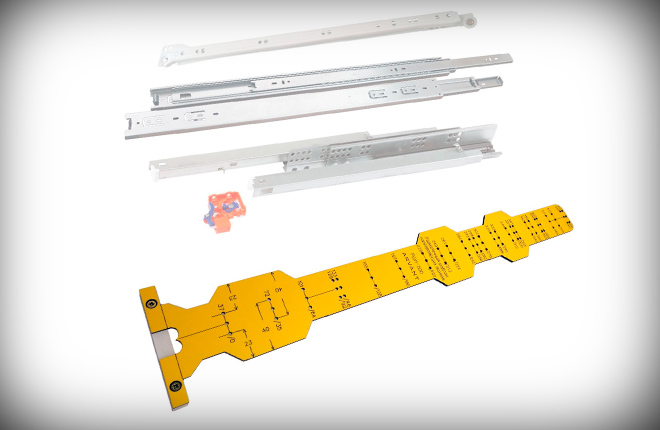
If you purchased a tandembox with a door closer, you need to be sure that you can install it yourself. There is a special device - a conductor - that will help cope with this task.
To work, you need a pair of mirror-identical runners, screws Ø 3-4 mm, length 12-16 mm. The following set of tools will help you install the kit:
- screwdriver or screwdriver;
- drill with a thin drill or awl;
- pencil;
- tape measure, ruler;
- level.
The system with a closer is considered removable. This means that after its installation the box can be completely removed. The opening for it is limited by the vertical walls of the cabinet. The front part can be inserted between the sidewalls or be an overlay. In any case, all end parts must be in the same plane.
Marking
First of all, we determine the placement height, then apply the markings. The axis line runs through the middle of the box. To do this, we divide its height in half, put marks at both ends, and draw a line along them along which the runners need to be installed. We perform the same actions on the other side. Based on this, we apply marks to the side parts of the furniture frame.
Installation
It is easier to install guides with a closer when the furniture is disassembled. The kit contains two parts, one left and one right. They cannot be swapped.Before installation, we disassemble it by pressing the plastic fastener. The narrowest plate is attached along the marked lines to the side of the box. Wide - together with the connecting element (strip-carriage) on the cabinet wall.
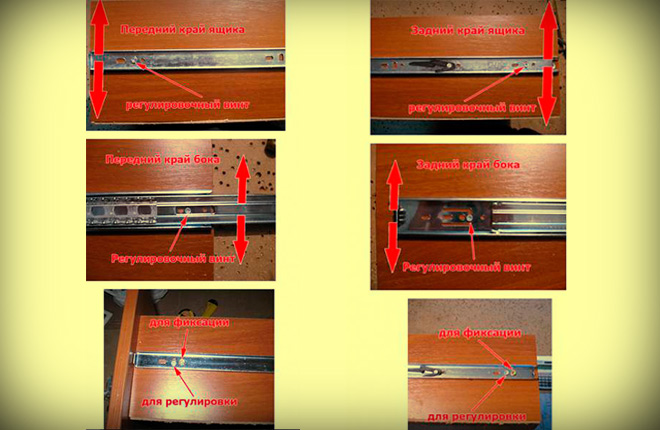
The guides with the closer have oval holes. Horizontal ones are needed to regulate the system horizontally. Vertical ones make it possible to move the mechanism up or down. Round holes are provided for final fastening.
Applying the guides with the closer according to the markings, we place the front edge of both parts at the same level relative to the facades. The oval holes will help you install them correctly. All marking lines must run strictly in the center.
If the base is made of wood, chipboard, MDF, the hole for the self-tapping screw or screw is pre-drilled with a thin drill or marked with an awl to prevent cracking of the surface.
Step-by-step instruction
The installation scheme is not complicated, but requires care and consistency in actions. Installation of guides for drawers is carried out according to the following algorithm:
- We determine and mark the mounting location and carry out markings.
- We disassemble the system by pressing the stoppers and removing the inner strip.
- We fasten individual parts with screws or self-tapping screws (without tightening), according to the markings.
- Installing the box.
- If necessary, adjust the mechanism.
- We finally secure the fittings.
If everything is done correctly, the container snaps into place with a slight click and slides out/retracts freely. The ease of use, safety and service life of the furniture depend on the correct installation of the guides with the closer.
What guides, with or without a closer, have you used in your furniture? Did you do the installation yourself? Leave your comment, share the article on social networks, bookmark it.
Interesting! Installing a door closer with your own hands.