How to make a metal bed with your own hands: step-by-step instructions, practical tips
Sleeping furniture in the house should be reliable and durable.The frame of a bed, sofa and even a good quality chair is made from oak or hardwood timber. But you can make a bed out of metal.
Oak, larch and beech will be expensive, and in addition, you need to have the appropriate qualifications so as not to spoil the expensive material. With metal, everything is simpler, it is more accessible to process, and any do-it-yourselfer can work with it.
The content of the article:
Drawings and implementation options
First of all, let's choose a suitable project. In most cases, a do-it-yourself metal bed is made from a steel corner, a ½” or ¾” profile or water pipe. It all depends on the size and design features of the bed.
Only the main load-bearing parts will be made of metal:
- Frame for a mattress.
- Backrests. Can be made from a round pipe or a square profile.
- Supports and additional stiffeners.
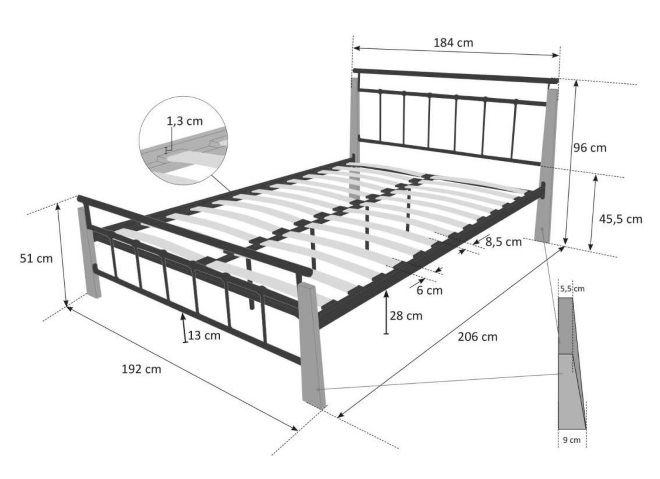
You can easily come up with a project yourself using your own patterns and sketches. The use of metal ensures that the bed, single or double, will be strong and reliable. But you can’t do without drawings. Design documentation allows you to make a bed faster and without wasting material.
Single models
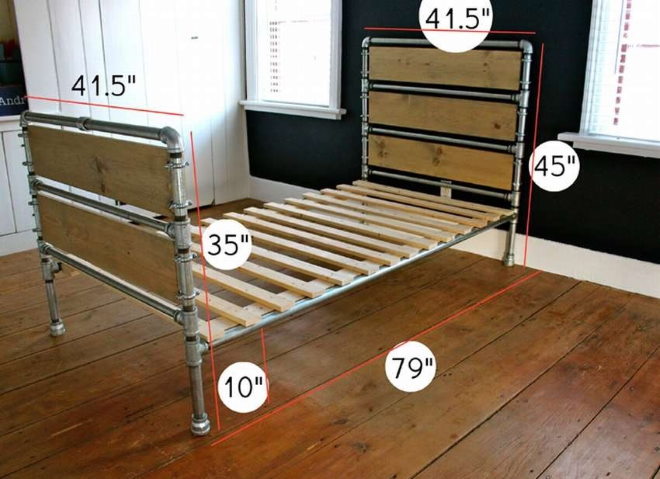
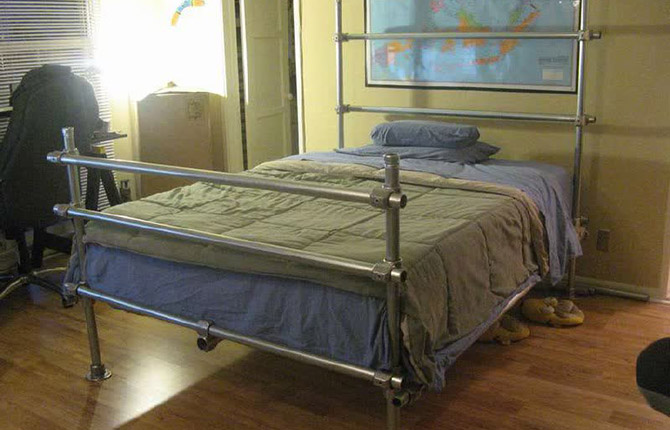
Single beds are rare. Most often, owners prefer either a one-and-a-half or a double model. For fans of custom-designed home furniture, a metal bed can be made from sections of ¾” pipe, as well as clamping nuts, angles and tees.All made of alloy steel.
To build a single bed, you need to cut blanks from a high-pressure gas pipe made of alloy metal. You can use regular steel, but the parts will have to be sent to a workshop for additional chrome or nickel plating. In addition, the gas pipe has a wall thickness of more than 4 mm, which means that after cutting the pipe thread there is a large margin of thickness left.
The advantage is that furniture made from steel pipes can be easily disassembled, transported, stored or assembled at the dacha or in a country house.
Children's
The simplest option is to make a base from a square profile pipe 25x25 mm or 30x30 mm. For the children's version, it is better to make the backrest not from metal, but to use furniture from an ottoman or other upholstered furniture.
The design is a simple rectangular frame made of corrugated pipe, butt-welded in the shape of a frame. Steel triangles are welded into the corners - scarves made of thick metal 6-8 mm. Vertical posts made from two-inch pipe are welded to the triangles.
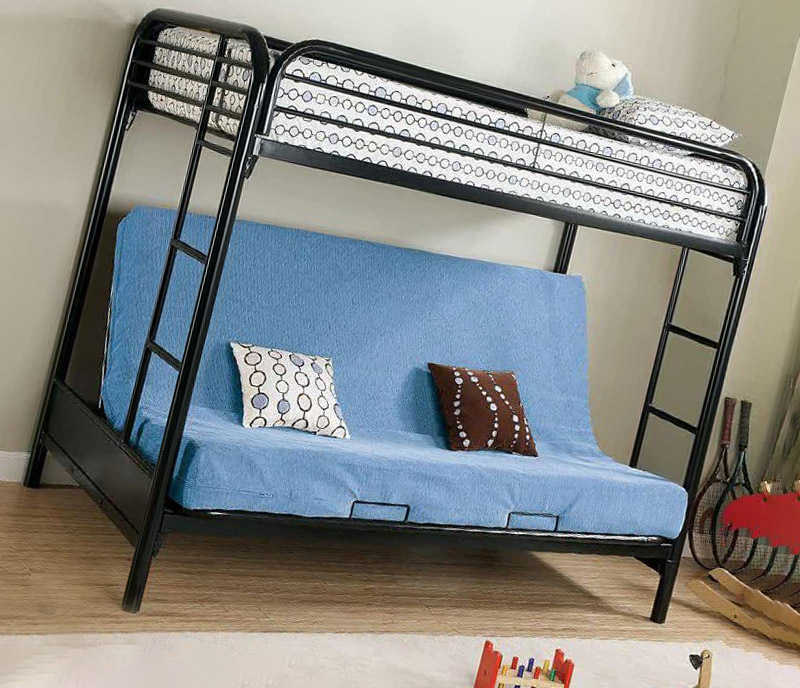
According to this scheme, children's beds are often made for a dacha or a country house, including bunk beds. Unlike wooden furniture, metal frames are not afraid of moisture and can easily winter even in an unheated room.
Often children's options are made in loft bed format.
Double
Most often the bed is made in a double version. Accordingly, the largest number of models were invented and developed for this format.
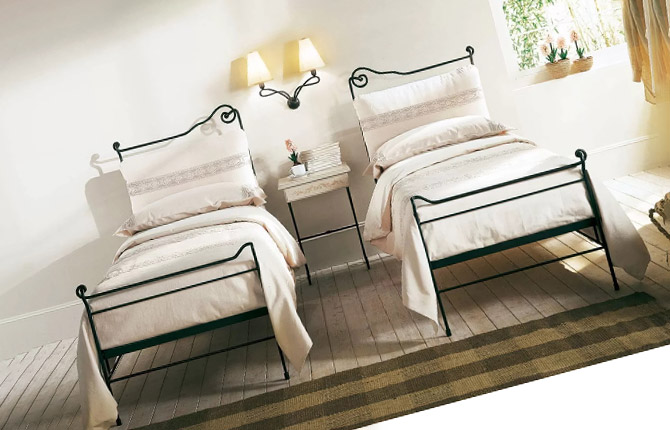
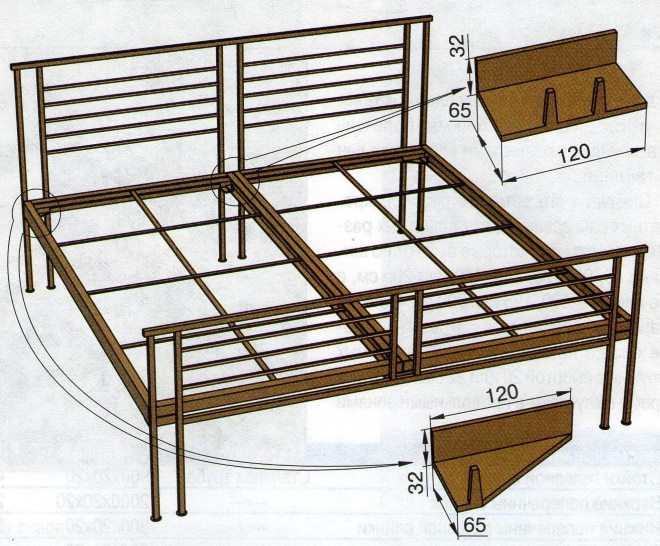
For example, a double bed made of metal can be made of 2 sections.
Each berth is made separately from profiled pipe and installed on a common steel frame.
Double furniture is often made of a combination - the frame and backrests are made of metal (corrugated pipe), and the support part for the mattress and legs can be made of oak.
This is one of the most successful models of metal furniture, but it has 2 drawbacks:
- High labor intensity, for example, for each elastic element you will need to make 2 individual fasteners (holders).
- Each part must be adjusted by hand.
But sometimes the design is simplified - the front backrest is abandoned, and the elastic elements that support the mattress are replaced with steel crossbars. This makes sense only if a stuffed mattress is used on the bed, and not a regular wadded one.
A double bed made of metal can be assembled from water pipes, pipes and triangles. But if in a single version this method provided a minimum level of rigidity, then for a double version the threaded connection is not strong enough.
The bed can be made, but there is a risk of damage to the relatively thin-walled fittings - corners and triangles.
If you need dismountable furniture for 2 sleeping places, then it is best to make it on mounting clamps, which are used for assembling metal scaffolding and shelving.
For those who like Loft style furniture, we can offer the simplest model from a square pipe 70x70 mm and tinted lining.
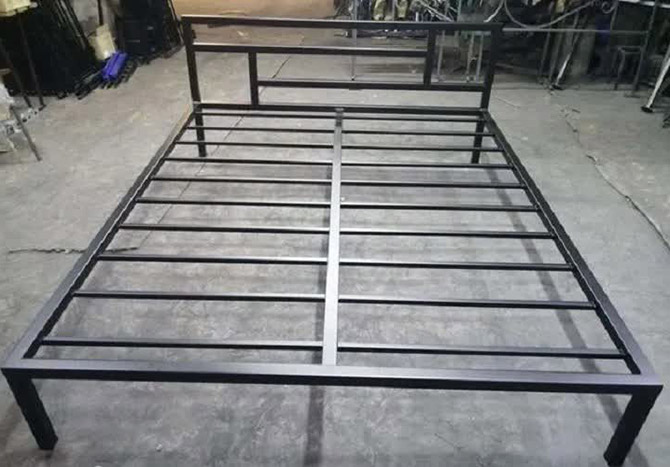
This is the most reliable and simplest version of a bed that can be built at home even without practical experience in performing work of this kind. The furniture has a durable metal frame; all parts are connected to each other by welding.
The bed has no headboards, so the furniture can be easily lifted vertically and leaned against the wall to free up space inside the room.But most often such beds are used to create home playgrounds for children on the veranda or covered terrace.
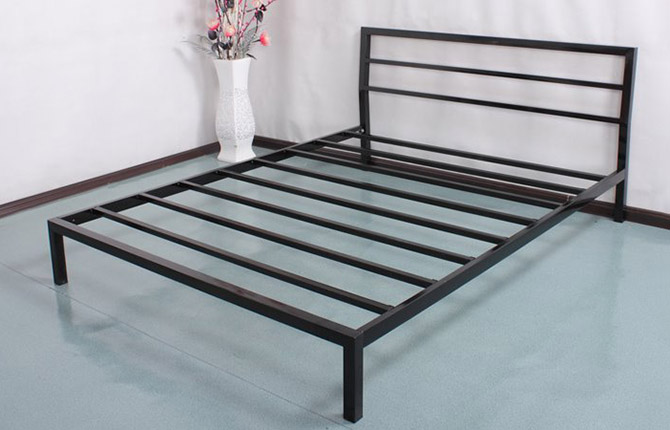
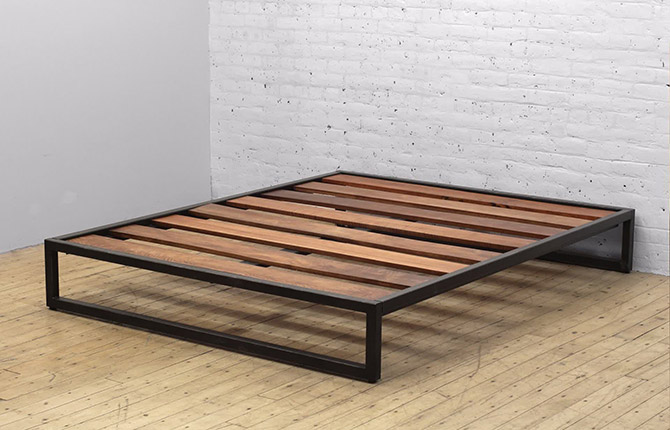
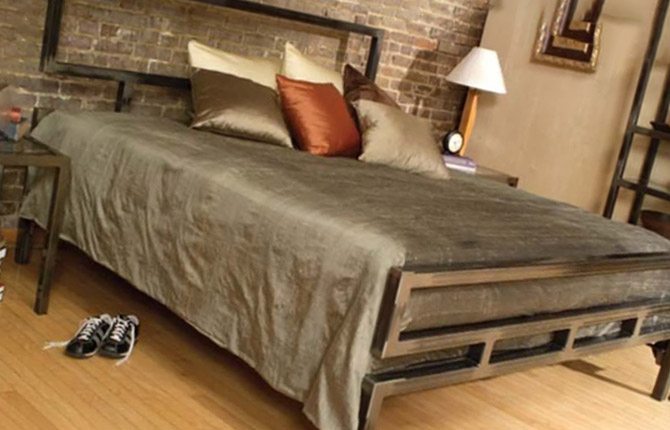
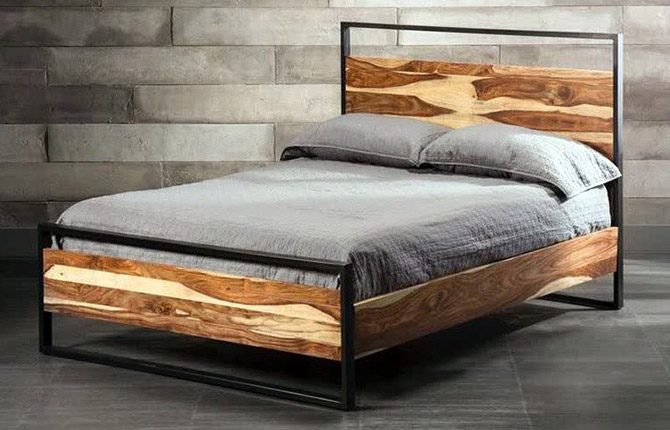
Admirers of the “minimalism” or “techno” style are in high demand for beds with a simple design, rectangular shapes and the absence of decorative elements.
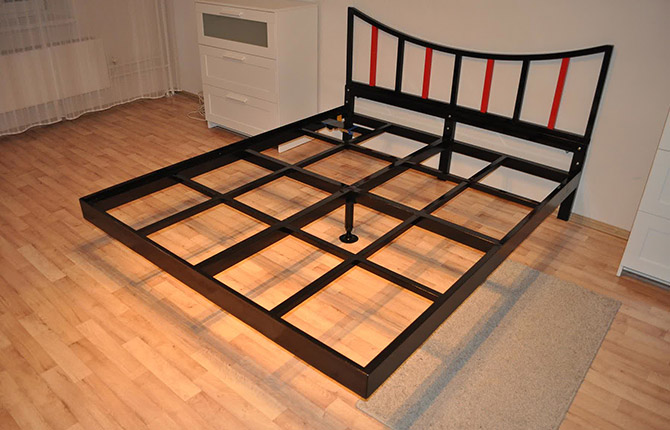
Essentially, it is a metal frame (usually a square tube) with a simple shaped headboard.
In the same way it is assembled floating bed.
Subject to the correct selection of furniture and interior, a simple “rectangular” metal bed can look stylish and more attractive than models with forged or curved headboards.
What tools and materials will be needed
To make a metal bed with your own hands, you will use a 40x40 mm square pipe. Furniture legs will be made from a profile pipe.
The metal frame turns out to be heavy and stable, but transporting the finished bed will not be easy, so it is better to choose the assembly location near your house or apartment.
Construction of a bed requires a minimum set of tools and equipment for metal processing:
- Semi-automatic welding. The metal of the walls of profiled pipes is thin, so welding (cutting) is performed using a carbon dioxide or argon apparatus.
- Grinder with a set of cutting and grinding discs.
- A set of bench clamps for precise positioning of workpieces for making fillet welds.
- Welding conductor.
- Vernier calipers, tape measure, plumber's ruler and corner.
In addition, you will need to come up with decorative elements with which you can decorate the metal backs. All parts are painted with one layer of primer and two layers of pentaphthalic enamel.
Step-by-step creation instructions
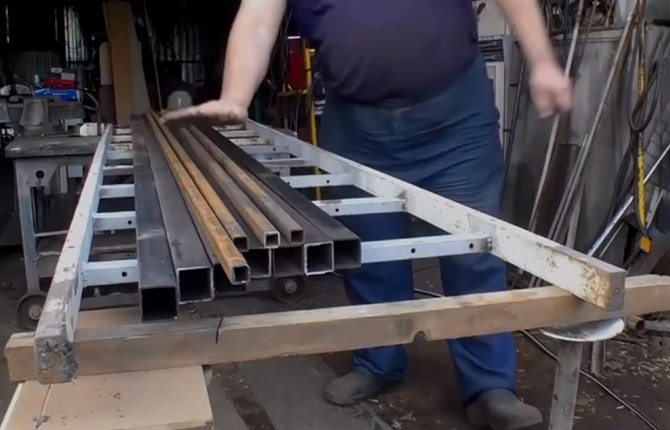
The simplest part of the manufacturing process is purchasing the metal and delivering the pipe to the cutting site. Frame dimensions: 1650x2000 mm. The height of the backrest at the headboard is 800 mm, the height of the legs is 300 mm. Since the maximum size of the largest part is only 200 cm (it will fit into a car), all metal is purchased in pieces of 210 cm.
To make a bed you will need pieces of metal:
- 2000 mm and 1920 mm long, 2 pcs. each size;
- pieces of 1650 mm – 4 pcs., 1730 mm – 1 pc.;
- for backs, pieces of 800 mm each - 2 pcs., for rear legs, 300 mm each - 2 pcs.
We weld the frame using clamps to ensure the quality of the seam and the accuracy of the angle 90O.
Frame
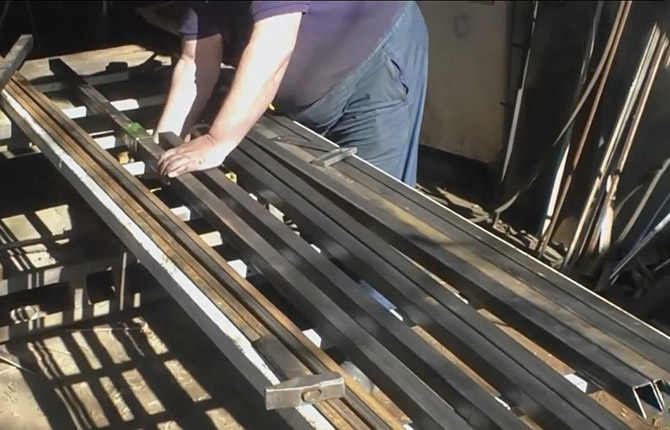
First of all, you need to cut the pipe correctly. For the bed, metal was purchased - 8 threads, 2000 mm long (50x50 mm), 4 threads, 2000 mm long (25x25 mm). Since the list of blanks contains pieces of 800 mm each, after cutting there will be pieces of 400 mm and 700 mm each.
The most critical part - the frame frame - must be welded from whole sections. The remaining parts are assembled from pieces. The pipe needs to be butt welded. Even the shortest cuttings will be used.
Clean the seams with an angle machine so that the place where the metal is welded cannot be determined by touch.
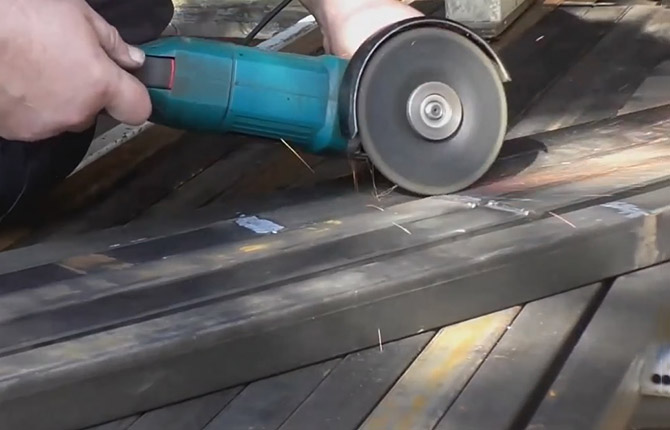
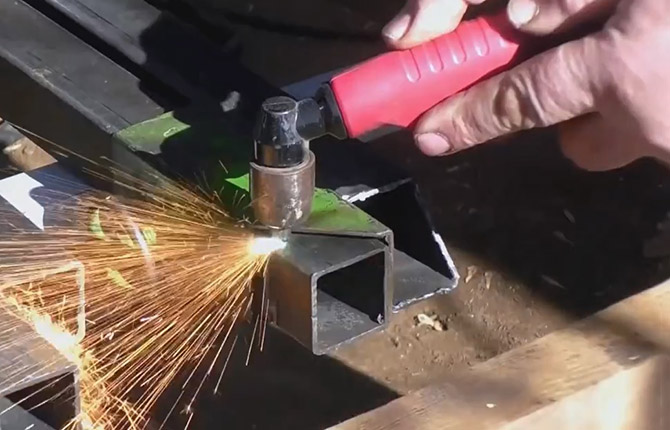
Cut the parts for the frame at an angle of 45 at the endsO. This is the most difficult part of the entire metal bed construction project. You need to cut as accurately and evenly as possible. If you try to cut metal with a grinder, the exact cutting line will only be on the top shelf of the square section. The bottom wall of the pipe will be cut with a slight error. And given that the metal walls are thin, it is good to weld 2 pipes at an angle of 90O It won't work anymore.
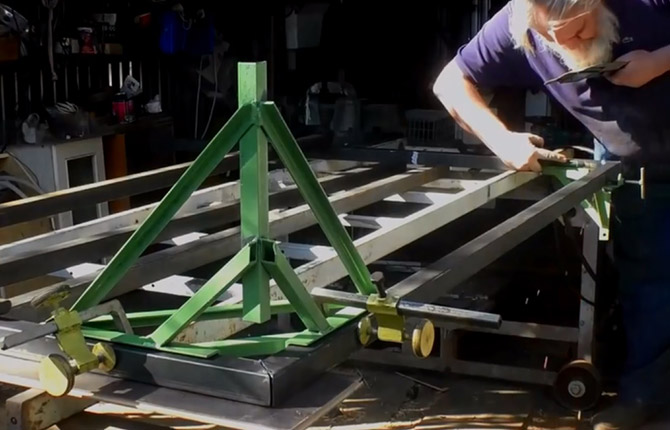
Therefore, a device with already adjusted edges will be used. Essentially, this is a piece of pipe with an edge cut at an angle of 45O and a screw retainer. It is enough to put the device on the end of the workpiece and cut along the edge.
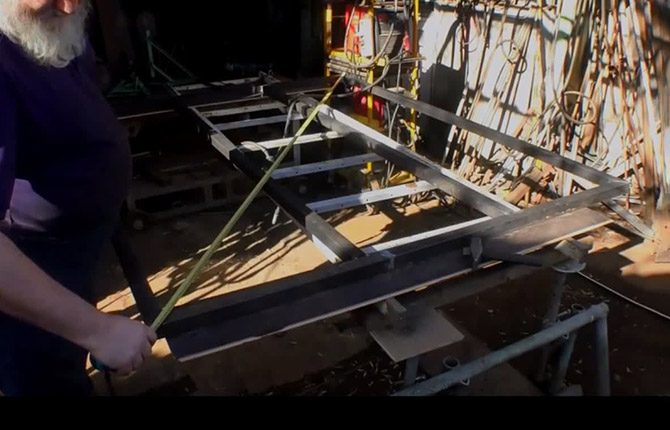
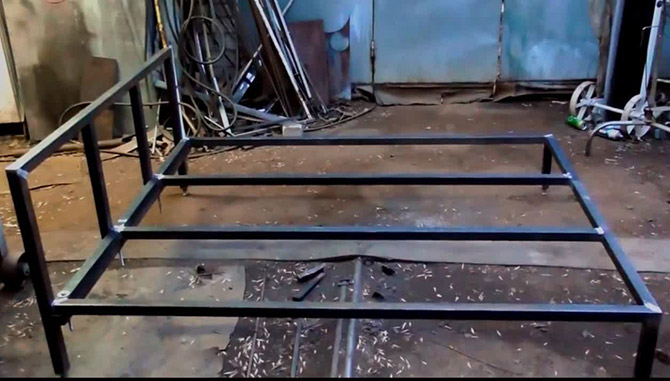
The next step is to weld the frame. For this, 3 blanks are used (2 x 2000 mm and 1 x 1650 mm), 2 clamps and a jig angle.
The main secret lies in the design of the conductor. This is a complex device with special guides on which workpieces with cut edges are placed.
Before welding the metal, the parts of the future bed must be aligned so that the workpieces maintain an angle of 90O, and they were located in the same plane. We start welding from the inside of the joint.
Moreover, you will need to weld metal on the seams from the inside at all 4 corners, then use a tape measure to measure the diagonals of the frame. Make sure that the bed frame is strictly rectangular. After which you can proceed to welding the remaining seams in the corners.
During the first weld, the metal heats up; therefore, after welding the external joint, there will be no residual stresses. Simply put, the welded parts of the bed will not move during the cooling process.
The next step is to weld 2 internal cross members. To reduce internal stresses, each part is adjusted to size with an accuracy of 0.5 mm.
The cross members are also fixed with clamps and leveled in plane before welding. After completing the welding, you need to wait until the metal cools down and measure the diagonals of the bed frame again.
All that remains is to make the back legs of the bed on the frame. We choose the side that turned out to be less even and weld one brace into the corners. In this way we strengthen the angle.We cut 2 pieces of 250 mm each and weld one in each corner directly to the strut. But if you don’t want to bother with the struts, you can weld the pipes to the metal directly in the corner of the frame.
Headboard
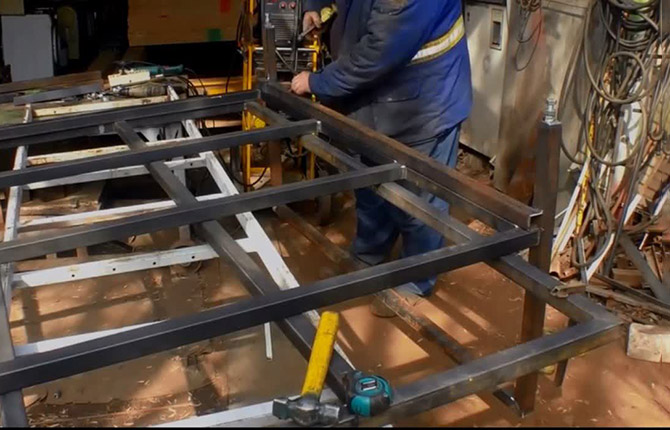
The next elements are the backrest at the headboard and the support stand. The manufacturing process of the headboard is carried out according to the same scheme as in the case of the frame. It is necessary to cut 2 blanks from the corrugated pipe with a length of 800 mm, and one each of 1650 mm and 1730 mm. For welding we use the same set of tools - 2 clamps and a welding jig.
The only difference from the scheme with a bed frame is that the upper (165 cm) horizontal cross member is welded to the vertical posts in a “butt” pattern. That is, after welding the metal, you should get a semi-frame in the shape of the letter “P”.
The lower cross member of the backrest is welded overlapping (the bed frame will rest on it) at a height of 300 mm from the lower edge of the vertical post. If you are not sure that the metal is welded efficiently, then the connection can be strengthened with overhead corners 40x40 mm.
Bed assembly
Before further making metal furniture, all parts must be treated with a passivating compound. This is an aqueous solution of phosphoric acid, used in car body repair to protect metal from rust. The composition is safe and highly effective.
Metal processing must be done before the bed is assembled so that the entire surface is covered with a protective film. Afterwards, the frame and back parts are left in a warm, ventilated room for a day. Then you need to moisten the metal with a clean rag and water. In another day you can continue assembling the bed.
Essentially, you just need to attach the headboard to the bed frame.This is not easy to do, since there must be an angle of 90 between the frame and the backrestO. Otherwise the bed will look squashed.
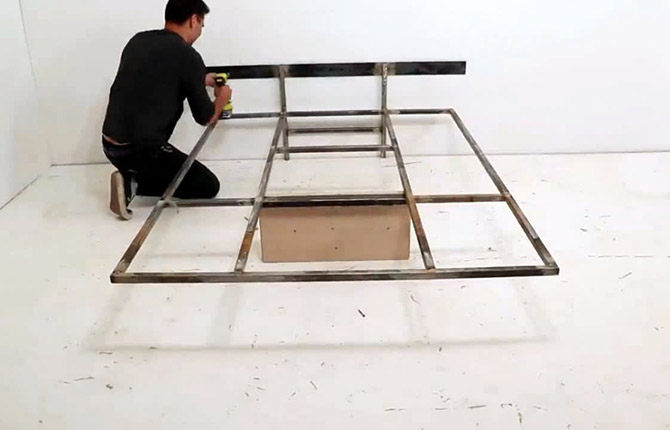
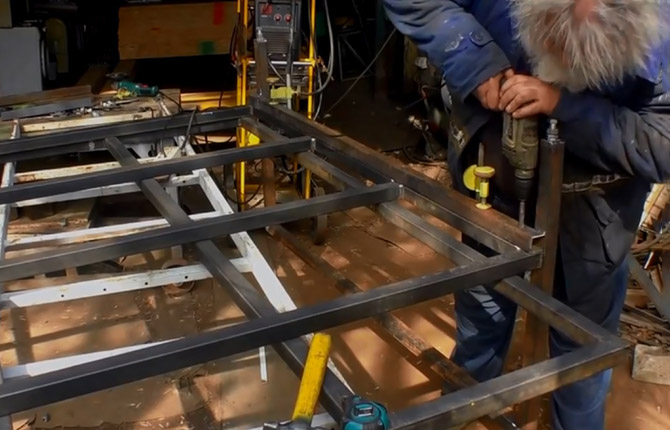
We have to resort to cunning. Lay the finished bed frame on a horizontal plane (you can use a sheet of plywood on a welding table). The metal will have to be drilled, so we fix the part with a clamp.
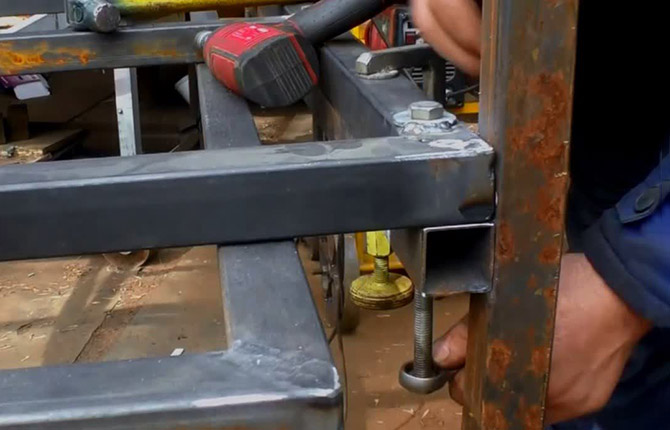
We place the backrest with its legs upside down on the edge of the frame. The part will seem to hang on the frame, supported by a cross member. Only in this position there will be an angle of 90 between the back and the plane of the frameO. Align the parts and secure them with two clamps.
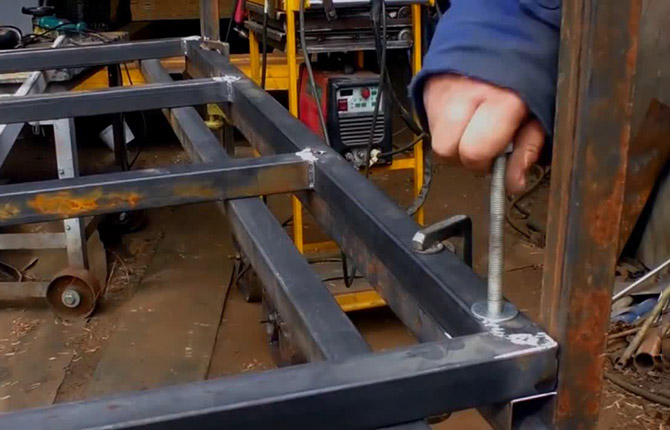
We will connect the headboard and bed frame using M12 bolts, 120 mm long. To do this, we drill through holes at points opposite the places where the metal is welded. The drill bit should go all the way through the crossbar and bed frame.
You will need to place a wide washer under the head of the bolt and weld it to the metal of the frame. The bolted fasteners must remain collapsible so that the heavy metal bed can be disassembled, packaged, and transported to the installation site at any time.
The result should be an almost finished bed. To prevent the back from looking empty, we weld two metal jumpers inside. On the one hand, the design of the furniture will improve, on the other hand, it will be possible to fix the wooden furniture back. It's better than metal.
Final processing
Most of the furniture has been assembled. All that remains is painting and small decorative additions to enhance the design of the bed.
First of all, the metal needs to be primed. It is best to use special primers with a high level of adhesion. This coating protects the metal of welded seams well. Therefore, if the bed is regularly wintered somewhere in the country house or in a barn, then you can be sure that rust will not appear.
The next stage is painting. Usually the metal is covered with black or light brown enamel, with or without shine. Definitely 2 layers. If additional decor will not be used, then a paint that gives gloss is better. If the headboard of the bed is complemented with forged patterns, then it needs to be painted with paints and varnishes that give a matte surface.
Before laying the mattress, the frame must be covered with sheets of plywood or OSB, otherwise the soft part of the furniture may quickly lose its elasticity.
There is another finishing option, without the use of paint and primer. The frame parts are cleaned to a “white metal” shine (photo below).
To do this, you can use attachments on an electric drill for brushing the metal of car bodies before painting. After machining, the parts are etched in acid. In this way you can get a white metal, similar in color to stainless steel, or create a light patina. After treatment, the frame is washed in water, dried with hot air, and coated with colorless varnish.
With the correct selection of the etching solution, you can get the shine of “old silver”, “copper”, “graphite” and even the bluish tint of “hardened” metal. The selection of reagents must be performed by a specialist.
How to Improve a Metal Bed Design
There are several ways to make your bed more attractive and stylish. For example, change the shape of the headboard, backrest.
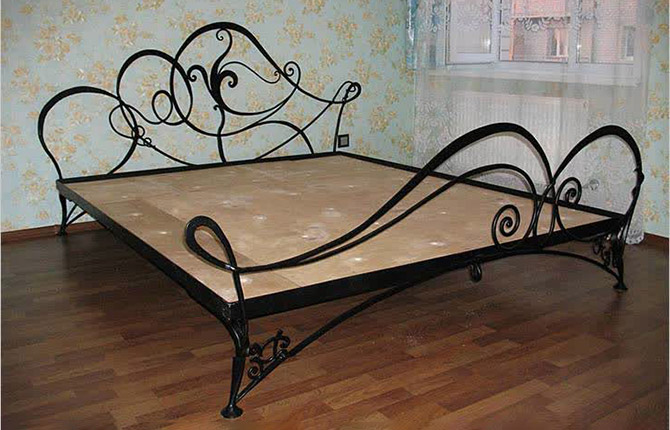
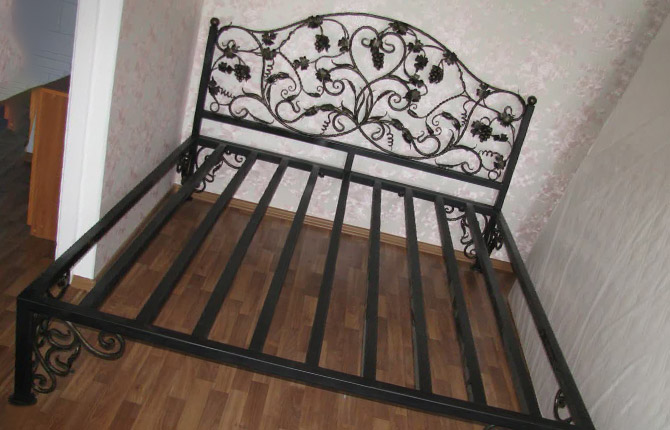
If possible, it is best to order decorative elements made of forged metal. A few overlays will make the bed design more stylish.
There is no point in making the entire bed out of forged metal. It will cost much more, and the structure itself is heavier and cannot be repaired.
The second way is to decorate the backrests in a modern style. For example, loft or techno.
The furniture is stylish and will easily fit into most interiors of modern apartments. Moreover, you can decorate the bed with additional metal parts both at the stage of its manufacture and after final assembly and even long-term use of the furniture.
Another finishing method is to use wooden panels (homemade). Overlay decor made from boards can be easily attached to the headboard and legs.
To prevent the furniture from looking empty, the side beams of the iron frame are also covered with overhead elements. They will also fix the bed mattress from moving along the frame.
Making a metal bed with your own hands is not as difficult as it might seem at first glance. But, as with assembling any furniture, the process requires a precise understanding of the technology, possession of a welding machine, and hand tools. In general, with careful marking and welding, the bed will turn out in any case.
Tell us about your experience building metal home furniture. How difficult it was to choose a project, and whether the result justified the investment of money and effort. Save the article in your bookmarks so as not to lose the assembly instructions.



The pipe is really too massive, everything could be assembled from a 25x20 mm square, just strengthen the sides of the frame, it would make a light and comfortable crib.
It turned out too heavy somehow. The backs could have been made of wood. I made it from clapboard, covered it with plywood and veneer, my friends think that the furniture was purchased.