How to remove an old toilet: a review of the technology for dismantling old plumbing
Some types of plumbing fixtures can be easily replaced yourself.Therefore, knowing how to remove an old toilet will come in very handy - you won’t have to call a plumber and adjust your plans to suit his mood.
And the money saved on the dismantling service can be used to purchase more useful items. If you still doubt that you can carry out the work of replacing the toilet yourself, we will dispel your doubts. Next we will talk about how to properly remove old plumbing fixtures and what kind of tool this will require.
The content of the article:
When to start dismantling the toilet?
The need to replace an old toilet with a new one arises at the most unexpected moment - a plumbing product may burst or split if something heavy is accidentally dropped on it. Although no renovation was planned, it is not possible to live without a toilet.
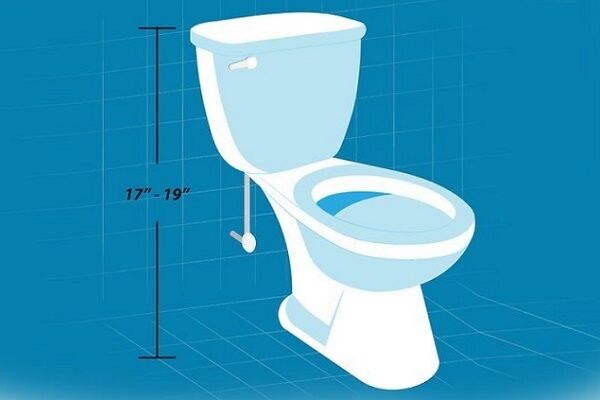
In an emergency situation, you will have to evaluate the scope of future work, carefully study the shape of the toilet, how it was connected, and purchase a model that has similar characteristics. This will allow replace the toilet failed at minimal cost.

If the time has come for a major overhaul, then the form of release, the supply of water to the drain tank, and the shape of the product itself will not be of fundamental importance.
In this case, you can select the model that most closely matches the idea of an ideal toilet - there is still a lot of work to do, and replacing pipes will most likely be one of the items.

Before you begin dismantling an old or broken toilet, you must buy and wait for the delivery of a new product. Also, you need to immediately check whether all the components that will be needed for replacement are available.

Safety precautions before starting work
When you plan to replace a toilet, doubts arise about the advisability of doing all the work yourself. In fact, you can handle removing the old and installing a new device on your own. The main thing is to do everything consistently, following the manufacturer’s recommendations and following the advice of experienced craftsmen.
There are 3 options for carrying out the work:
- invite a plumber;
- invite a coven;
- do it yourself.
The first option is suitable when scheduled repairs are underway and there is no time limit. Sometimes you have to wait for a plumber for weeks - he constantly has unforeseen circumstances.
Inviting a coven can result in even greater expenses - it’s good if you come across an experienced master whose hands grow from the right place. Otherwise, it can destroy the entire bathroom.

The last option for independent work is the most profitable - you can gain practical experience and save money. Yes, and great destruction will be avoided.
If you have decided to gain practical experience in dismantling a toilet, then you must not forget about safety measures, because various tools may come in handy during the work process.
Care should be taken to protect eyes, hands, and other important organs and body parts. To do this, you need to wear special glasses, thick gloves, and a face mask to protect your respiratory system. Clothing should completely cover your arms and legs so that sharp fragments do not accidentally damage your skin.

Technology for dismantling old plumbing
Having decided to dismantle the toilet yourself, you need to familiarize yourself with the theoretical part and only then begin the practical application of the knowledge gained. Only having a complete understanding of what needs to be done can it be easy to develop an action plan and act according to it.
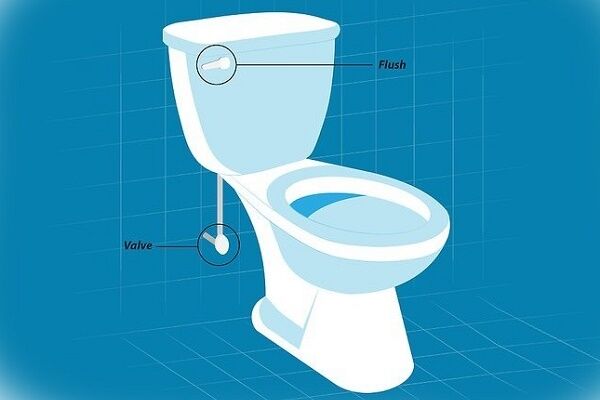
To get an initial idea of the typical sequence of work for removing plumbing fixtures, consider the process of dismantling a toilet with direct release:
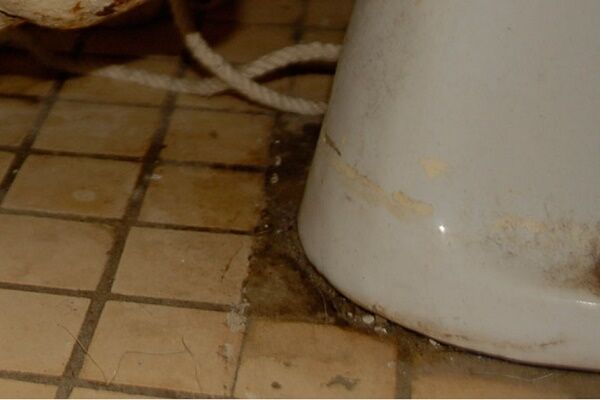
First stage: object preparation
The first step is to carry out preparatory work by carefully inspecting the toilet and all fastenings. This will help you decide on the set of necessary tools for dismantling.
Then you should clean the bathroom as much as possible of unnecessary items - take out basins, buckets, and a washing machine if it will interfere with free access to the toilet. In a word, you have to remove from the room everything that may interfere or there is a possibility of accidental damage.

Preparing an object for removal consists of the following work:
- preparing the necessary tools;
- washing the product from surface contaminants;
- shutting down the water supply system;
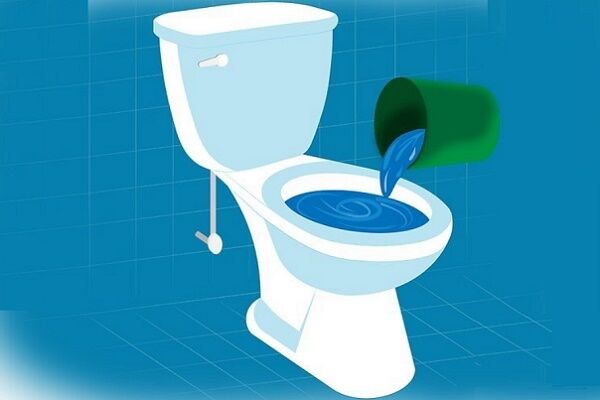
- removing water from the drain tank;
- preparing dry pieces of fabric, old towels or sponges and other soft materials that can absorb water.
It is important to carefully inspect all fasteners - if silicone sealant was once used for sealing, you will also need a construction knife to remove it.

Also, regardless of the model of the toilet and the location of the cistern, you will have to turn off the tap on the pipe supplying water to the house/apartment. Then you need to check if everything worked out by opening the tap. If the water does not flow, everything was successful and preparatory work can continue.
It is necessary to drain the water from the tank so that it does not interfere with further dismantling. Dry sponges, old towels and floor rags are useful for wiping up puddles and making an improvised gag to close the entrance to the sewer socket.
This measure partially protects the residents of the apartment/house from the penetration of an extremely unpleasant odor from the sewer riser after dismantling the toilet.

If the toilet is embedded in the floor or the tank is in the wall, you will have to remove the tiles to free up access. Also, do not forget about the tanks built into the wall.
When dismantling such products, serious damage cannot be avoided. Work on removing tiles, decorative coatings or panels should be carried out in advance, at the preparation stage.

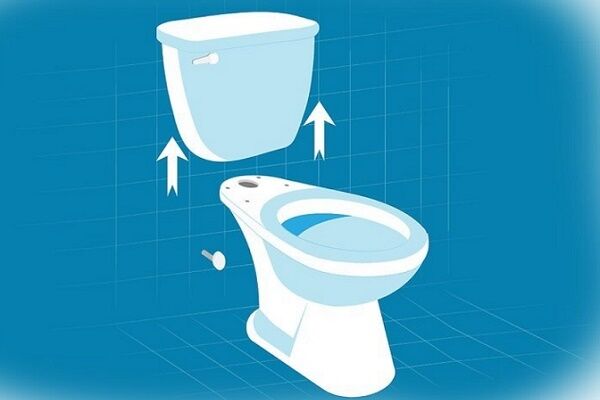
Stage two: dismantling the tank
When the water is turned off, you can proceed to the next stage - remove the drain tank, not forgetting to first empty it of water. Moreover, it does not matter where exactly and in what way it was installed. If the tank is hidden in a wall niche, then you will have to break the decorative structure, remove tiles, finishing panels and other types of finishing.
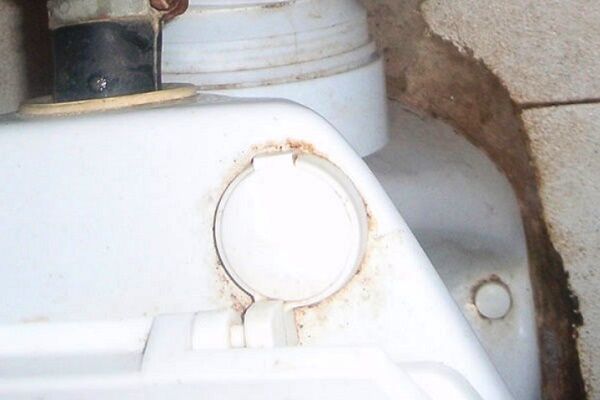
Then you should carefully remove the lid from the tank - this will prevent it from accidentally falling during the dismantling process. If this is a model of a drainage container with a button, then first you have to unscrew the button, and only then remove the lid.

When the cover has been removed, it must be taken out of the room so that it does not interfere with further work. Now you need to unscrew the flexible line that supplies water to the tank. To do this, use a key of the appropriate diameter and carefully unscrew it, trying not to damage the adjacent walls.

Then you need to unscrew the bolts securing the tank to the wall, if any. If the flush tank is on the toilet shelf, then you will need to remove the bolts holding the tank in its place.

All that remains is to remove the tank with smooth movements and remove it from the bathroom. It is important to act confidently - if you fail to remove the container the first time, you need to try again or twice, using more force.If it only fails toilet cistern, then you can only replace it without proceeding with complete dismantling of the product.

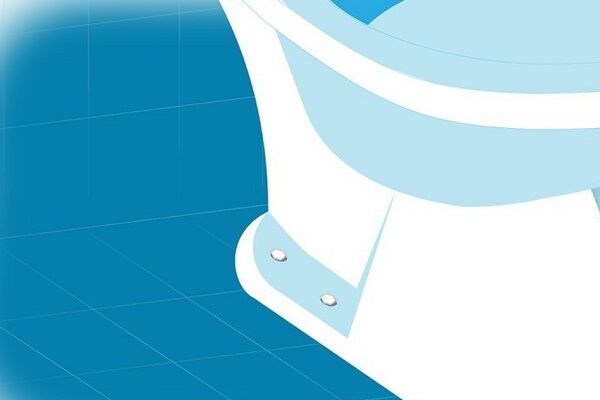
Stage three: removing the toilet bowl
Once the tank is removed, you can begin removing the toilet bowl itself. To do this, it is advisable to first free it from the cover by carefully unscrewing the bolts that secure it in place. It is important not to damage anything - often the housewife buys the cover separately, choosing an expensive, beautiful and comfortable seat.

Now you need to unscrew the bolts securing the toilet base to the floor. This stage can be simple or more complex - it all depends on the fastening method:
- if the toilet is fixed only with bolts, then they need to be unscrewed;
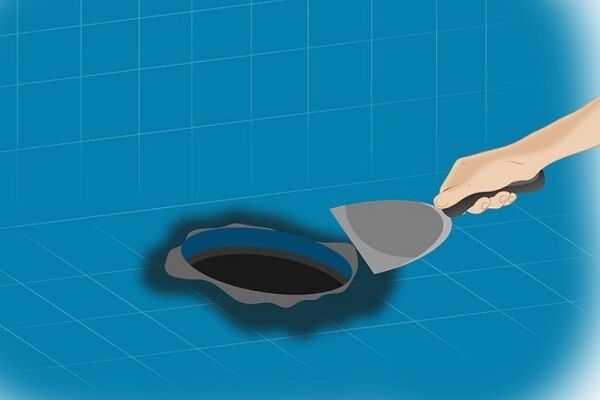
- when sealant is used as a sealant, you will need a knife to carefully cut off the silicone layer;
- if the base of the toilet is concreted into the floor, then you will have to use a chisel, hammer, or sledgehammer.
It happens that the sole of the toilet is attached to a thick wooden board embedded in the floor. After 10-25 years of using a plumbing fixture, the board, called taffeta, rots. Therefore, removing the toilet is not difficult, but the board also needs to be removed.

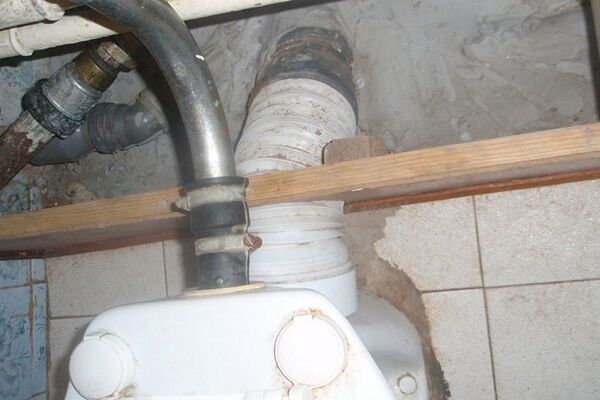
The next step is to remove the toilet drain. The scope of work will depend on the material from which it is made.
It could be:
- flexible drain;
- plastic;
- cast iron
If in the first option you can easily pull out flexible drain from the toilet, then in the second and third cases you will have to work hard to remove it. The job of removing a cast iron pipe can be especially difficult.

If the plastic drain does not give way, it can be sawed with a hacksaw or cut with a hot knife.
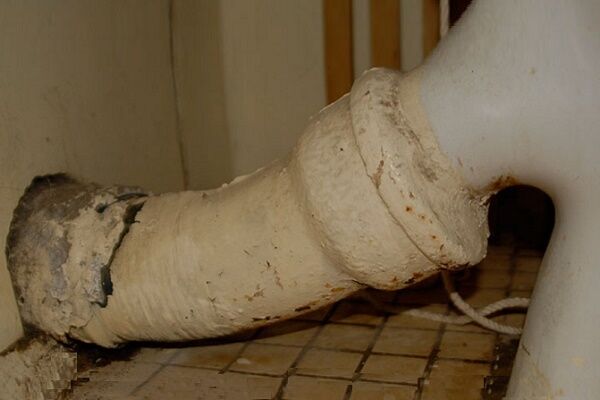
Then clean the pipe from all types of windings, which ensure tightness and protect against leaks for many years.

All that remains is to remove the toilet using strong rocking movements without damaging it. sewer pipe. It is important to act smoothly.
If nothing works the first time, you don’t need to immediately take a sledgehammer - you should repeat the process a couple more times and everything will work out.

All that remains is to remove the dismantled bowl from the bathroom so that it does not interfere with further work.
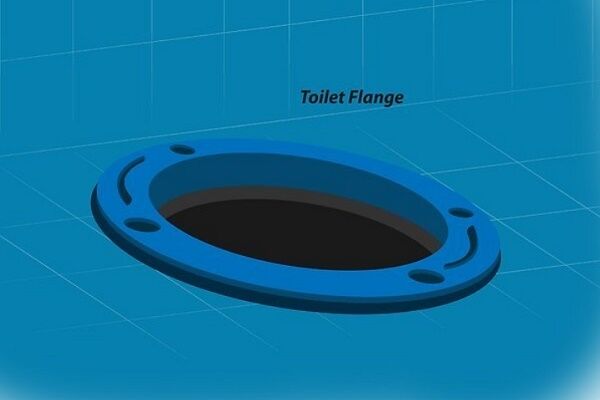
Stage four: clearing the area
The amount of work at the last stage depends entirely on the previous stages and on the material from which the drain is made. If we are talking about a cast iron pipe, then it will have to be removed to be replaced with a lighter and more functional flexible drain.

It happens that it can take more than 2 hours to remove the pipe and clean the inlet. But this is justified, because in the future the process of dismantling a plastic corrugated pipe will take a matter of minutes.
And a leak, if it occurs, is much easier to eliminate than in cast iron.

When the toilet was attached to taffeta, all remnants of the rotted board had to be removed and a new one installed in its place, using consistent glue and secured with self-tapping screws. Or the hole can be immediately filled with solution.

If, out of ignorance, the toilet was not removed, but knocked out using a sledgehammer or other heavy tool, then cleaning the bathroom will take a long time.
It will take some effort to thoroughly clear the space for installing new plumbing fixtures.

By acting smoothly and carefully, you can remove the toilet without damaging anything. It will be completely ready for installation at the dacha.

Conclusions and useful video on the topic
You can remove the toilet yourself. This video demonstrates how to do this correctly:
Sometimes the bolts that secure the toilet bowl to the floor seem to have grown in and won’t budge. This is where a radical method can come in handy: a hammer. More information about this editing option in the video:
On your own, you can remove the toilet, which is mounted on a thick wooden plate - taffeta. This video shows how to do this carefully:
A unique dismantling option is to break the toilet. This video will show you how not to get rid of an old toilet:
You can dismantle the toilet on your own, armed with the necessary tools and a step-by-step work plan. In this matter, it is important to do everything extremely carefully, not forgetting about personal safety. After all, during the dismantling process, a fragment may break off from the old toilet, which in itself poses a danger.
Removing an old plumbing fixture with your own hands will take from 30 minutes to 2-3 hours.
If you have the necessary knowledge and can give valuable advice to our readers on the issue of dismantling old plumbing, please leave comments under the article. You can also ask questions about the topic that interest you, and we will try to answer them promptly.


During a major renovation of the bathroom, the toilet was accidentally knocked over. The model was embedded in the floor; it took a long time to dismantle the tiles around it. I dismantled it on the same day, I didn’t have a new one yet, so I installed the new one only two days later. I had to plug the sewer pipe to prevent the smell from spreading throughout the apartment. In general, there is nothing difficult, I managed it on my own, although it was my first time doing it.
I believe that there is no need to take another risk and try to do this work yourself, unless, of course, you are a plumber by profession. In theory, there is nothing complicated, but if something is done incorrectly, you will still need to call a specialist. Does anyone really think that watching enough videos from the Internet is enough? As they say, the miser pays twice. We must soberly assess our capabilities.
Breaking is not building. There is nothing complicated about dismantling a toilet, and it’s difficult to mess up in this matter.This is exactly the case when you can really learn from videos from the Internet.
Moreover, I’ll tell you - in addition to dismantling, installing a new toilet is also one of those cases when you can watch the video and do everything right yourself. Subject to a meaningful approach to the matter, of course. Dismantling old plumbing is generally a piece of cake. On the other hand, I personally know people who have never picked up a tool in their lives, and when it comes to plumbing or electrical breakdowns, they start to panic.