Soldering copper tubes with a gas torch: useful tips and steps for do-it-yourself soldering
Copper pipes are used much less frequently than metal-plastic or polypropylene pipes.But thanks to a set of excellent technical characteristics - thermal conductivity, anti-corrosion and biological resistance - they are found in water supply, heating, and air conditioning systems.
Long copper products are expensive, but you can save on installation. For example, soldering copper pipes with a gas torch is available to anyone who wants to independently improve the system or make repairs. We will talk about how solder joints are made and give the rules for their implementation.
The content of the article:
Features of the copper soldering process
The essence of soldering is to tightly connect two elements of a copper pipeline by heating and melting the binding material - solder.
After cooling, the tin alloy forms a reliable, non-dismountable structure, which will later be used to transport coolant, cold water, and refrigerant.

In everyday life, low-temperature or, in other words, soft soldering is usually used, in which the flame temperature is from gas burner does not exceed 450 °C. Low-melting solder is used for it, and the maximum pipe diameter is no more than 110 mm.
Soft capillary soldering is suitable for equipment in water supply and heating systems, but is not used for gas transportation.
Required tools and materials
To ensure that pipe-pipe or pipe-fitting connections are leak-tight and do not lose their performance over time, it is necessary to use special tools and materials made by trusted manufacturers.
Tools that are planned to be used continuously in the assembly of pipelines from copper pipes, we recommend buying in specialized markets, and for one-time work, goods from Chinese online stores will do.
The minimum kit for capillary soldering includes a number of devices.
For ease of use of the torch, a vice is sometimes used if the soldering process is performed on a table or workbench.

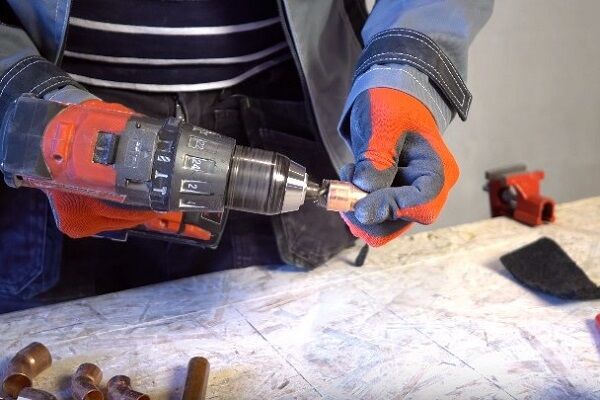
To quickly and effectively clean the inside of the tube, you can use a screwdriver attachment instead of a hand brush.
Detailed instructions for soldering copper pipes
To improve your skills, it is recommended to practice on unnecessary pieces of pipe. You should begin serious work when all the skills have been mastered - accurately cutting the part, processing it correctly, using a gas burner. The soldering process can be divided into 6 steps.
Step #1 - cutting parts
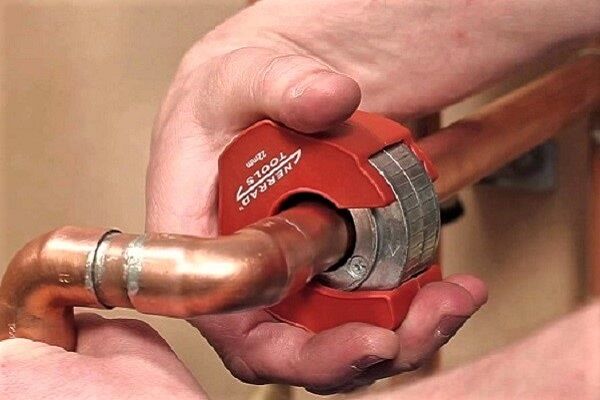
If you need to replace a piece of pipework or completely assemble a plumbing/heating system, you will need pieces of copper pipe of varying lengths. The material is cut using pipe cutter for copper pipes, the selection criteria of which will be introduced in our recommended article.
They are usually connected using tees, angles, and couplings. They also use the socket method, in which one fragment is inserted into another, with an expanded end.

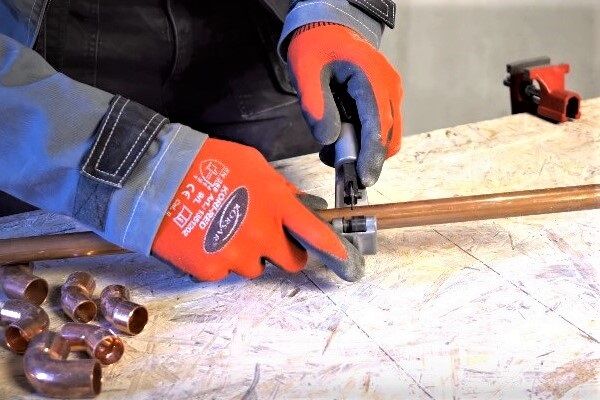
Then we take a pipe cutter and cut the pipe into fragments of the required length. If work is carried out on a table, you can use an electric pipe cutter or a manual model with a large acceleration radius. For work in cramped conditions, for example, near a wall, only a compact hand tool is suitable.
There are convenient roller options with steel blades. They are easy to use: you need to put the pipe cutter on the side of a pre-marked cutting area, secure it with a ratchet mechanism, and then rotate the tool around the pipe.

We advise you not to cut all the fragments at once - perhaps during the soldering process the pipeline will move, changing its configuration, and the length of some parts will have to be changed.
Step #2 - stripping and widening the cuts
Tight fit of metal parts and uniform spreading solder for soldering copper are guaranteed only when the connection area is cleaned to the highest possible quality.
To do this, we process both fragments adjacent to each other, both from the inside and from the outside:
- First, we remove the chamfer to reduce the thickness of the metal and prepare the edge for soldering.Why we use a bevel remover - a small cylindrical tool.
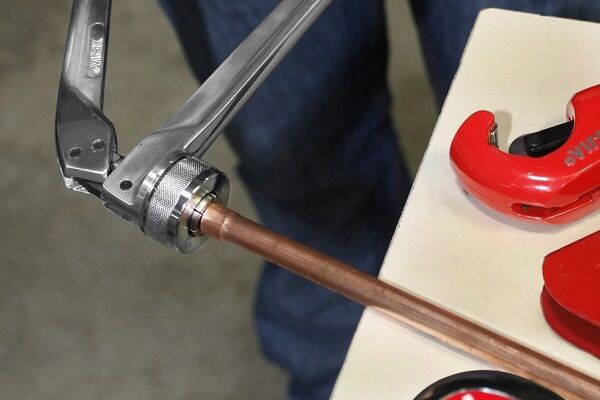
- If two sections of pipe will be connected directly, we increase the diameter of the edge of one fragment with a special tool - an expander.
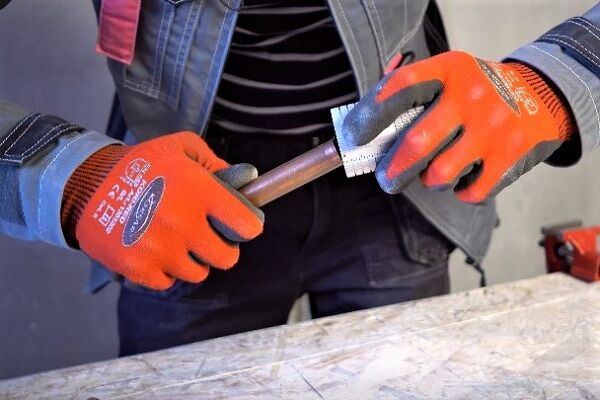
- Then we take a metal brush and process the inside.
- Using fine sandpaper or a metal sponge, clean the outer side until shiny.
The cleaned and degreased area of the part is even visually different.

If a coupling or angle is used, both ends must be prepared before soldering; for a tee, all three must be prepared.
Step #3 - applying flux
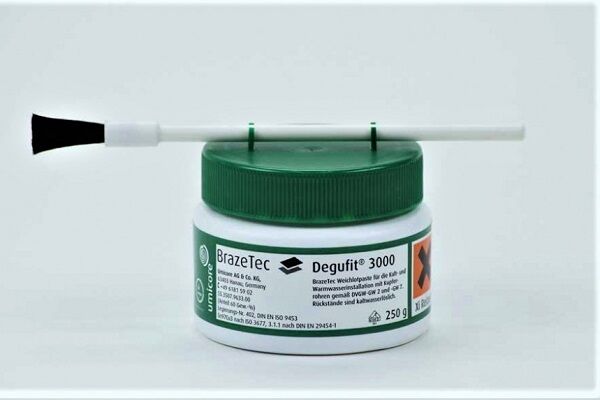
For connection copper heating pipes or water supply use various types of flux and paste. Their main purpose of solder is to ensure complete filling of the soldering zone with solder, while preparing the metal and cleaning it from oxides.

The composition of the flux may vary. Cleaning functions are usually performed by zinc chloride, hydrochloric or boric acid. Protection from oxygen is provided by the presence of rosin, wax or resin.
Liquid solutions are sold in tubes, and pastes are sold in small plastic jars. A brush for applying the composition is usually included in the kit; if it is not there, then you can buy any alternative option at a stationery store - for glue or for paint.

Applying a thick layer is considered a mistake - with close contact, the excess paste is squeezed out, and it still has to be removed.
Step #4 - connecting the parts
When connecting two pieces of pipe or a fitting and a pipe, flux is usually applied to the edge of the part that is inserted inside. There is no point in treating the second element with flux - upon contact it will be equally distributed over both adjacent surfaces.
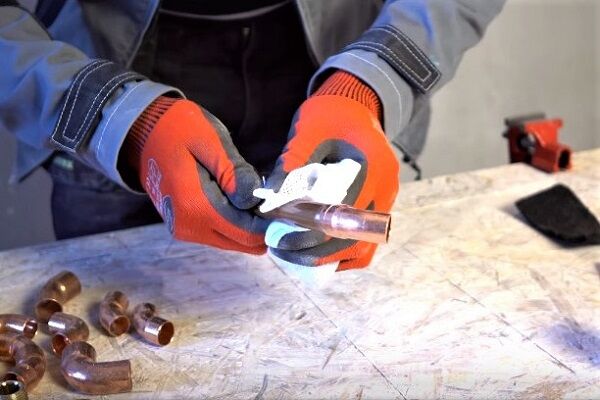
We rotate the parts relative to each other so that the paste is distributed over the contact area, then use a rag to remove the excess solution that has come out.

After making the connection, you need to make the connection as quickly as possible soldering copper pipes. It is not recommended to leave prepared parts for a long time so that the solder paste does not lose its qualities.
Step #5 - soldering using capillary technology
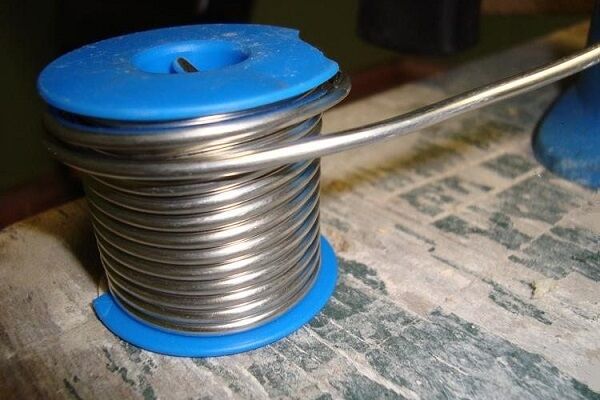
In the assembly of heating and plumbing copper pipelines Low-temperature capillary soldering is used, and low-melting solder is selected accordingly.
The soldering process occurs in the following order:
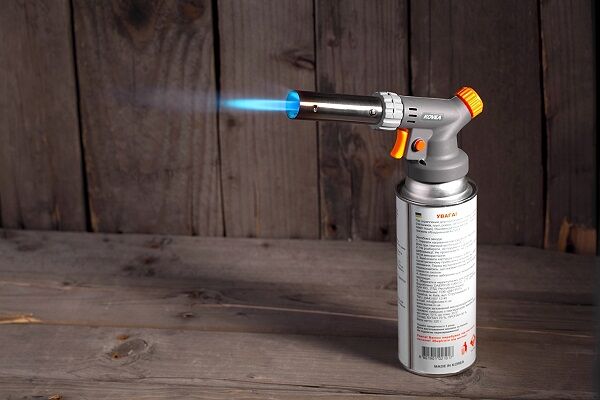
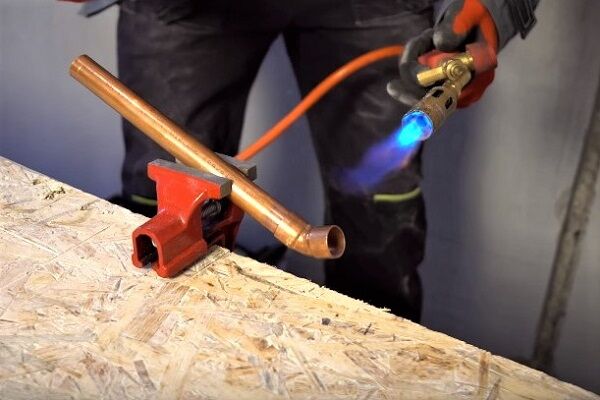
- turn on the gas burner;
- direct the flame to the joint;
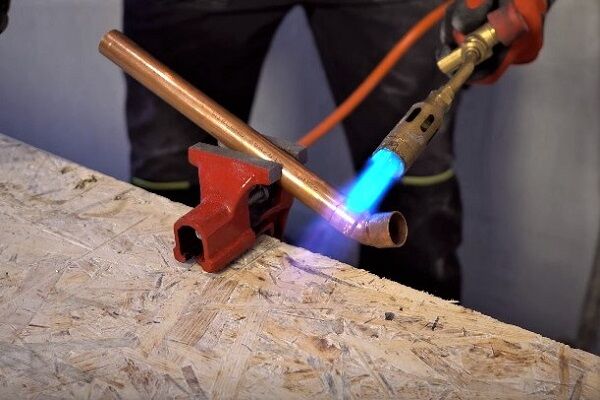
- we move the flame jet over the entire surface of the working area to ensure uniform heating;
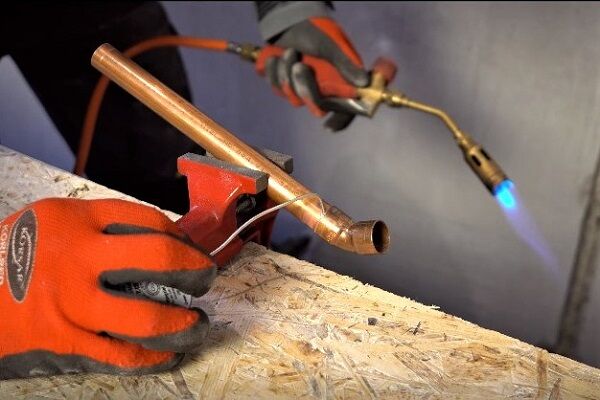
- When the parts have warmed up to the melting temperature of the solder, we bring it to the gap and touch it in several places so that it completely fills the space between the parts.
If all steps are performed correctly, the solder should form a strong, sealed connection after cooling. From the outside it looks like a seam that differs in color.

The ability to use a burner, bring it in and take it away in time, is very important. As soon as the heated solder begins to be drawn into the gap, it is better to remove it so as not to overheat the parts.
If you feel that the solder has stopped melting and you need to increase the temperature, bring the torch again. You can check the strength and tightness of the connection only after the parts have completely cooled.
Step #6 - finishing the seams
Experienced craftsmen usually have a perfect command of the technique copper pipe connections and carry it out literally within one minute. At the same time, they touch the solder in just one place, after which it spreads over the joint area and does not protrude from under the upper part.
But in practice, especially for beginners, more often the solder remains, forming scars inside and out. Internal ones can cause deposits in the future, and external ones do not look aesthetically pleasing, so they need to be removed.
Cleaning can be done with sandpaper, a wire brush or a brush - the same items that were used to prepare for soldering.

After the finishing touches - cleaning the soldering area - the work is considered complete. You can proceed to the next connection.
Recommendations from experienced professionals
Each stage of soldering is accompanied by compliance with a number of rules, small but important nuances. Compliance with them directly affects the result of the work.
Make sure that during the soldering process the fitting or pipe is not under load - this will allow the molten solder to spread more evenly.
After completing all work on the installation of water supply or heating from copper pipes Be sure to remove any remaining flux from the pipes so that the copper does not begin to deteriorate, and also immediately clean your clothing and working tools.
Conclusions and useful video on the topic
Video #1. Master class on soldering visually:
Video #2. Insertion into a pipe by soldering:
Video #3. Features of high-temperature soldering of pipes for air conditioners:
Soldering technology is accessible to everyone, as it does not require complex skills or special knowledge. You can achieve mastery through several practical sessions, and you can purchase materials and tools at the nearest construction market.
But when assembling heating or water supply systems, we recommend that beginners still enlist the help of more experienced installers, since soldering errors can result in an accident and additional costs.
Please write comments, ask questions, and post photos related to the topic of the article in the block below. Tell us about how you soldered copper pipes with your own hands. It is possible that the technological subtleties you described will be useful to site visitors.


Once in my life I had the opportunity to solder a copper pipe. It turned out to be not as scary as I thought.My heat exchanger on the column was leaking, the workshop did not undertake repairs, I decided to come up with something myself. I scoured the Internet, bought a gas cylinder, the tourist type, 220 grams of liquefied butane, a heating pad, and solder wire.
I practiced, however, on an unnecessary tube, and so actively that I used up the gas cylinder. And the second one has already repaired his column, although it doesn’t look too neat, but he has restored the heat exchanger.