How to hide pipes in the bathroom: a review of the best ways to disguise a pipeline
Agree, even the most original design solution for decorating a bathroom interior can come to naught due to unattractive utility lines. The situation can be saved by skillfully disguising unpresentable elements.
At the same time, you don’t have to be a virtuoso in construction - just choose finishing and building materials, prepare tools and have some free time.
We will show you how to hide pipes in the bathroom while ensuring access for servicing the system. After studying our instructions, you can transform your bathroom yourself, saving money on the services of plumbers.
The content of the article:
Requirements for materials for sealing pipes
The first thing you need to do before you start sealing pipes in the bathroom is to decide on the appropriate material.

Criteria to consider when choosing a material:
- Lightness. To ensure that the structure does not clutter up the already limited space, it is necessary to select materials for the fixation of which there is no need to construct heavy frames. You can use ordinary wooden slats or metal profiles.
- Moisture resistance. High humidity in the bathroom is a common occurrence. The materials used in its construction will certainly be affected by it. Therefore, preference should be given to those options that do not absorb moisture and do not deform when it settles on the surface.
- Sustainability to exposure to chemical reagents.Without the use of household chemicals, keeping the bathroom clean is quite problematic. During general cleaning of the premises, all vertical and horizontal surfaces must be treated. Therefore, the materials used for their cladding must safely withstand direct contact with household cleaning products.
Decorative MDF boards, plastic wall panels, and sheets of moisture-resistant plasterboard are excellent for hiding communications in the bathroom.

Various textures of gypsum 3D panels, popular in recent years, can imitate wood, brick, mosaics and create fancy patterns on the walls.
An important point: regardless of the type of lining material, before closing the pipes, you should make sure they are reliable. By closing a pipeline that has defects, there is a high risk that in the near future the structure will have to be urgently dismantled.
Possible methods of disguise
There are many options that suggest how to hide pipes in the bathroom. They differ in the shape and purpose of the structure being built, as well as the types of materials used. We propose to consider the most popular among them.
Method #1. Construction of a plasterboard box
Drywall is a practical and easy-to-use material that can be used to easily solve many interior design and room redevelopment tasks. This material is also useful for closing pipes in the toilet and bathroom as aesthetically as possible.

The main difference between moisture-resistant drywall and its traditional counterpart is that its coating is impregnated with impregnated and antifungal compounds. Externally, the material differs only in color: moisture-resistant gypsum boards are painted green.
The basis for the plasterboard box is a frame assembled from rack profiles measuring 27 x 60 mm and guides measuring 26 x 27 mm.

The decorative box is constructed in several stages:
- Markings are applied to the surfaces of the floor and walls. Having determined the most protruding point on the communications along the vertical surface, step back 3-5 cm from it and draw a line. The same principle applies to marking a horizontal surface.
- The guide profile slats are fixed along the drawn line using dowels. Cross members from a rack profile are attached to them. The elements are connected by installing crab clamps, placing them at a distance of 15-20 cm.
- To cushion the structure, a special tape is laid in the places where the frame adjoins the communications.
- The frame is sheathed with strips of plasterboard. When installing sheets, it is important to ensure that the front part is located outside. When tightening the screws, the caps must be “sunk” into the material within one millimeter.
- Decorate the door for the box. A hole is cut out in the finished structure for technical hatch. To make it invisible, the cut-out door blank is placed on the hinges and covered together with the box body with finishing.
- The surface of the box is rubbed with a trowel and plastered, carefully sealing all the seams.
To increase the strength of the corners of the box before applying putty, it is better to equip them with perforated corners. And in order for the composition to fit better at the joints of the sheets, it is recommended to remove a small chamfer from their edges before starting work.

If the box is used to decorate pipes of a heating or hot water supply system, several holes must be made in its upper part. Warm air will flow into the room through them.
In order to quickly detect a leak in the event of a leak, a small hole should be provided in the lower part of the box.

When fixing the profile to the floor, it is important to try to ensure that no displacement occurs during drilling, since any error can affect the quality of the structure.
If the walls and floor of the bathroom are tiled, be extremely careful when drilling the coating, since it may crumble under the influence of pressure and rotation movements. To eliminate such a nuisance, you need to stick a piece of tape on the drilling area, and when working with a drill, reduce the speed to a minimum.
Using a plasterboard box, you can also create a screen under the bathtub. A variety of ways to disguise the space under the bathroom are presented In this article.
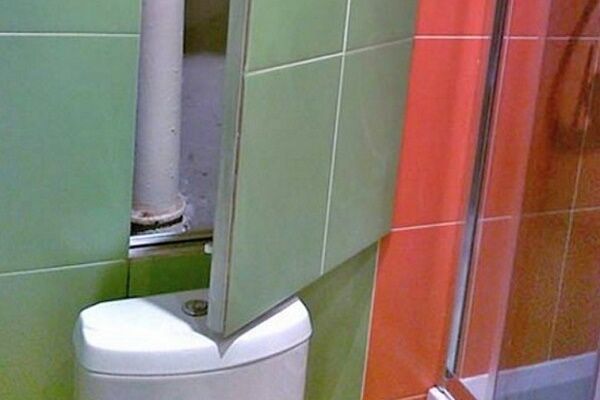
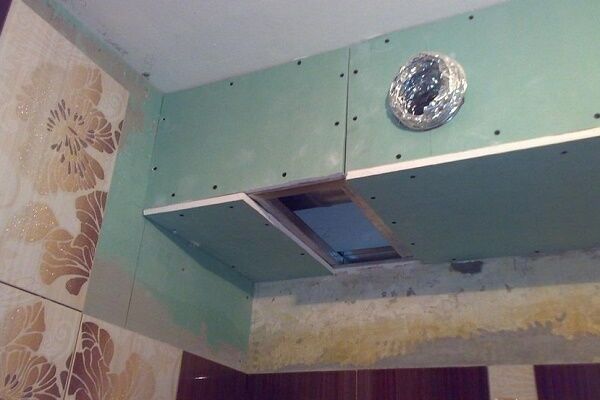
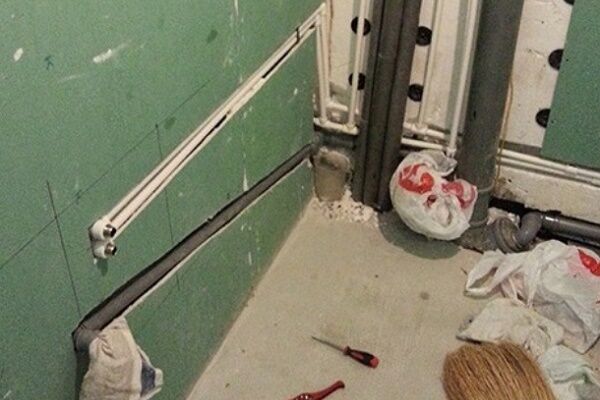
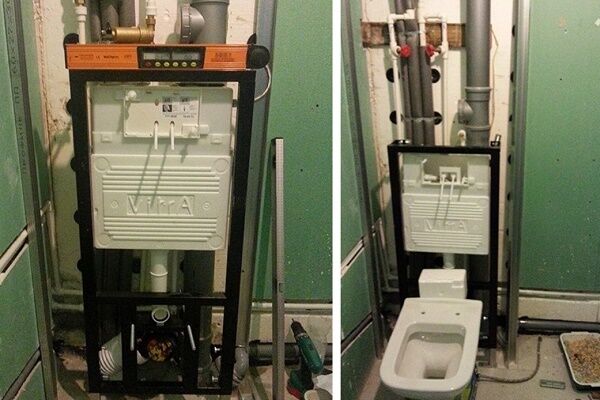
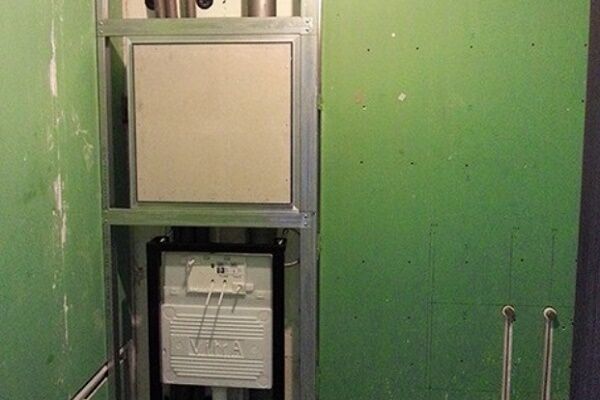
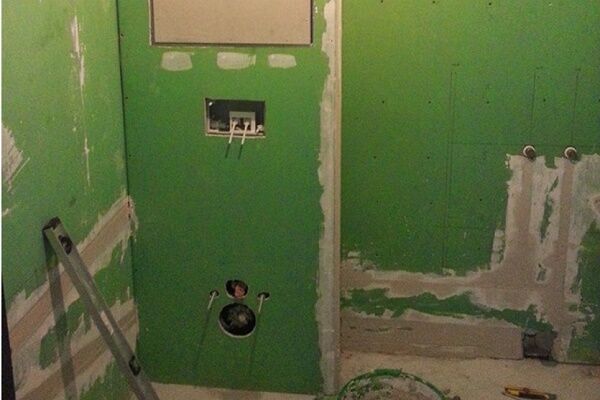
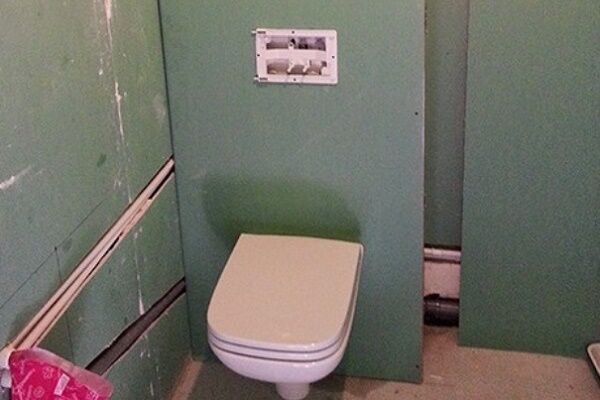
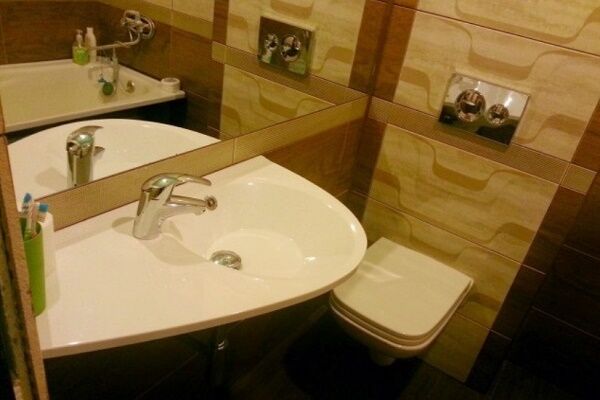
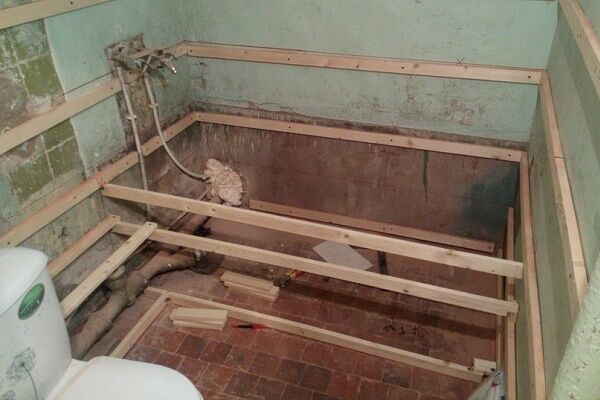
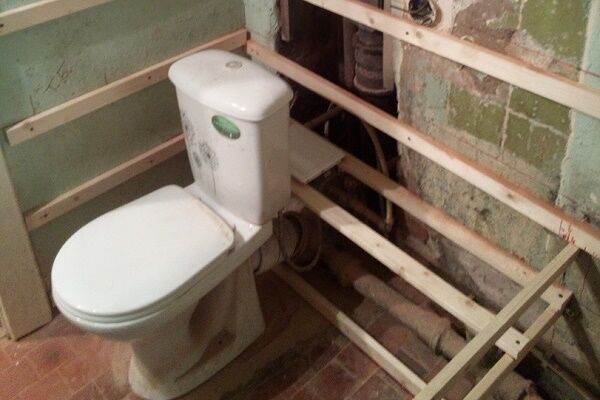
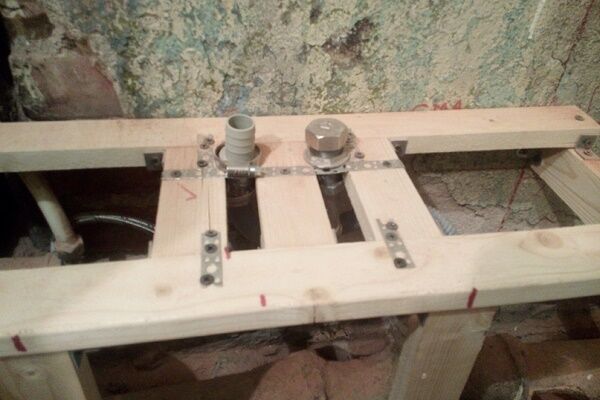
The following selection of photos will present the steps of masking communications during the installation of a wall-hung toilet in a mixed bathroom:
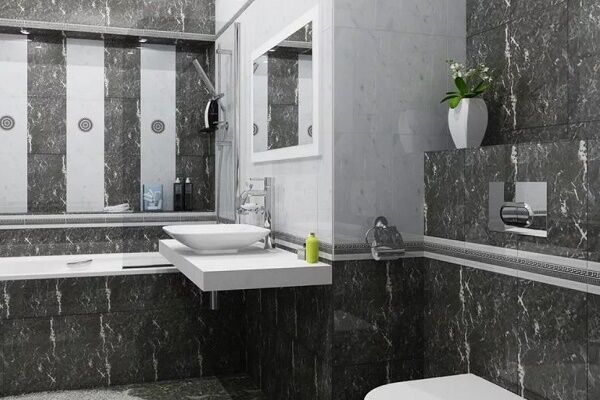
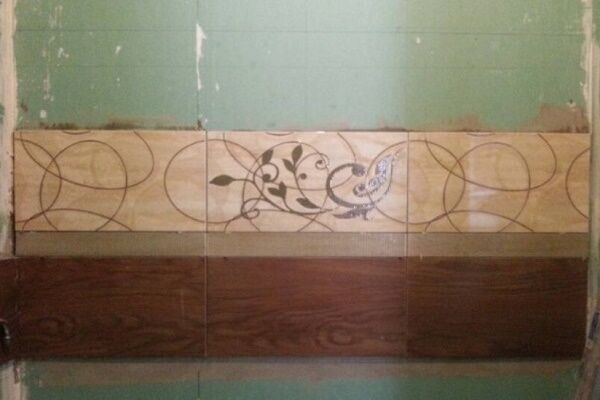
Method #2. Decorating with tiles
This method is very similar to covering pipes with plasterboard. But it involves a greater amount of labor costs. The main advantage of a tile box is a successful combination of aesthetic qualities and excellent moisture resistance of the structure.
Let's look at how to seal sewer and water pipes in the bathroom using ceramic tiles.

The basis for the manufacture of the box can be either a wooden or metal frame. When using wooden elements, before starting work they must be treated with a moisture-repellent composition.
To simplify the task and prevent installation errors, it is better to draw up a sketch of the future structure, on which you need to indicate the dimensions and indicate the places where the elements are fastened.
Approximate procedure:
- The area where water and sewer pipes pass is measured.
- A frame is constructed from wooden slats or metal profiles, fixing it to the floor and walls to the ceiling.
- The frame is sheathed with moisture-resistant plywood or chipboard sheets.
- A hole is made on the front side of the structure for a technical hatch.
- The plywood is covered with reinforcing mesh.
- Tiles are laid on top of the mesh. The service hatch is also covered with it.
- The tile seams are rubbed down and covered with antifungal mastic.
The shape of the box being built is largely determined by the type of pipe laying. You can build a ledge under which it is convenient to hide the sewer pipes of the combined bathroom. In this case, you can even install a toilet installation.
If desired, the box can even be brought up to the level of the sink. This solution will make it possible not only to hide all unsightly communications, but also to provide additional space for storing bottles of household chemicals.

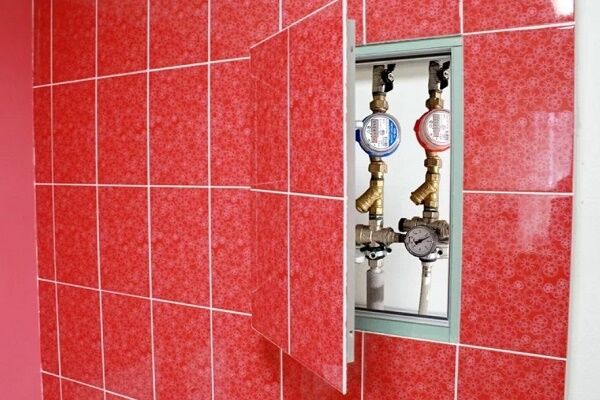
The installation of an inspection hatch is a necessary condition if the part of the pipeline being decorated is equipped with valves, meters or any other elements of equipment.
Masking pipes with tiles and mosaics looks appropriate in bathrooms, especially if they are made of the same material made a bathroom screen.
Method #3. Covering with plastic panels
Decorative panels made of plastic are an easy-to-use and inexpensive option for hiding communications. The wide variety of types, colors and design options available on the construction market allows you to create a design that harmoniously complements the already furnished interior.

The only drawback of plastic panels is their low fire resistance. Although many manufacturers guarantee self-extinguishing of their products, smoke is no less dangerous to them than open fire. Therefore, in a bathroom whose pipes are decorated with plastic panels, you need to beware not only of fire, but also of regular smoking.
The installation of plastic panels is carried out on a pre-assembled frame, the basis for the manufacture of which is the same metal profiles. Before sheathing the frame, first attach the starter molding to it with self-tapping screws.
Often, in the construction of a frame for fastening plastic panels, they prefer to use lumber. They are easier to cut and process than metal profiles:
To prevent the head of the screw from being visible, fixation is carried out through a shelf covered by the next panel. Pre-cut slab blanks are placed one by one into the plank, “stringing” row after row. Each panel is pushed in as far as possible, securing the free side with self-tapping screws for reliability.
When joining adjacent panels, it is important to ensure that their edges fit tightly into the locks of the installed elements. At the final stage of installation, the external molding is installed. The same strips are used to trim the joints of the frame with the ceiling and floor.

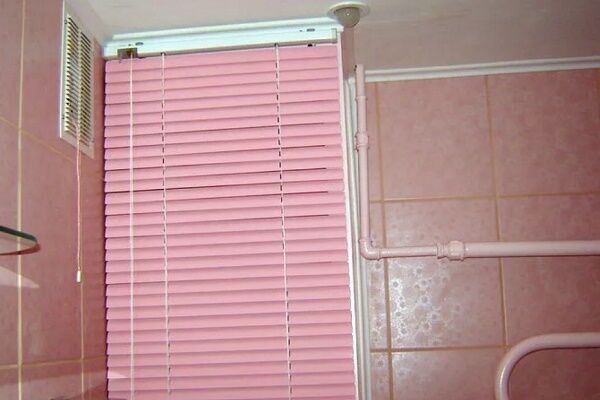
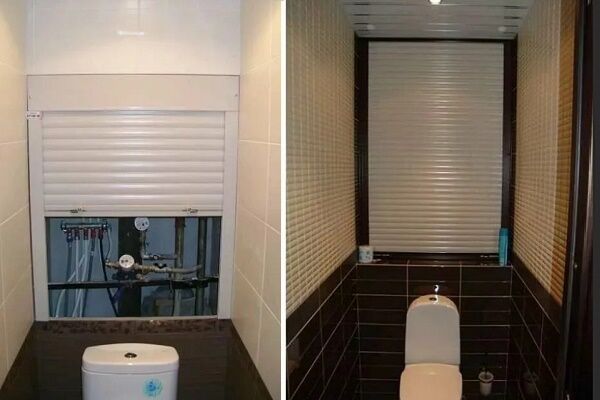
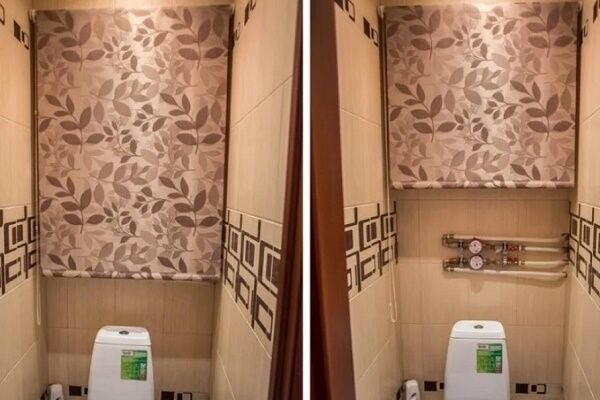
Method #4. Option using blinds
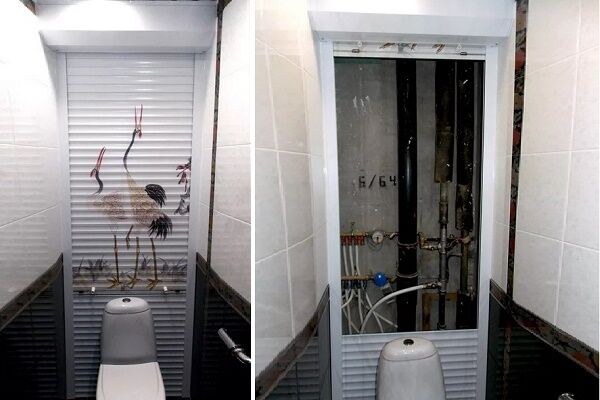
Do you want to make communication pipes invisible, but at the same time leave free access to them? Blinds and roller shutters will help in solving the problem. To get to the valve or meter, you just need to lift the curtain with one movement of your hand, providing full access to the equipment.

The main advantage of such designs is that they do not “eat up” the space of the bathroom, and therefore are suitable for rooms of any size. If the width of the opening to be closed is less than 52 cm, use the simplest version of systems with a cord mechanism. For wider openings - systems equipped with spring mechanisms.
When planning to install a motorized system on an electric eaves, the structure is positioned in such a way that the motor is housed in a sealed housing.
The following can serve as a support for installing roller shutters:
- plasterboard construction;
- plastic box;
- false wall.
There are two installation options: placing the box inside and installing it outside.The first is used if it is possible to make a corresponding recess in the opening. The second is chosen when communications are located in close proximity to the opening.

Even minor distortions in the structure will not allow the canvas to slide freely along the rails, which will lead to rapid failure of the system. This problem can be prevented by leveling the surfaces or by constructing a box.
When installing a manual model with a manual drive, the first step is to assemble the box in accordance with the manufacturer's instructions and install the internal shaft. Then the cassette is secured depending on the characteristics of the opening on the ceiling or wall.

It is not difficult to make a part to close the lower part of the opening in order to sew up the passage of a horizontal sewer pipe. It is necessary to cut a blank from chipboard in accordance with the width of the opening. It should be equipped with a recess for supply to the toilet.
When determining the height of the parts, they are guided by the length of the canvas. So for an opening 240 cm high with a structure length that includes a box with a canvas of 180 cm, you will need to cut a part with a height of 240-180 = 60 cm.
A radical way to hide pipes
One of the most time-consuming methods is piping in the bathroom in a hidden way.But it makes it possible to “kill two birds with one stone”: hide unsightly communications and make the bathroom more spacious.

In addition to being labor intensive, the key disadvantage of this method is the inability to quickly get to the pipes in the event of an emergency.
When implementing the method, it is very important to provide measures that minimize the risk of leaks:
- there should be no detachable connections in the wall;
- use for laying polypropylene pipes and fittings, which are convenient to solder into one whole;
- Grooves for laying hot and cold pipes must be equipped with sleeves made of thermoflex or foam rubber.
The use of a sleeve made of insulating material will relieve cold pipes from condensation and allow hot pipes to expand under the influence of temperature.
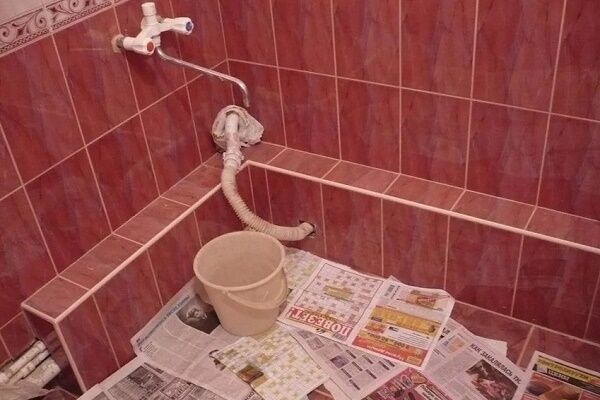
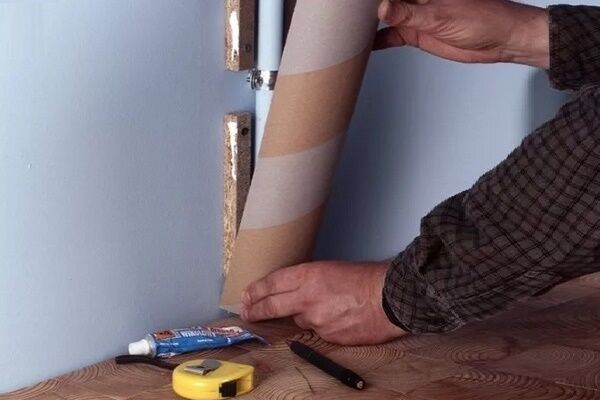
Masking horizontally laid pipes
The easiest way to close horizontal communications in a toilet or bathroom is to box construction covered with chipboard, plywood or plastic. To create such a structure, markings are made on opposite sections of the wall.

A guide profile is attached along the marking line using self-tapping screws. Jumpers are inserted into it, maintaining an equidistant distance of 60 cm. Pre-cut blanks are attached to the assembled frame.
If desired, you can build a removable structure.To do this, according to the height and width of the pipes, boards are cut to create a vertical and horizontal plane. They are fastened together with a perpendicular “corner”. The assembled structure is simply placed above the pipe location.
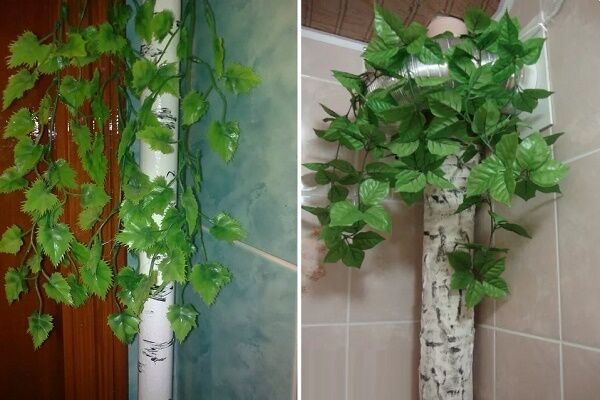
In addition to the above options for masking pipes in bathrooms, there are original options:
Conclusions and useful video on the topic
To hide the pipes, materials such as plastic panels, plasterboard sheets or blinds are suitable. Features of installation of structures in the following videos.
Cover the pipes with plasterboard:
Making a box from plastic panels:
Installation of a cabinet with blinds:
With a little imagination and some effort, you can hide any unsightly communication systems or decorate them, turning them into original interior decoration.
Are you looking for a non-standard way to disguise pipes in the bathroom? Or do you have experience in “decorating” communications? Please leave comments on the article and ask questions. The feedback form is located below.


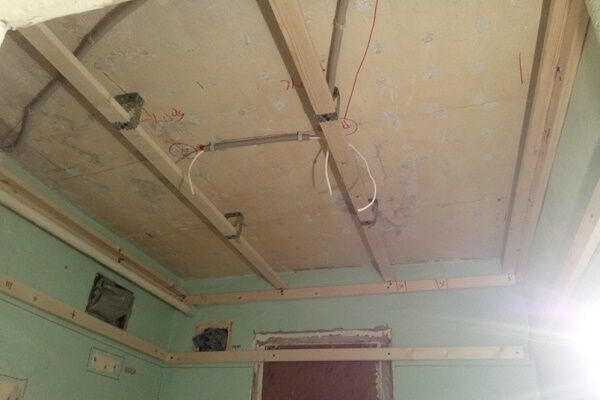
Hiding pipes in the bathroom is generally a dusty business. Here they are located so that both horizontal and vertical intersect. It turns out that the ceiling will go along the intersection of the pipes, because of this the bathtub has been greatly narrowed in area. We’ve been hiding it for a long time, we’re planning a renovation soon and we’re thinking of just calling the craftsmen to do it right, otherwise doing it on your own is somehow not an option :) but I’ve read a lot of useful information.
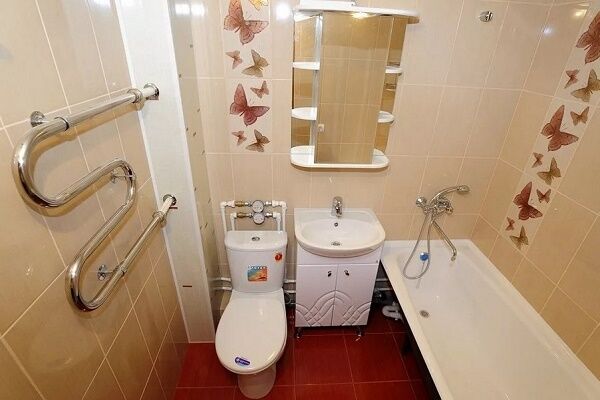
The bathroom in our apartment is quite small, so we had to rack our brains about how to hide the pipes and not clutter up the remaining space. As a result, they made a box that, if possible, did not protrude too much. We chose light tiles for the cladding to make it visually wider. Well, I had to make a small door in the box, in case of leakage and for the meters. It came out neatly.
We, like most people, are faced with this problem. We have a Khrushchev apartment, in which the bathroom is located together with the toilet. There is catastrophically little space. Therefore, the repairs were entrusted to professionals. As a result, it was possible to maintain the internal dimensions in almost standard proportions. By changing the original pipe routing.
I'm afraid to hide pipes under tiles.Some kind of leak and everything will have to be broken. Are there any collapsible structures? Can drywall be removed without breaking it?
Hello. You can install plastic boxes (but without tiles) or protect the gypsum boards from moisture using various finishing products. But in general, it would be nice to see the arrangement of your pipes and understand what kind of box you want to make.
In many ways, the problem is solved by installing gypsum boards in minimal pieces, then in the event of a small leak, you won’t have to break a whole sheet, provided that a significant area of gypsum boards does not have time to become saturated with moisture, and only a small piece can be replaced.