How to connect a kitchen hood to ventilation: work instructions
A perfect connection of the kitchen hood to the ventilation will ensure complete removal of volatile substances formed during cooking. Not all of them are pleasant and healthy; many are toxic and negatively affect the sense of smell. Believe me, nothing and no one can do a better job of removing them than an exhaust device.
For those wishing to install and connect the hood themselves, we suggest that you read this very useful article. The information presented in it will help you ideally select the required type of device and carry out installation work flawlessly. Our information will be useful not only to independent craftsmen, but also to those who want to control hired workers.
The author of the article describes in detail the types of kitchen hoods and installation options for various designs. The process of connecting the exhaust device to ventilation is thoroughly analyzed. Photo selections and video instructions are used as an excellent informative addition to the text.
The content of the article:
Types of exhaust devices
To improve the microclimate and rid the room of odors, soot and burning, a kitchen hood is used. Depending on the internal structure, it can remove exhaust air, purify it, or alternately work in each of these two modes.
In the first case, the equipment evacuates air masses from the room into the atmosphere. To do this, a special pipe is used - an air duct.

Models of the second type are recirculating. For their full functioning, they do not need to be included in the ventilation system.
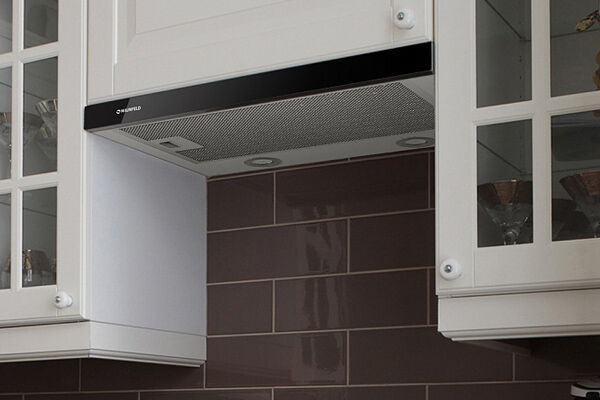
They need power to draw in waste air that accumulates, for example, over a frying pan frying potatoes. Particles of fat, soot and the smell of cooking food get inside the device.
The grease filter takes the hit first, then comes the turn of the carbon filter. It is he who absorbs all impurities and releases purified air back into the room, releasing it through small holes in the housing.

The third type is combined models. They can operate in both drainage and cleaning modes. In the first case, to ensure the functionality of the kitchen hood, it will need to be connected to ventilation. And in the second - installing a cleaning filter.
You have to choose the right option during use. Moreover, depending on the model of the device, its settings may differ.
For example, for hoods with cleaning mode from LEX, the manufacturer recommends first installing carbon filters.Then take the plugs that come with the exhaust equipment and close the side and top holes, which are intended for connection to the ventilation system.

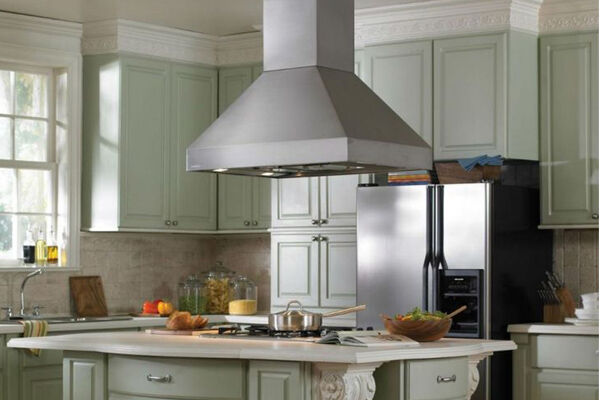
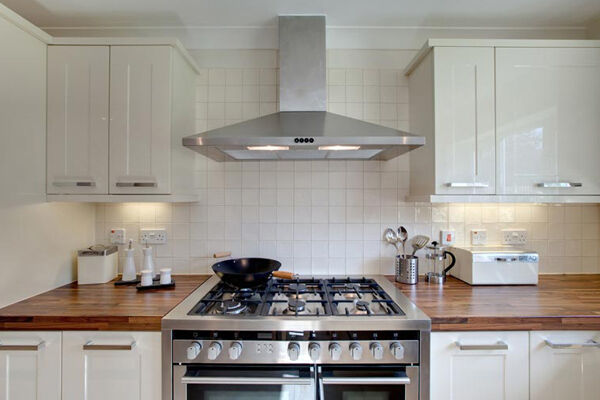
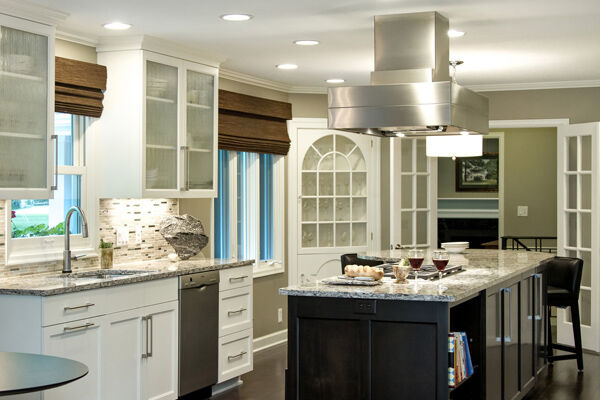
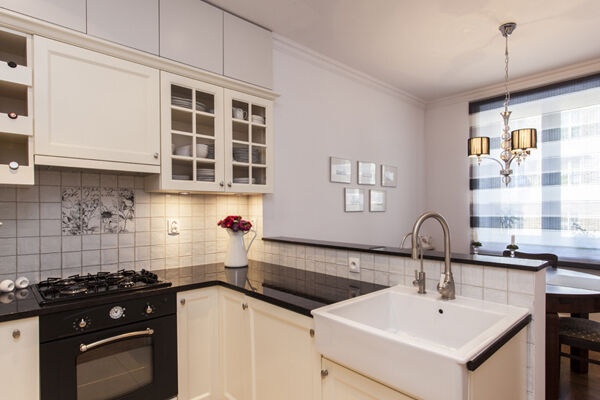
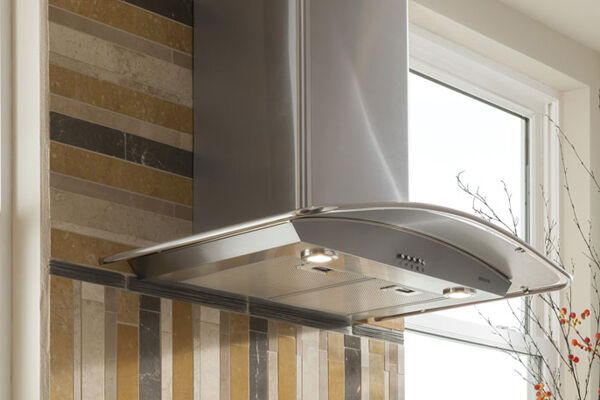
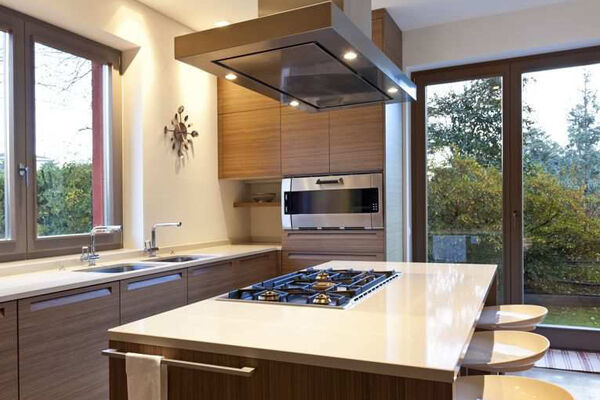
In addition to the principle of operation, hoods differ in installation options - they can be built-in or open.
And they all differ in shape, which determines the possible location of the exhaust equipment.
Kitchen appliances differ in price, which depends on the popularity of the brand, the sophistication of the design idea, the materials used in production and the functionality of the exhaust equipment.
The consumer can easily choose a hood in the desired price category - even in the inexpensive segment there are many worthy models. True, the more complex the processes a device can perform, the more expensive the final cost will be.
Subtleties of connecting the hood
The correct option for arranging all communications is the stage of building a house or major renovation of an apartment. True, in the second case you will have to put up with the finished project, making possible adjustments.

To connect the hood to ventilation, 2 options are also used:
- connection to an existing shaft hole;
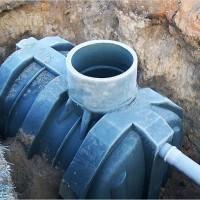
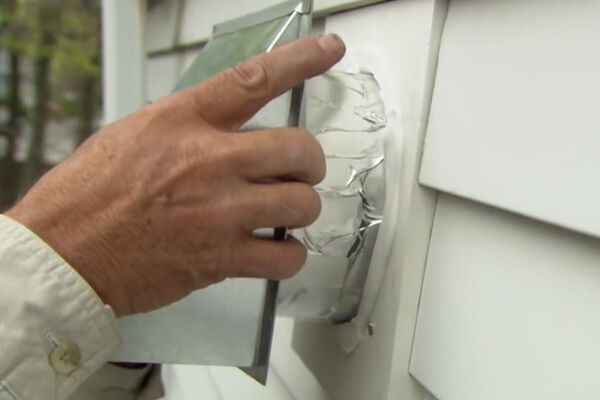
- laying a pipeline for air movement through the wall on which the equipment is planned to be installed.
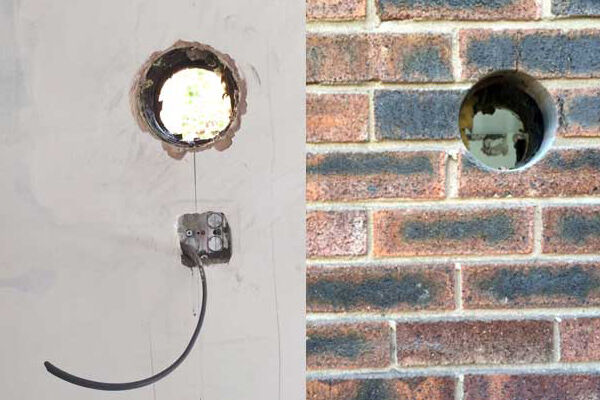
In the first case, you will have to spend money on purchasing air ducts, sometimes this is more than one meter of material. And in the second, you will need to make a through hole in the kitchen wall, which will go outside.
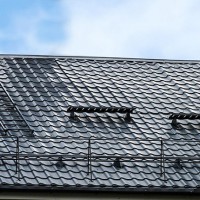
It is typical for private houses/cottages to install ventilation ducts with their outlet to the roof. In this case, it is important to properly organize the system of intake and evacuation of air masses.
Work instructions
Those who decide to connect the hood themselves must first study the recommendations set out in the instructions for the model and strictly follow them. Then carefully inspect the equipment of the device and, if necessary, purchase missing parts. You may need an air duct, clamps, adapters, sealant or metal tape.
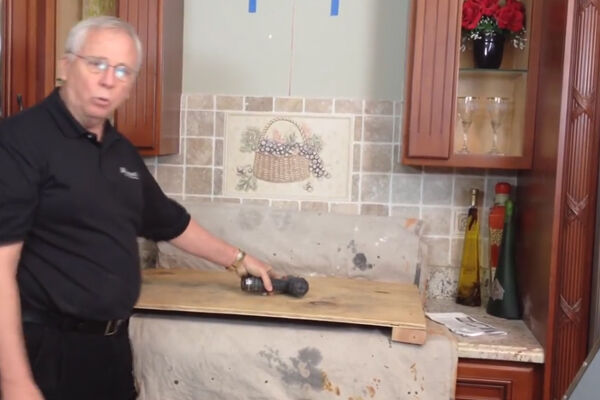
Step #1: Preparing the Room and Location
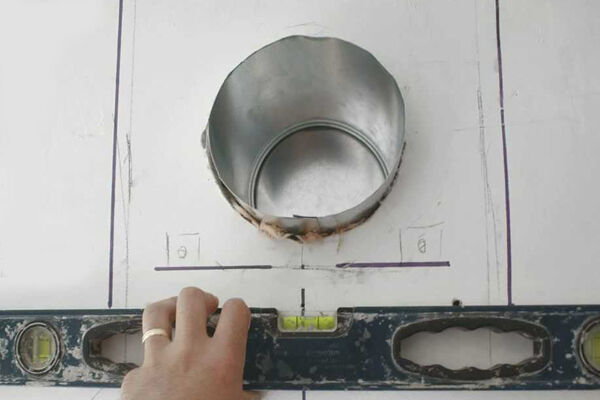
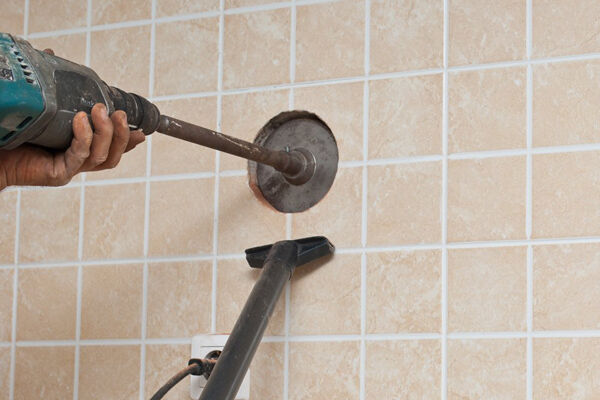
It is necessary to prepare the room for future work, select tools, and purchase the necessary materials. It's good if there is already a ventilation hole. Otherwise, they start by doing it.

If the house or apartment is in a residential condition and a full-scale renovation is not planned, then you can make the missing holes by drilling it in the ceiling/wall. It depends on the specific situation and the wishes of the owner.
Preparing the premises will consist of several stages.
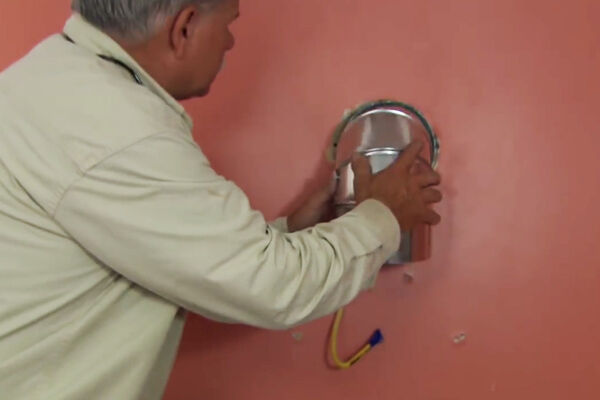
When the hole is formed, it is time to install the exhaust equipment above the stove. The method will depend on the model and location of the latter. It is important to securely fix it with the fasteners included in the kit.
Sometimes the case does not have enough holes to mount the product. Then you can do them yourself in the right places and screw in the screws.
Step #2: Process of connecting to ventilation
When the hood is installed in accordance with the manufacturer's recommendations, it is time to connect it. Here it should be understood that for the operation of the device, a channel for removing waste air masses and a stable power supply are needed.

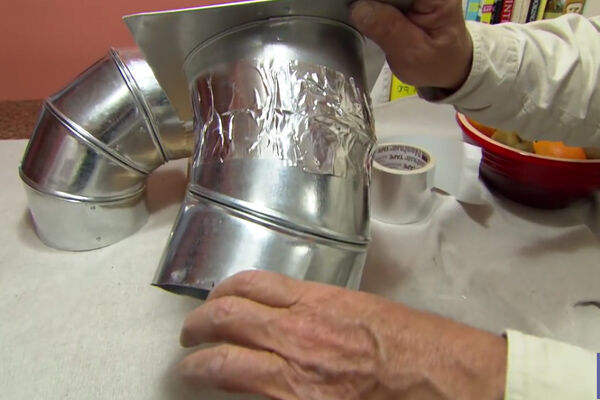
The first step is to connect the device to the ventilation. This can be done using the following types of pipes:
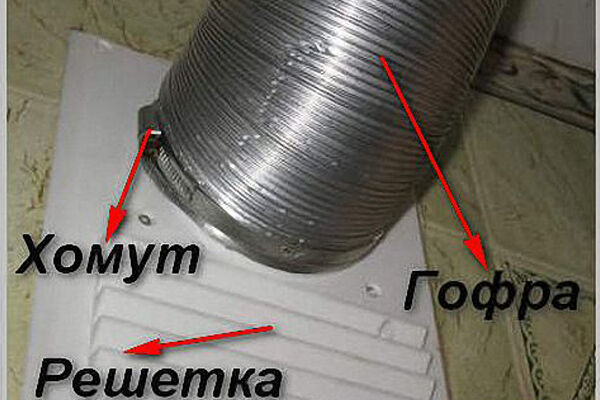
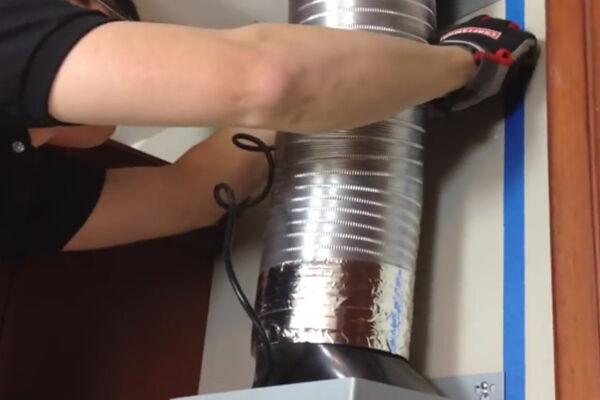
- metal corrugation - aluminum, less often steel;
- corrugated plastic - extremely rarely used;
- round stainless steel;
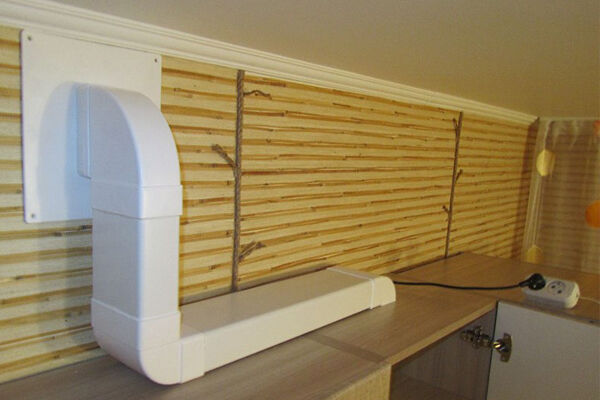
- plastic with a rectangular or round cross-section is also a fairly popular and convenient option.
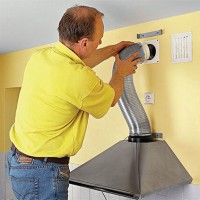
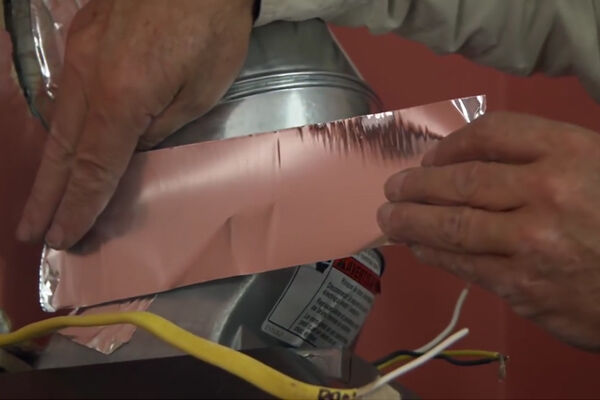
When choosing corrugation, you will need a clamp, metal tape, and possibly a grate to arrange the entrance to the common house channel. Connection occurs in stages.
High-quality execution of all connections will ensure excellent operation of the device. But the work doesn’t end there – you can’t use the hood yet. All that remains is to start its motor by supplying electrical power and put on the decorative casing.
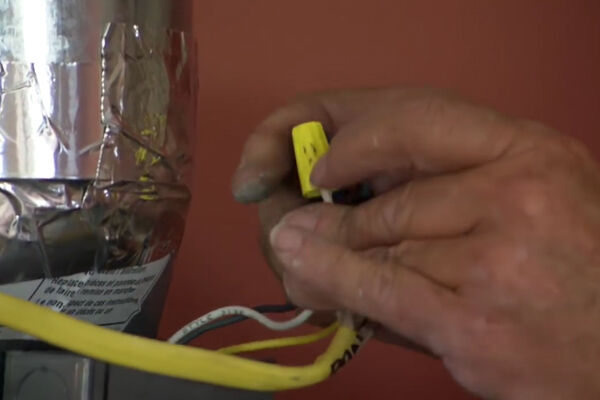
To do this, you must follow a certain sequence when performing work.You must first make sure that the line to which the connection will be made is de-energized.
After completing the connection, all that remains is to check the build quality. To do this, the equipment is immediately turned on and all operating speeds are selected in turn.
Turn on the backlight and measure the noise level produced by the device. It is checked against the indicators specified in the instructions.
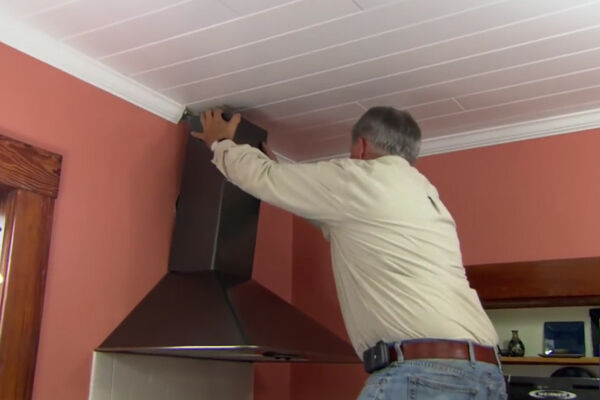
Step #3: Completing installation work
Connecting to ventilation and the electrical network is not always the final stage. Sometimes the entrance to the mine is located extremely inconveniently or very far away and you have to use your imagination to somehow disguise it.
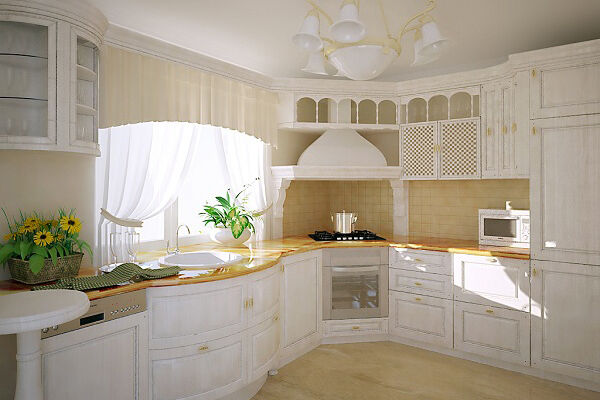
It is important to plan which option for masking the air duct to use in your kitchen. After all, the implementation of some ideas will require additional costs.
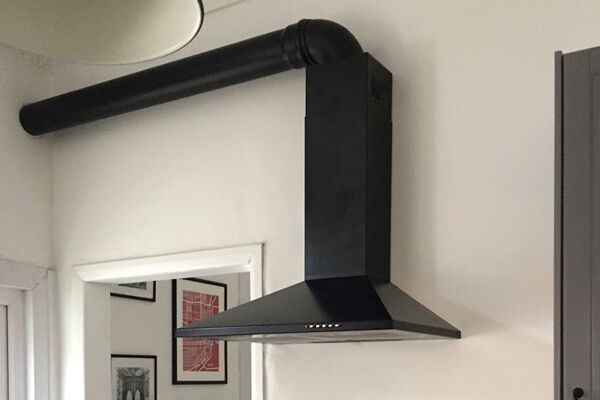
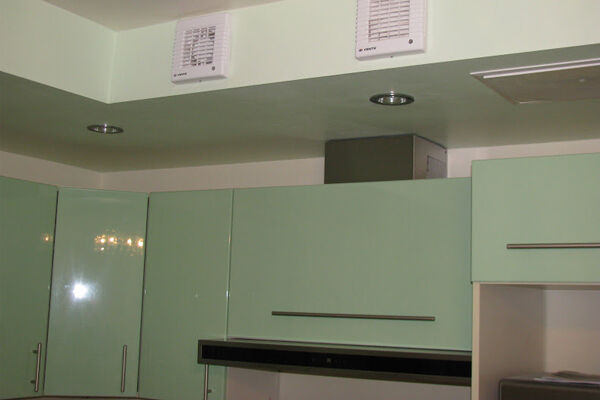
The simplest and cheapest option, when the hole is located nearby, is that the exhaust casing will hide the insertion point into the ventilation system. It’s also good when it’s very close to the entrance to the mine - you have to buy a minimum of material - for example, a plastic pipe that harmonizes with the color of the rest of the kitchen furniture.
Operating standards and care rules
Conditions of use and timely service are the key to the longevity of kitchen appliances. It is not surprising that devices with a warranty period of 1-3 years, if certain rules are followed, will quietly work for 8-10 years without requiring expensive repairs.
Safe use of the device
In order for the hood in the kitchen to function without problems, you must initially install it correctly and connect it to communications - power supply and ventilation. There shouldn't be any distortions.
When tested, the device will operate quietly, producing an acceptable noise level. Creaking, crackling and other extraneous sounds are evidence of errors made during installation.

It is strictly forbidden to use a household exhaust device in production - only for its intended purpose. Otherwise, the owner will lose the warranty.
In addition, the following actions are prohibited:
- close or plug the openings on the product body;
- limit or completely block the free flow of air during operation of the device;
- connect the air duct to the duct to remove smoke and other hot emissions;
- carry out repair or maintenance operations without disconnecting the hood from the electrical network.
Such prohibitions are related to the safety of users and the equipment itself - violation of the rules will result in failure of the fan, without which the device will not be able to function.

Do-it-yourself equipment maintenance
Carrying out maintenance work depends on the frequency of use of the hood, the nature of the dishes being constructed and the mode selected for its operation. It is important to remember that maintenance is carried out when the device is completely disconnected from the electrical network.
Caring for the product consists of monthly washing of the grease filters - you need to remove them and remove traces of soot and dust with a soap solution and a soft sponge. Leave to dry at room temperature.

If you have and use the recirculation mode, you will have to change the carbon filters. This is done on average every 4-6 months. The frequency depends entirely on the device model and its manufacturer's recommendations.
If the installed equipment is only capable of evacuating exhaust air from the room, then there will be no need for additional expenses on the purchase of filtering devices.
In addition, the device needs to regularly remove dirt from the surface of the case - with a soft rag soaked in a soap solution, you will have to wipe off stains formed during operation.
The same procedure should be repeated on all parts of the device that are inside the device and that can be reached.Particular attention should be paid to cleaning the fan blades - an excessive amount of waste accumulated on them leads to a decrease in hood power.

If the light bulbs burn out, you will have to replace them with new ones, choosing the same power and size. If any mechanism breaks down, it is better to contact a service center for help without trying to fix the problem on your own.
Conclusions and useful video on the topic
About the installation of exhaust equipment and its connection to the ventilation system in the video:
One of the ways to most effectively combine a kitchen hood with a ventilation shaft in an apartment building is in the video:
Exiting the air duct of kitchen equipment to the street in a private house in the video:
After familiarizing yourself with the rules for carrying out work when connecting exhaust equipment to the ventilation system, you can try to do everything on your own.
An exception is the recommendations of the hood manufacturer, who advises that installation and supply of communications be carried out with the involvement of authorized specialists. In this case, in order not to lose the warranty on expensive equipment, you will have to pay for the installation and connection of the device.

At first I had a hood with filters that worked from the mains. Filters absorb particles of fat, soot and odors. But the disadvantage of this hood is that the filters become clogged quite quickly, and as a result, the system becomes ineffective. We decided to install a hood with a connection to the air duct ourselves.Preliminary study of the material was very useful.
And how did people live without hoods before?! My grandmother still doesn’t have a hood; she says that a window vent is enough. We installed a combined type of hood, and didn’t even try it ourselves; we immediately turned to a specialist! But you know, it’s so boring when you cook borscht, but the aroma doesn’t spread throughout the house, or you fry pancakes with different delicious fillings, but the kitchen smells of NOTHING. I often don't turn on the hood when cooking.
My grandmother also said that she was fine without a hood, so why spend extra money? For a long time I tried to convince her, and I was going to buy and install it with my own money, but she still resisted.
In the end, I decided not to ask, but simply installed a hood for her while she went to visit her sister in another city. And it turns out that with a hood it’s much better, since there are no odors in the apartment after cooking. Hoods were also in demand in the USSR, in the 80s for sure, in the early 90s they were still produced with the corresponding logo. Someone I know at their grandmother’s still has a hood from 1992 that works properly. I was surprised myself, but even new ones sell such a miracle of technology on bulletin boards.
I also have a hood connected to a ventilation shaft. Mosgaz sent an order to eliminate it. What should I do? Is this hood to be thrown away now?