Installing a siphon in the kitchen: how to assemble and install the device + diagrams and installation example
To carry out simple plumbing work, it is not necessary to call a specialist, take time off from work and spend money on paying for services. For example, installing a siphon in the kitchen is a simple procedure that even a woman can handle.
If you choose the device correctly, study the instructions for it and remember a few generally accepted rules, the process of cleaning, replacing or installing the siphon will go quickly and without unpleasant surprises.
The content of the article:
Siphon designs for the kitchen
The question of buying or replacing a siphon arises when the old model breaks down, as well as for reasons not related to the device itself.
Suppose, along with the purchase of a new kitchen set, you have to change the sink, and the design of a new sink requires a different configuration of the device. Let's consider what types of siphons are offered by modern manufacturers.

There are many options for classifying devices to create water seal under the sink, however, all types can be combined into two large categories:
- bottled;
- knee
Knee washers, in turn, are divided into hard or elastic (corrugated), and absolutely any type can have a more complex design if it is connected to a sink with an overflow. It is also worth mentioning flat siphon (relevant for installation under a shower stall) and double – for installation under double sinks.

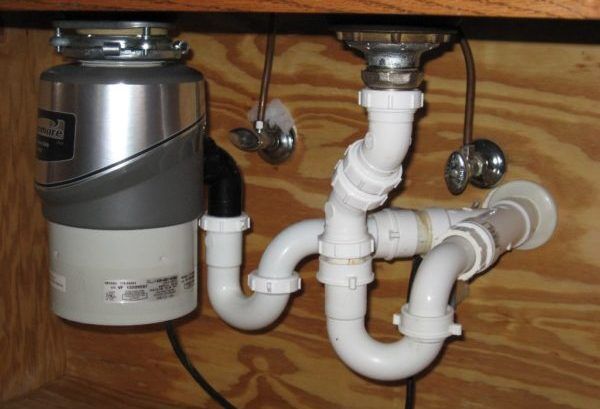
The bottle model is ideal for the kitchen; however, if there is a lack of free space or for other reasons, knee models (U-shaped and S-shaped) are also used. It is more rational to install the latter types for plumbing fixtures with a minimum of free space - for example, under bathtubs.
Before installing a sink siphon in the kitchen, you need to decide on the model. We present several options, one of which may be useful to you.
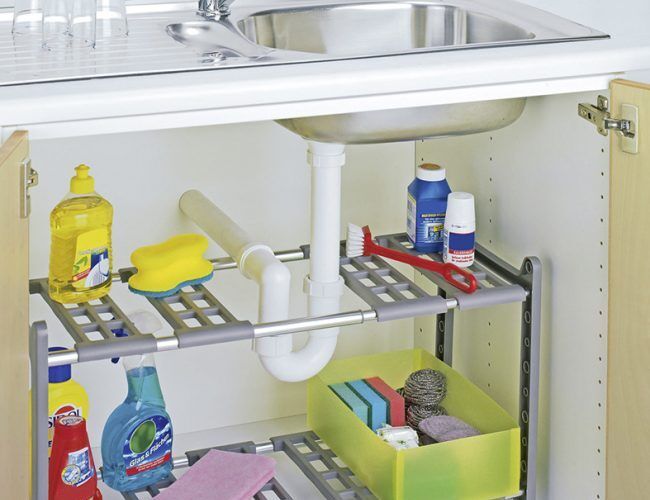
Thus, when choosing a new device, you need to focus on the amount of free space under the sink, technical characteristics (reliability of the material and gaskets, maneuverability), the possibility of disassembling for maintenance, and if the siphon is not disguised in the cabinet, then the appearance.
Assembly and Installation Instructions
Models are assembled in different ways: some must first be assembled and then hermetically connected to the sink drain hole and sewer pipe, others are partially assembled during the installation of the sink. Let's consider options for assembling and installing popular types.
Bottle siphon installation steps
When purchasing a device in a store, please note that there are 2 types of plastic models:
- inexpensive, consisting of 10 (or more) parts;
- branded, with integrated gaskets.
The second type is distinguished by the use of high-quality polymers - both plastic for the body and material for the sealing rings. It costs more, but it will also last longer.
In addition, it is much easier to assemble: it consists of only 3 parts that are easy to connect and adjust. A typical device has at least 10 parts that must be installed in the right places without confusing the seals with each other.
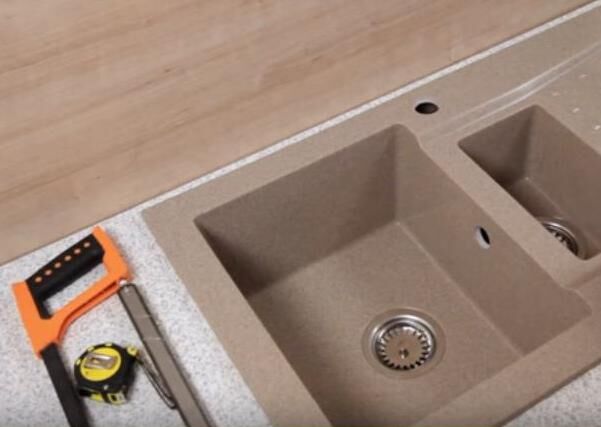
The process of installing a siphon for a kitchen sink must begin after the sewerage system has been completely laid and the furniture has been installed, in other words, last.

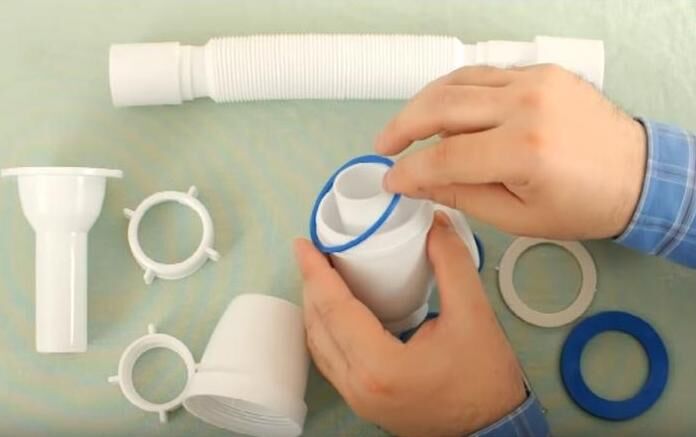
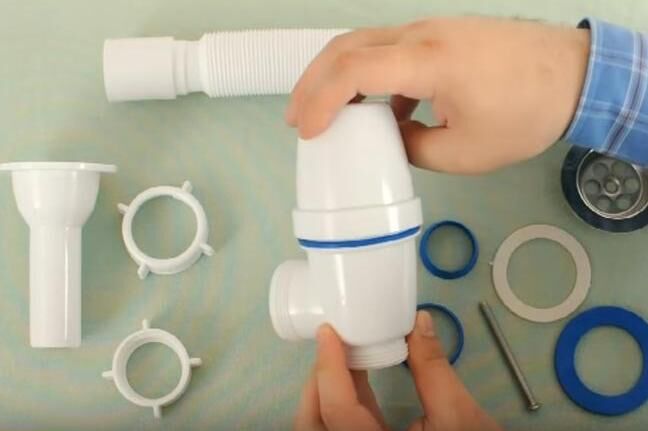
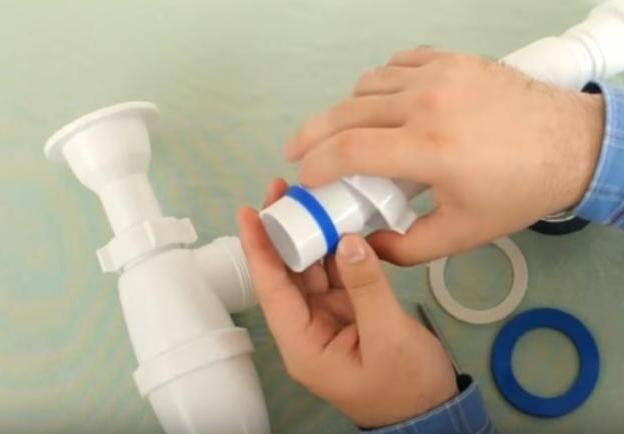
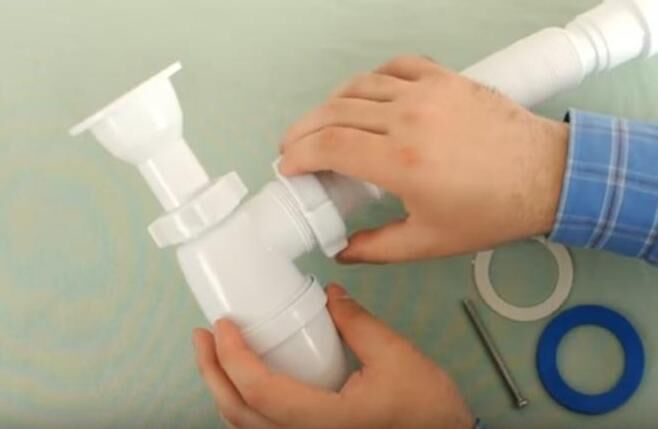
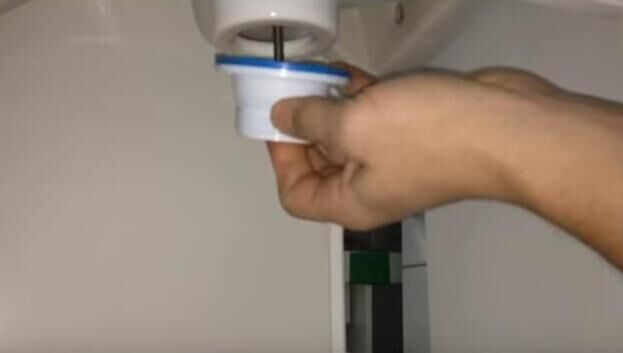
Let's look at how to sequentially assemble a siphon for washing. For example, let's take an inexpensive model consisting of many elements. First, unpack the kit and check that all the parts are in place.
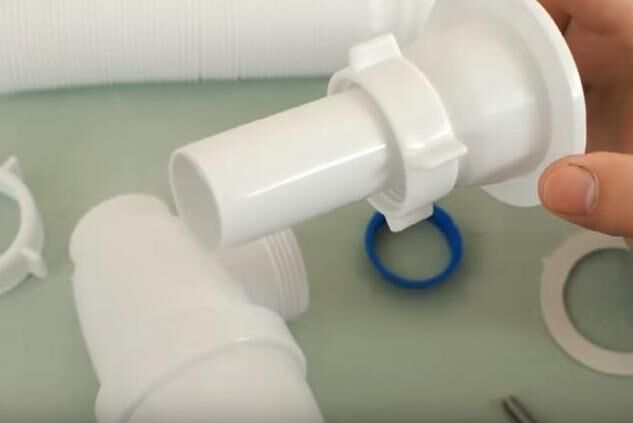
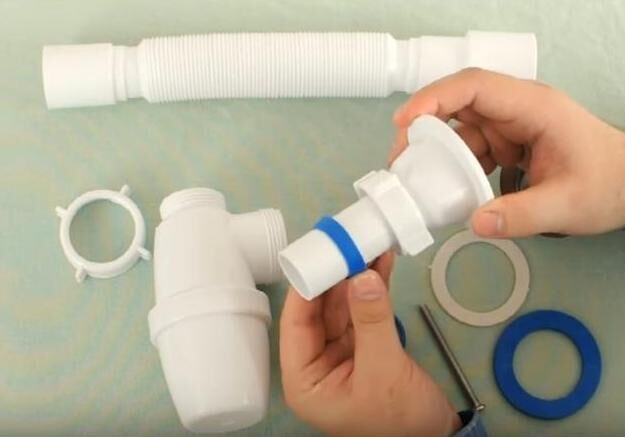
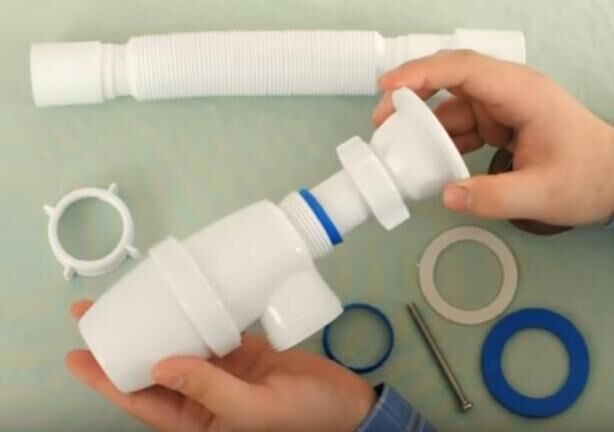
It is important that the tubes and bottle part are smooth and sealed, the corrugation is elastic, and the gaskets are tight and without flaws. Then we follow the photo instructions:
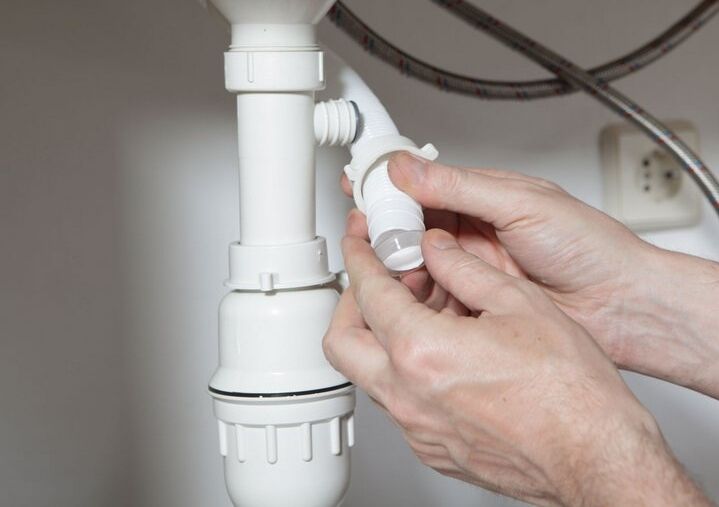
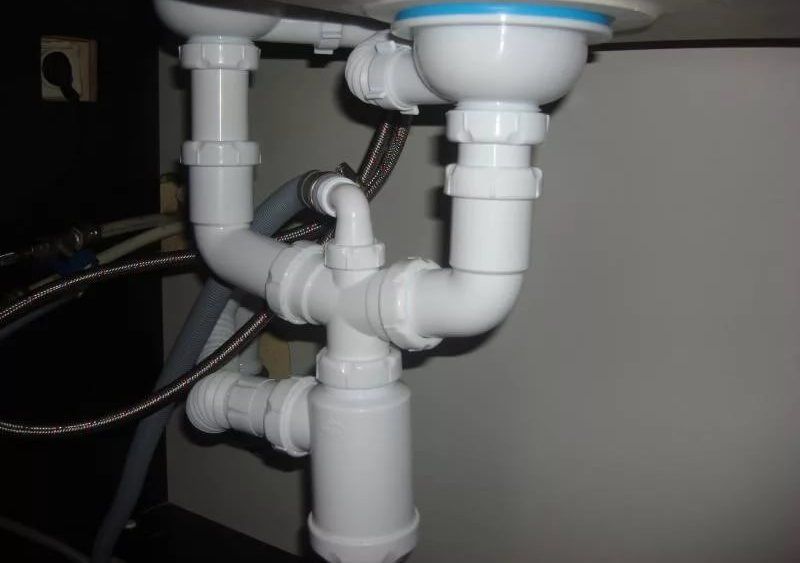
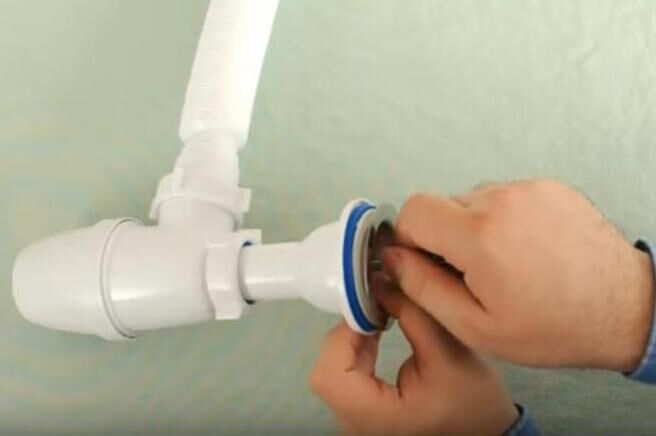
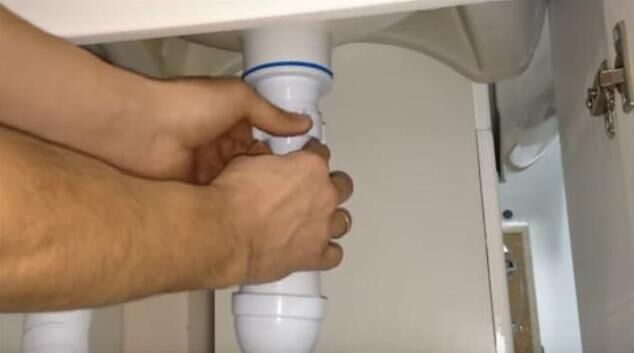
The assembly is complete, all that remains is to install the siphon under the sink. It is positioned so that the pipe is directed towards the drain hole, and the corrugated pipe is directed towards the sewer socket. The bottle part should be at the bottom; this is where the water seal is formed.
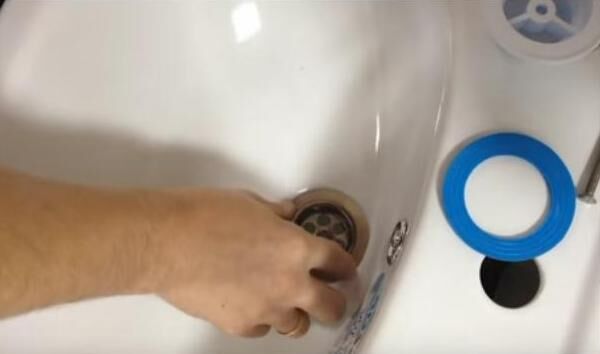
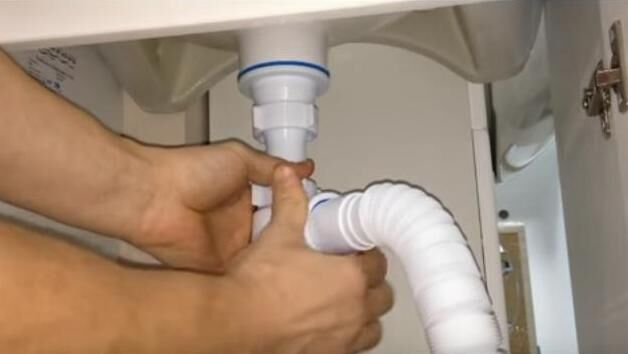
The device is installed, the drain hole is designed, all that remains is to insert the corrugated tube into the sewer outlet - usually this is a wide pipe. To ensure the tightness of the connection, we use adapters and sealant.
How to install a model with overflow
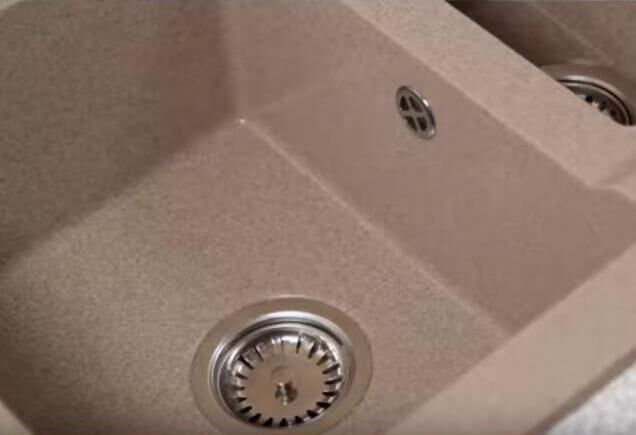
An overflow is a convenient invention that allows you to avoid flooding in the kitchen if the drain hole suddenly becomes clogged and water threatens to splash out from a sink filled to the brim onto the floor.
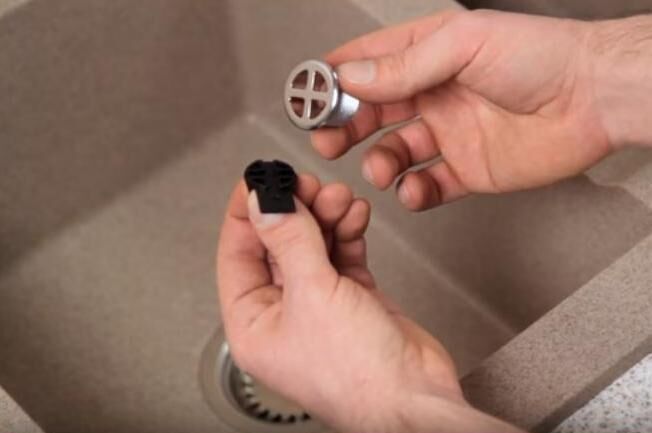
On the outside of the sink you can see several small holes or one large one. In the second case, a decorative part is installed on the outside to cover this hole.

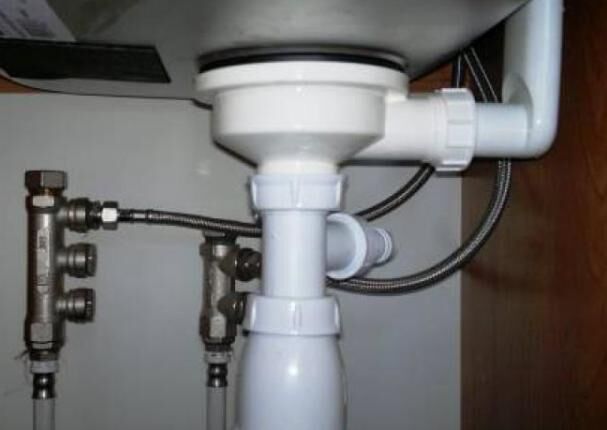
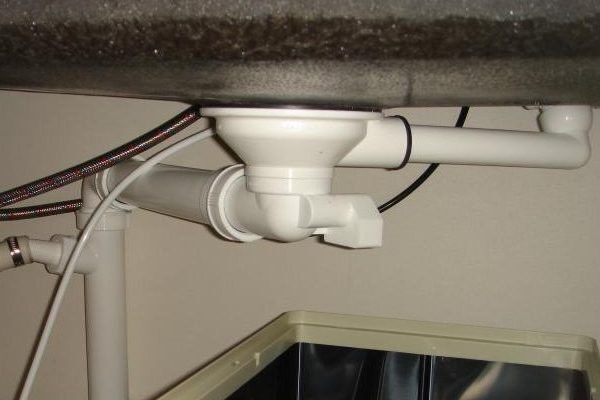
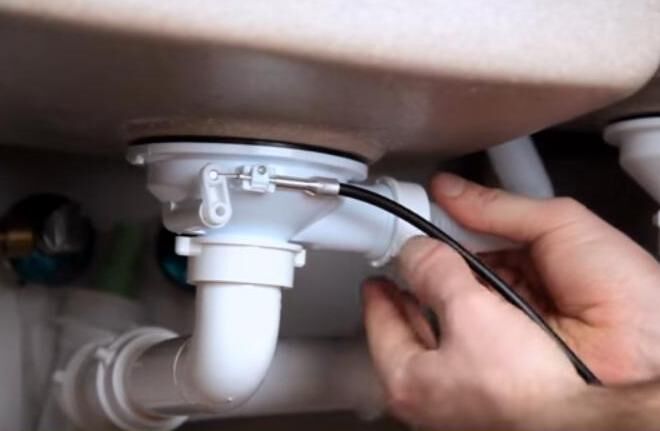
The overflow device itself is an additional corrugated (less often rigid) tube, which is fixed on the back side of the sink, just opposite the overflow hole, and the other end is inserted into the siphon pipe.
Fastening to the sink is carried out with a screw, a sealed connection with the pipe occurs by tightening the plastic union nut.
When installing an overflow, as when installing any sewer elements, it is important to tightly connect all the fragments and be sure to use a sealant. Here, a dense rubber or plastic ring is fixed under the socket, fixed on the back of the sink. It can have a round, oval or rectangular shape.
After installing a device with an overflow, you need to check it for leaks: close the drain hole tightly, fill a sink full of water and watch how the liquid flows through the overflow into the siphon. If there are no leaks, the device is installed correctly. Otherwise, you should check again for the presence of gaskets and tighten the union nuts more tightly.
About how to perform assembly and installation of drain with overflow under the kitchen sink, described in detail in our proposed article.
Connecting a siphon to the sewer
There are several ways to connect a siphon to a sewer pipe. Their choice depends on the design of the device with a water seal and on the location of the sewer outlet. It’s easiest when installing a kitchen sink is a stage of renovation work: then, even when installing a sewer system, the most appropriate wiring is thought out.
However, replacement of siphons occurs more often than major repairs. This is due to device breakdowns and furniture replacement. Therefore, sometimes you have to figure out how best to assemble a sink siphon and connect it to the sewer outlet on the fly.

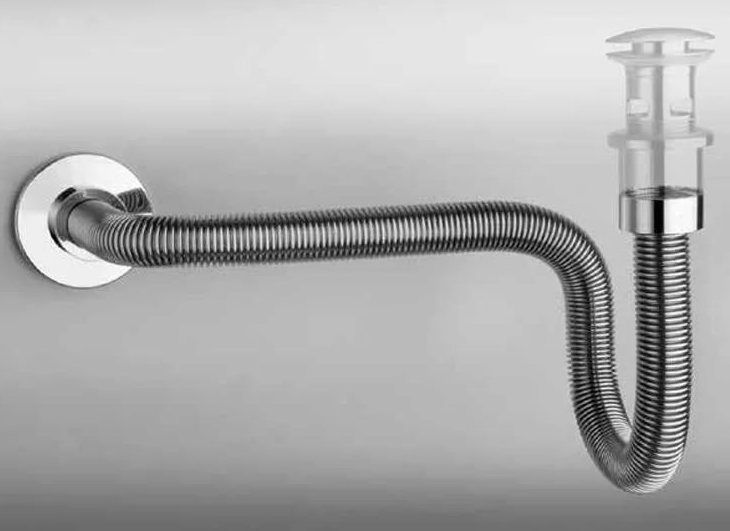
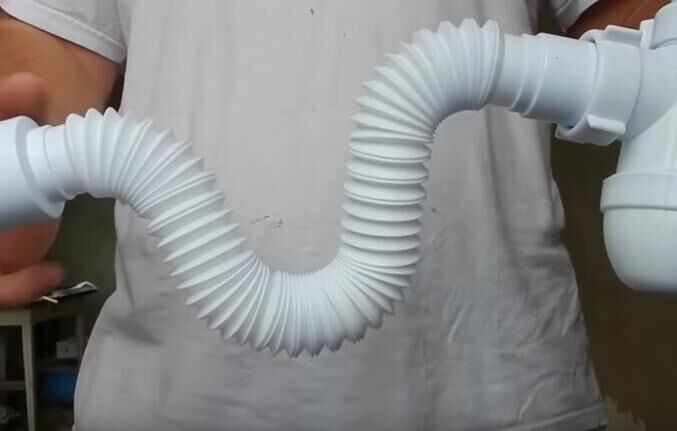
The good thing about a corrugated pipe is that, thanks to its elasticity and mobility, it can be placed anywhere and, if necessary, extended to the desired length. However, plumbing corrugation has a weak point - it wears out much faster than the rigid element.
In addition, due to its softness, the pipe sags, thereby causing blockages. The ribbed inner surface of the pipe also tends to accumulate contaminants, causing the material to stretch and lose its shape.
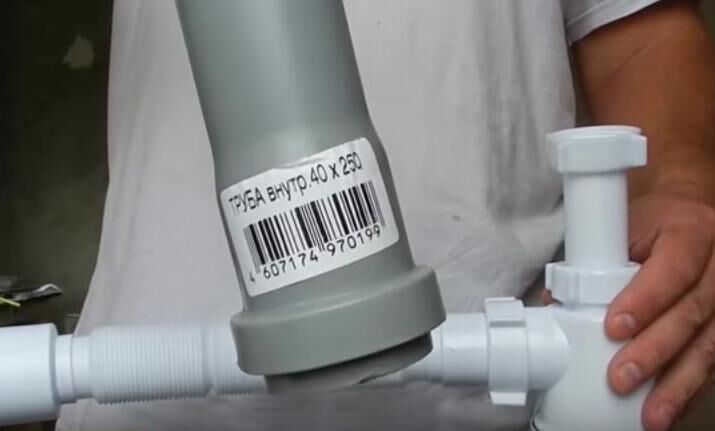
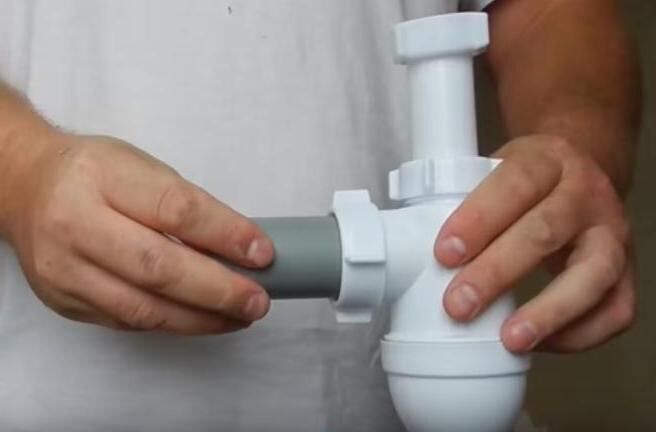
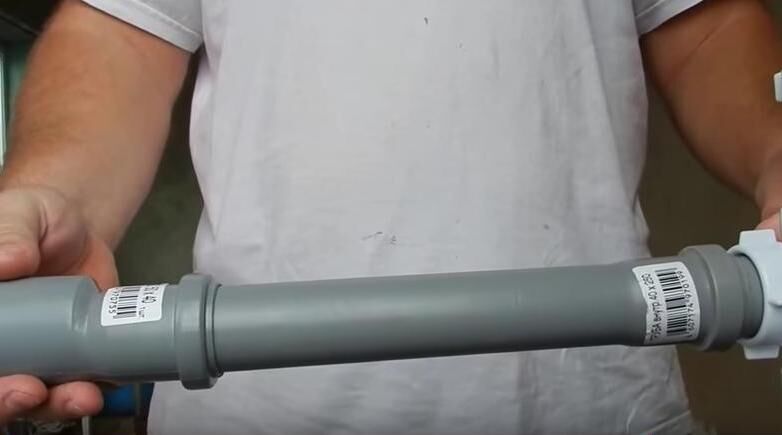
If possible (if the sewer outlet is well located), you can independently replace the corrugated part with an ordinary piece of pipe for internal sewerage, cut to the required length.
You can get acquainted with the replacement option using the photo gallery:
The smooth inner surface of a rigid pipe guarantees protection against sagging and frequent blockages, which are typical for its corrugated counterpart.
Specifics installation of overhead sink and the features of connecting a siphon to it are described in detail in the article we recommend.
Conclusions and useful video on the topic
Videos are an excellent opportunity to consolidate knowledge about the assembly and installation of siphons, as well as learn how to independently practice the installation of plumbing equipment, avoiding common mistakes.
Video tutorial on how to replace an old, broken kitchen sink siphon:
Non-standard installation of a siphon connected to the drain hole with a corrugated pipe:
Assembly and tips for proper installation of an inexpensive siphon with overflow:
As you can see, assembling simple models does not take much time and does not require special knowledge. When replacing an old siphon, dismantling worn-out equipment takes more effort.
If you have no questions about installing a drainage device for a kitchen sink, you can do all the work yourself. To solve more complex problems of connecting the device, it is better to contact a plumber.
Would you like to tell us about your personal experience in installing a siphon under the kitchen sink? Do you have useful information that you would like to share with site visitors? Please write comments in the block form below, express your opinion and post photos on the topic of the article.


It is very good that now the siphon consists of several parts that are easily connected to each other. If necessary, they can be disassembled, cleaned and the failed part replaced. With proper care, it can last quite a long time. To do this, we have a metal mesh installed in the sink at home, and we periodically rinse the siphon itself with warm water.