How to install a pedestal sink: step-by-step installation instructions
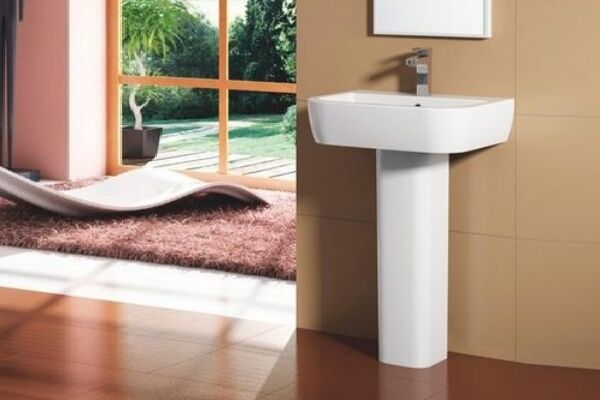
Among all possible types of sinks, models on a pedestal seem to be the most optimal for a country house. They are suitable for bathrooms with a sewer outlet to the floor.If this is your option, check out the design features of the device and the installation manual offered on our website.
We will tell you how to install a pedestal sink with your own hands. We offer detailed step-by-step instructions to everyone who wants to install tulip-type plumbing fixtures on their own. The article we have proposed thoroughly outlines all the subtle nuances of the process.
To ensure that the installation and connection of the pedestal sink is flawless, familiarize yourself with the possible errors that may occur during the work process - this will help you avoid them.
The content of the article:
What is special about installing a sink?
A pedestal washbasin is a functional and practical solution for the bathroom. Before you begin the actual installation process, take a look at your sink. Depending on the design, type of fastening and type of pedestal, the installation method will differ.
What should you pay attention to?
The pedestal - a stand under the sink - has two main functions:
- supporting;
- decorative
The washbasin bowl is mounted on a leg so that part of the weight is distributed directly onto the pedestal. This is especially important for bulky and heavy sinks, since a conventional wall mount may not be able to withstand the load. This is the case when installing a tulip is a necessity.

The decorative function of the pedestal is that it allows you to successfully disguise the siphon, water and sewer pipes, which can spoil the appearance of the bathroom. Since the leg is hollow inside, all communications fit perfectly there.
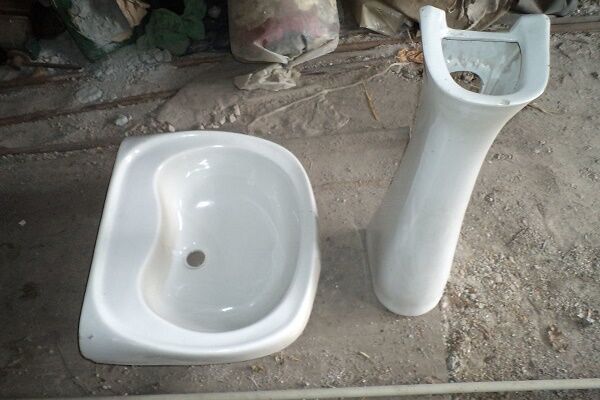
To install a sink, it is important to decide on the type of its design:
- monolithic;
- separate.
And also, with the location:
- corner;
- straight.
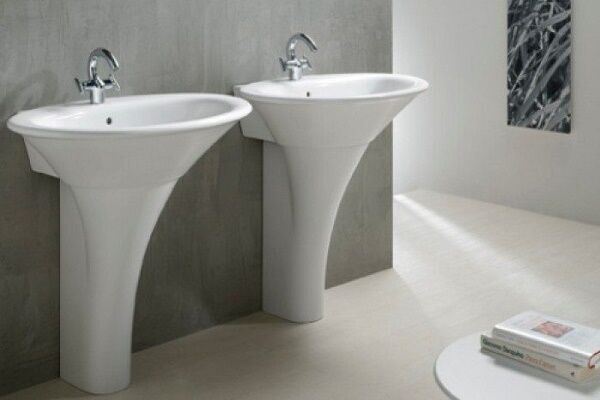
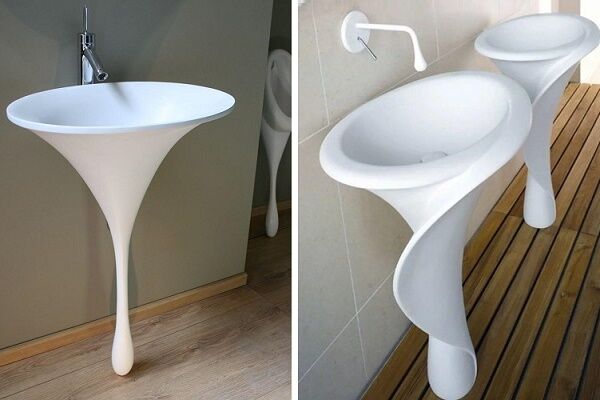
The monolithic tulip sink is an indivisible structure. This type of plumbing fixture is stable, quite heavy and quite expensive. As a rule, these are premium models. We are talking not only about earthenware varieties. Natural and artificial stone, acrylic, and glass are used.

Manufacturers often offer a separate option: a sink and a pedestal for it from the same series. They are united by the same design and full compliance in terms of technical parameters. But it is not at all necessary to buy a washbasin as a set. The choice of sanitaryware is so large that choosing the right pair is not difficult.
How the sink will be located in your bathroom depends only on the availability of free space and your preferences.There are no big differences in installation technology.
What is a semi-pedestal and what are its features?
A semi-pedestal is a popular type of bowl stand. In bathroom interior design, it is now fashionable to use wall-hung sanitary ware: a toilet, a bidet and a washbasin, which do not rest on the floor, as usual, but are cantilevered to the wall.

The semi-pedestal itself is a shortened leg. There is free space between it and the floor. It can be rationally used for storage, which cannot be done when installing a regular tulip. In addition, this design greatly facilitates cleaning under plumbing fixtures - the floor remains free and no hard-to-reach places are formed.
As for the main functions, the semi-pedestal copes well with both the aesthetic component (masks communications) and the supporting part. This type of plumbing products can also be purchased separately, but it is important to adhere to the general design idea and avoid mixing styles.
Calculations and dimensions for the wiring diagram
Before proceeding with installation, you need to decide on the project. First, read the recommendations regarding installing a pedestal washbasin in the bathroom, and the rules bowl height position, and then start building a plan and counting materials.

First of all, the size of the washbasin itself. It is better not to buy bowls less than 50 cm wide for your home. They will be inconvenient to use. The traditional size is 55-65 cm. The height of the sink should be selected depending on the height of potential users.
There are standards that require installing a sink at a height of 80-82 cm from the floor. This size is optimal for most adults with a height of 160-180 cm. If you are planning to buy a swivel faucet with spout for a sink and bath, then you can deviate a little from the standards and install it at a height of 85 cm.

There is nothing stopping you from installing a tulip vanity higher if that is more convenient for you. The height of the pedestal is usually about 65 cm, so you will not be able to mount the bowl lower.But making a raised podium under the tulip is not difficult.
Another important parameter that is often neglected due to limited space in the bathroom is the space in front of the washbasin. There should be at least 70 cm of free space in front of the sink, otherwise it will be inconvenient to use. It is a bad idea to install a sanitary ware bowl in a narrow niche in the wall or between other furnishings.
Each plumbing fixture has its own installation diagram provided by the manufacturer.
It contains basic information for installation:
- from which side is the water supplied?
- height of fastenings and main structural elements;
- location relative to the wall;
- the presence of an overflow and a hole for the mixer;
- dimensions of the device itself.
It is recommended that you familiarize yourself with the installation diagram of your plumbing fixture with a pedestal before starting installation, and if we are talking about laying water supply and sewerage from scratch, then this should be done taking into account the features of the selected plumbing model.
Installation instructions - step-by-step description
To make the installation process clear, consider the technology step by step. Start by selecting your tools. Dismantling an old sink also needs to be done wisely. Then you need to install the sink, faucet, siphon and the pedestal in turn.
Preparing the necessary tools and materials
If you have a wiring diagram on hand and all communications are connected in accordance with it, installing a sink with a pedestal is much easier and faster.
Prepare the necessary tools and materials:
- perforator;
- screwdriver or screwdriver;
- adjustable wrench;
- sealant;
- set of fastenings;
- siphon for washbasin;
- mixer;
- roulette;
- building level.
Since the sink is initially mounted as a console, that is, rigidly fixed to the wall, a hammer drill is needed to drill holes in the concrete of the wall. A screwdriver or screwdriver is needed to tighten the expansion dowels. To work with bolted connections, you will need an adjustable wrench.

A set of fasteners, as a rule, comes standard with plumbing fixtures. Often this includes a siphon. The mixer needs to be purchased separately. Consider the depth and width of the sink when purchasing a faucet.
A tape measure and a building level are a must in all construction work, and installing a pedestal sink will be no exception. You don’t even have to think about a pencil or marker for marking.
But the sealant, be it tow or FUM tape, must be present in the basic set of tools and materials. Without careful sealing of all connections, no plumbing equipment can be operated.
Dismantling of old equipment
If your bathroom already has a regular sink installed, the old plumbing will need to be removed before installing a pedestal model.
It's easy to do:
- Turn off the water. Start by removing the faucet. Unscrew the nut and carefully disconnect the water pipes from the faucet.
- Then remove the siphon. Despite the fact that the water has already been shut off, some of it still remains in the pipes running after the shut-off valves. To prevent all this water from pouring straight onto the floor after removing the siphon, place a bucket or basin in advance.
- When the sink is no longer connected to the communications, you can begin dismantling the sanitaryware. Unscrew the fasteners and remove the washbasin from the support.
The surface must be flat. If the floor in the bathroom, as often happens, is crooked, it needs to be leveled using a cement screed.
If you make an additional elevation for the tulip, you can compensate for the slope due to it. Now all that remains is to free the room from the old plumbing in order to begin installation of new equipment.
Marking the walls before installation
The next step is the installation of tulip-type plumbing fixtures. First of all, markings are applied. You will need a wiring diagram that takes into account sink dimensions.
Find the distance between the fastening points on it. Or just measure them with a tape measure. Measure the height at which the bowl will be mounted.
Draw a vertical line indicating the axis of symmetry. Installation will be carried out in relation to it. Mark the second axis – perpendicular – with a horizontal, level line. Fasteners will be located on it.

There is another simple markup method. Measure the desired height of the top of the sink and draw a horizontal line at this level. Connect the washbasin to the pedestal. Place the structure in the installation location.
Make sure that the bowl and the line on the wall match completely. Take a simple pencil and insert it into the mounting holes. Draw marks on the wall in these places - you will get the exact location for the dowels.
Installing a Pedestal Sink Faucet
So as not to suffer with mixer installation on an installed sink, it is better to do everything in advance. Then there will be no need to reach into hard-to-reach places with a wrench and a screwdriver; all that remains is to connect the water supply.
Connect the purchased faucet with flexible pipes that you connect to the water supply. Most often this is a metal hose or rubber hose protected by a metal braid. All threaded connections must be made with a rubber gasket.

Included with the mixer you will find a connecting pin (or two). It must be screwed into the threaded hole at the bottom of the mixer. Place the O-ring. It will protect the material of the pedestal sink and prevent it from loosening.

Insert the faucet into the hole on the sink.

Place another O-ring on the bottom for bottom protection. The seal is necessary so that during operation the crane does not start to wobble and “walk”. Take a special metal washer in the shape of a horseshoe and put it on the hairpin. It is needed for stronger pressing over the entire area.

Screw the nut onto the stud using a wrench.

The mixer is ready. Flexible hoses are connected to the water pipes after the pedestal sink is fully installed. Please note that the right valve should be responsible for cold water, and the left valve should be responsible for hot water.
For safety reasons, it is not advisable to have a hot water tap under your right hand. If the temperature is too high, you can get burned. This is especially true for children who do not always know how to properly regulate water with a mixer.
Sewage connection - install a bottle siphon
Before turning on the water to check the quality of the installation, you need to install a siphon and connect it. As a rule, the siphon is sold disassembled, so it still needs to be assembled correctly.
Find the part for the drain hole. Using silicone, connect it to the gasket. Insert a bolt into the hole in the center. Replace the drain in its place in the bowl of the pedestal sink.

If the sink is equipped with an overflow hole, it must also be connected to the siphon using a corrugated tube.

Assemble the siphon bottle, connect it to the tee to connect the overflow. All conical gaskets must be installed so that their narrow part is directed towards the union nut. Using a bolt, screw the trap to the pedestal sink drain.
The design of the siphon is such that if a leak occurs in any connection, most of the parts will have to be unscrewed and reassembled. That is why the installation must be done carefully - the first time. The siphon is connected to the outlet pipe after hanging the sink and pedestal in place.
Installation of a sink - how to hang it on the wall
Now the markings are ready, the mixer and siphon are installed, you can begin installation. If you have little experience in this matter, the following instructions will be very useful to you. Using a hammer drill or drill, make holes in the concrete at the desired points.
The diameter of the drill is selected in accordance with the size of the dowels. The hole should be slightly smaller so that the fastener fits tightly into the wall material.

For strength, you can use adhesive sealant or silicone. It is poured directly into the holes before driving the dowel there. The mounting kit includes special screws - plumbing screws.
At one end they are screwed into the wall, at the other end there is a thread. Simple self-tapping dowels with a head for a screwdriver or anchor bolts can also be used.

To avoid damaging the enamel of the ceramic product, use plastic washers, which are also included in the kit.

Place the bowl in place and tighten the nuts. Check for correct installation using a level. The installation of the main part of the washbasin with the pedestal is completed. Now you can start connecting the water supply and sewerage. Since you followed the wiring diagram and installed all communications at the right points in advance, connecting the mixer and siphon will be as easy as shelling pears.
Installation of the pedestal - the final stage
The installation of the pedestal should be done after the siphon and mixer are connected. It will hide all communications, so in the process of installing water supply and sewerage, you need to “try on” the pedestal so that the pipes are not visible.

The “leg” for the washbasin itself is stable. Once you have placed the siphon inside the sink stand, push it against the wall. The bowl will rest on the pedestal and at the same time fix it with its weight.
The shortened pedestal does not rest on the floor. It will hang on mounting pins, just like the sink. Even at the stage of installing the bowl, you need to take care of the holes for attaching the semi-pedestal. Then, according to the same scheme, the product is hung on the studs, washers are put on and the nuts are tightened.
Installation errors, their causes and solutions
Sometimes after the installation is completed or some time after installation, it turns out that the sink and pedestal were installed poorly.
A number of symptoms that indicate this:
- the sink is wobbly;
- the pedestal is shaking;
- there is a gap between the bowl and the pedestal;
- there is a gap between the bowl and the wall.
Most of these problems can be solved without dismantling the product. If your pedestal washbasin begins to move and tremble at just one touch, the problem is in the level. During editing, of course, you used a spirit level, but perhaps not diligently enough.

If it turns out that the fastenings are not at the same level, this needs to be corrected. A large difference in height can only be corrected with new fasteners, while a small difference can be corrected by slightly twisting the mounting pin.

If the washbasin itself stays level, but only the pedestal wobbles, the problem is in the base. A perfectly flat floor is a rarity. Maybe your pedestal got into the joint of the floor slabs or the problem is in the screed itself, but if you don’t want to level the floor, use silicone.
When drying, it creates a fairly dense layer that compensates for the distortion. Apply silicone to the joint between the “leg” and the floor. The same solution is suitable for eliminating a gap near a wall or between a bowl and a pedestal. Silicone sealant is an indispensable item in a plumber's arsenal.
Conclusions and useful video on the topic
Of course, it’s better to see it once than to read it 100 times on the Internet. We have made a selection of good video reviews that will help you dot the i's in such a difficult task as installing a pedestal sink.
Video #1.Installation of a pedestal sink using a practical example:
Video #2. Special attention to sealing joints:
If you decide to install a pedestal sink without professional help, read all the recommendations twice, especially if this is your first time. Of course, unforeseen situations may arise; no one is immune from this.
Being theoretically savvy, you will see the full picture of the process. If you strictly follow the instructions, everything should go like clockwork.
Would you like to tell us about how you installed a tulip sink yourself? Do you have any questions that arose while reading the article, or useful information that you would like to share with us and site visitors? Please write comments in the block below.


I decided to try to change the system myself. I was not seriously involved in plumbing, so a number of questions arose. 1. Do all faucets have a standard distance between the faucets, or do you need to measure yours before dismantling? 2. Which hoses are preferable: metal hoses or rubber hoses, from an environmental point of view? 3. How to seal the connection if the factory gaskets do not hold well (water oozes out)? On the third question, I really need help, I’m already tired of setting pots, I don’t have the strength... Thanks in advance.
Answering your questions, I can say that 1) Why do you need to measure the distance between the taps? It's not very clear. If you have any doubts, take a similar mixer, since there are plenty of them on the market. 2) I don’t know how it is from an environmental point of view, but from a reliability point of view, the first option is much preferable.3) Take and change the gasket. Maybe it's stiff, maybe it's defective, maybe it's installed incorrectly. It is enough to go through the mixer and check everything. After this, draw conclusions. Gaskets are inexpensive.
I don’t really like it when sinks are attached to the wall without support; such a design seems to me unsteady and unreliable. Perhaps this is more of my nitpicking, but at different times I installed exactly these tulips for myself and my brother. The pipes are hidden, nothing else needs to be removed. The most important thing is to choose a height that is convenient for growth, and measure everything with a level, so that the sink does not wobble.