Do-it-yourself instantaneous water heater installation: step-by-step instructions
Many of us have repeatedly faced the problem of emergency shutdown of hot water.Agree, it is quite inconvenient to heat water in a pan in order to wash dishes or take a swim. But if the family is large, then this can become a real problem.
But there is a way out - instantaneous water heaters. They help increase the level of comfort in city apartments and provide country houses with hot water all year round. Let's figure out how to install a instantaneous water heater with your own hands, which any home craftsman can handle.
We will talk about the principles of operation of the heater and what factors need to be taken into account when choosing it. Let's consider the features of connecting electrical and gas equipment. Here you will find video installation instructions to help you understand the installation better.
The content of the article:
The principle of flow-through water heating
If you are planning to install water heating equipment yourself, you must become familiar with its structure and operating principle.
Heating water in a flow-type device is quite simple: cold water from the water supply passes through the heating elements and at the outlet has a temperature several times higher than the initial value.
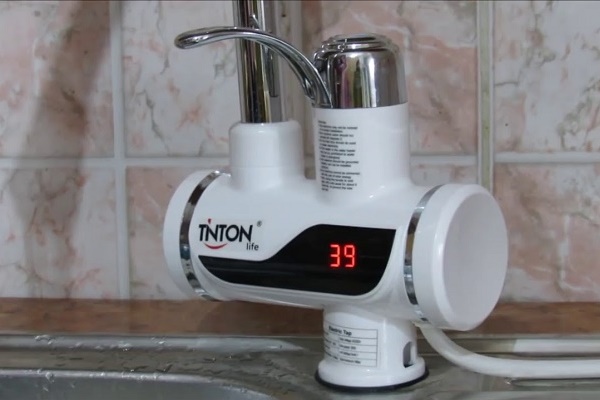
For example, water with a temperature of + 10º C is heated to a temperature comfortable for taking a shower - + 36-40º C. The parameters are adjusted using control buttons located on the front side of the case.
Water heating starts automatically from the moment the tap is opened. Despite the miniature size of the device, it is capable of providing heating to a temperature of + 50-65º C, sufficient to wash dishes or take a hot shower.
In order for the equipment to work properly, the following nuances must be taken into account during installation:
- the strength of the wall on which the device is mounted;
- required pressure in the water supply;
- suitability of the electrical network.
If all conditions are met, the quality of operation of the water heater will depend only on your skills.

Factors for choosing a water heater
If you have already decided that you are completely satisfied with the instantaneous water heater, you need to decide on the right model.
To do this, try to clarify the desired characteristics of the device, that is, analyze the following information:
- number of permanent residents;
- maximum volume of water consumption with simultaneous inclusion of all water points;
- the total number of all water points;
- desired maximum heating temperature;
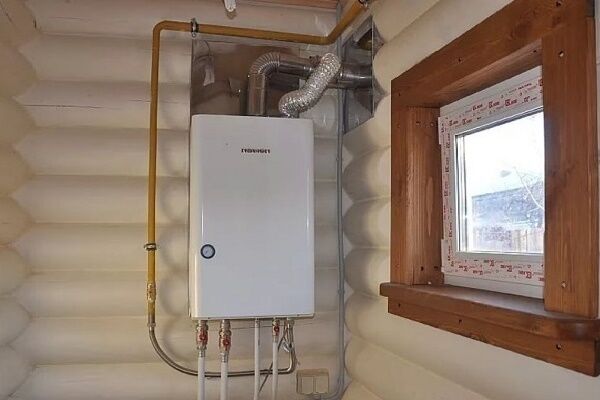
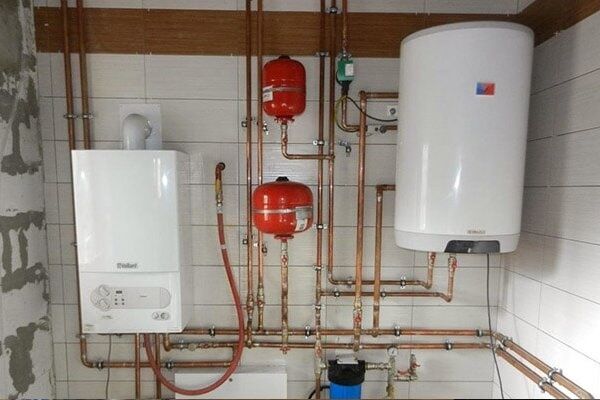
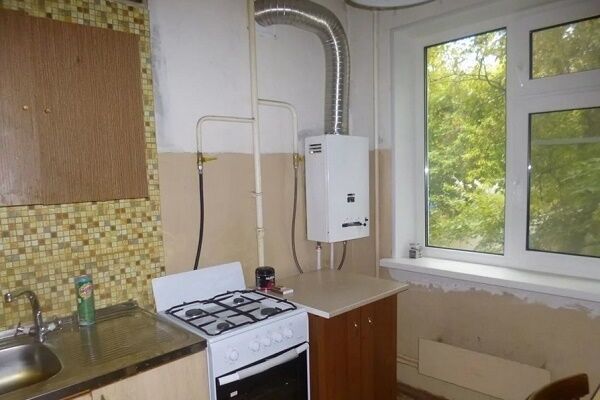
Collecting data will help calculate the power of the equipment. In this case, it is better to rely on the information provided by the manufacturer. If gas is supplied to the dacha, then you should think about connecting geyser, and if you permanently live in the house, then a gas boiler.

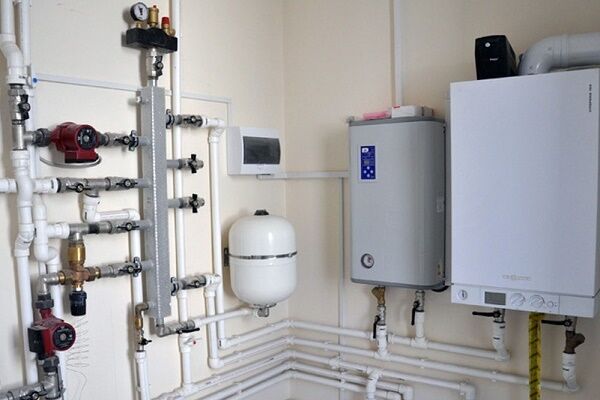
In residential buildings with more than five floors, the installation of gas equipment is strictly prohibited. In this case, the choice is predetermined - you need to buy electric water heater. It will “save” during seasonal hot water outages.
Owners of private houses who do not have the opportunity to connect to systems with main gas will have to give preference to electric options for equipment that prepares sanitary water. This is the case if you do not plan to use bottled gas or install a gas holder.
For self-installation, the degree of complexity of the installation, the cost of the device, the initial equipment, the possibility of quick repairs and the availability of spare parts, the terms of warranty service and the warranty period are also important.
If the seller offers installation services, consider this option, especially when purchasing an electric pressure model or a geyser.
Additional with arguments choosing an instantaneous water heater Check out another article that we recommend reading.
Reasons for installing the device yourself
Do-it-yourself installation of a device directly connected to the water supply system and the electrical network is a responsible and serious matter, so it is better for inexperienced users to trust the professionals.
However, there are several reasons that allow self-installation:
- shortage of funds to pay for services;
- the need for urgent installation of the device;
- desire to learn and acquire new skills (preferably under the supervision of a specialist);
- prospect of repair or replacement.
Of course, if you independently understand the structure of the water heater, study the instructions and install it, in the future repairing or replacing worn parts will become commonplace.
In addition, there are special life circumstances that force you to learn to do everything yourself. For example, living in a remote village, from which the nearest service center is more than 300 km away.
Installation instructions for electric model
So, let’s try to figure out how to properly install a instantaneous water heater with your own hands so that it works much longer than the period specified in the warranty card. But remember that general recommendations must be supplemented by the guidance provided in the technical documentation.
Step 1. Preparatory work - checking the electrical network
Not every electrical network can handle the power of the model you choose. The market offers water heaters with an average capacity of 3 kW to 27 kW. For the operation of weak devices, old wiring is sufficient, but the operation of a powerful pressure heater can only be ensured by a new network and connection through an RCD.

Thus, to connect most instantaneous water heaters, you will need a stationary installation method, an AC power supply with a voltage of 220 V, a three-core copper cable with a minimum cross-section of 3 mm X 2.5 mm, and automatic protection of 30 A.
Do not forget about mandatory grounding. If the device is fixed on a heated wall, the cable cross-section should be increased.
Step #2. Choosing a location for installation
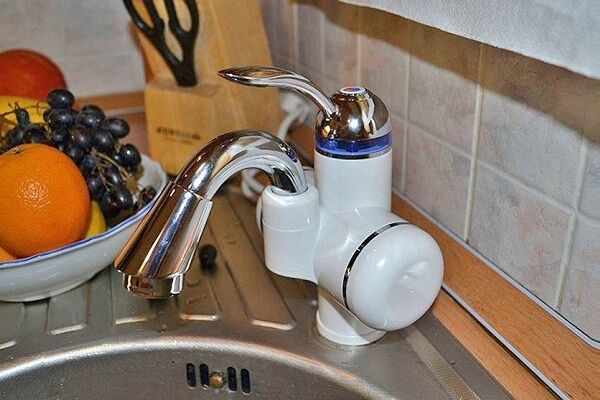
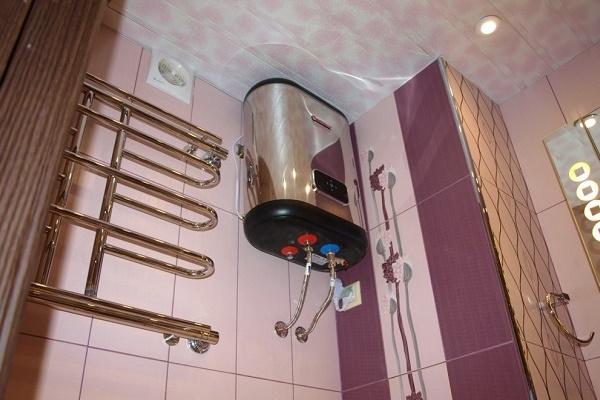
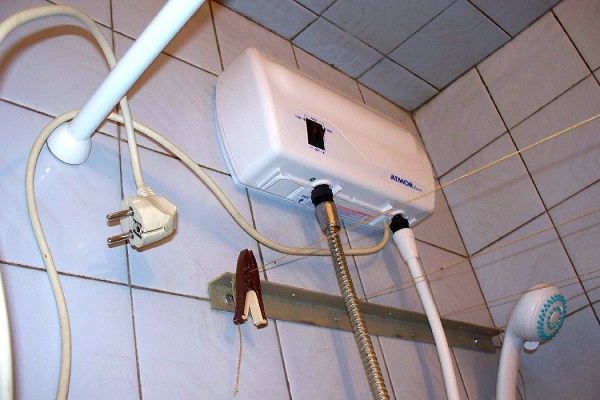
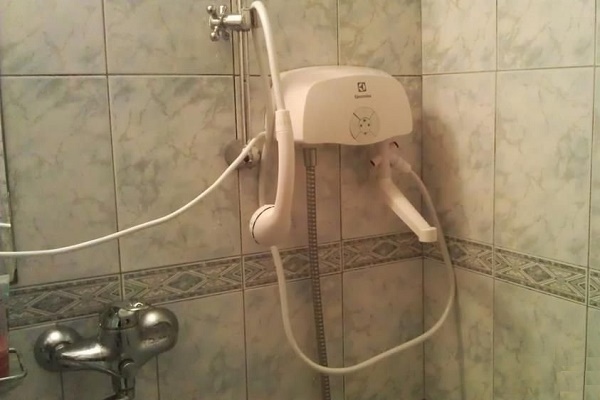
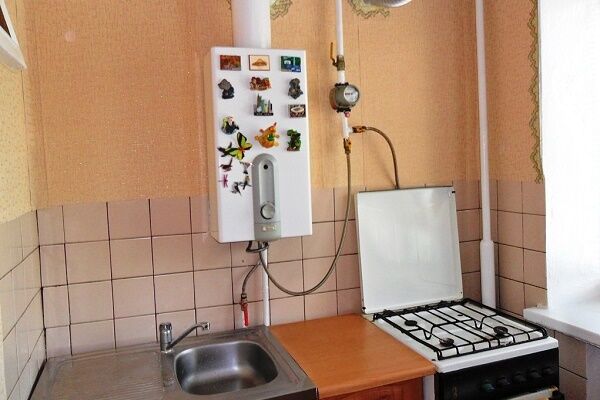
The installation location depends on the type of equipment. Non-pressure water heater Usually mounted near the point of water consumption, that is, above the sink, under the sink or to the side of the faucet. If the non-pressure model, in addition to the gooseneck faucet, is equipped with a hose with a shower head, you should consider the mounting location for it.

Models with markings IP 24 And IP 25 initially protected from direct contact with water, however, it is better to place them where there is no threat of flooding with water from the shower - under the sink.
At the same time, they must be accessible for turning on (mechanically), adjusting the pressure and temperature - which means they should be located near the shower or sink. Therefore, installing a tankless water heater in a toilet is a bad idea, but in a bathroom it is a good idea.
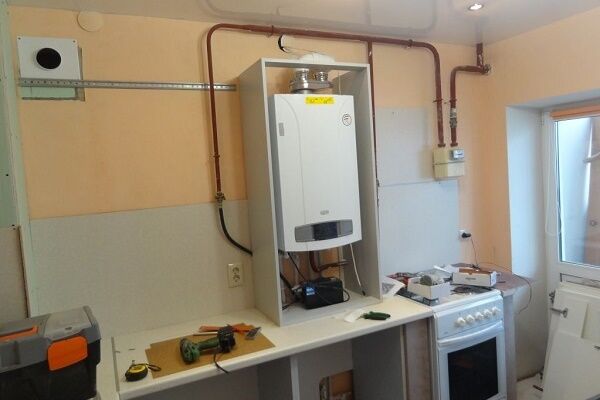
The choice of pressure device dictates other conditions. Usually it is installed near the water collection point, which has the maximum load, or near the riser.A powerful water heater is capable of providing hot water to the kitchen, bathroom, shower room, so the location is chosen based on feasibility and ease of maintenance.

Such devices do not need constant adjustment - they are programmed.
Step #3. Wall mounting procedure
Wall mounting involves drilling holes and hanging the device using special hinges or brackets included in the kit.
Two main conditions for proper installation:
- wall strength (brick, concrete, wood, conditionally plasterboard are ideal);
- ideal horizontal position relative to planes.
If the equipment is placed at an angle, there is a risk of air locks and subsequent breakdown. The fact is that the heating elements must be completely covered with water during operation. Due to the distortion of the device, part of the spiral or heating element may dry out, and the mechanism will fail due to overheating.

As you already understood, for installation you will need a drill and certain drill bits - for concrete or wood.
The procedure is as follows:
- Set the water heater switch to the off position.
- Take the mounting plate (should be included), attach it to the wall and mark the holes.
- Drill the holes.
- Insert the dowels and screw in the screws.
- Open the housing cover and make holes for water supply.
The next step should be carried out taking safety precautions, since you will have to work with electricity.
Step #4. Electrical connection
Make sure that there is no voltage in the network, and insert the electrical cable through a special hole in the back wall, covered with a rubber plug. Hang the device on the already prepared screws, check for horizontal deviations.
Strip the ends of the wires in the standard manner and insert the three wires into the terminal box. Tighten the mounting screws until each wire is firmly secured. Don't go wrong with the color coding of the wires.

Installation is prohibited if there is no grounding and automatic residual current devices (RCDs). If a leak or failure occurs in the system, the machine will instantly react and break the electrical circuit.
The installation location of the RCD is the distribution panel, which is located on the floor area or in the utility room, if we are talking about a private house.
Step #5. Water connection options
There are usually several connection options. For example, the same model can be installed above the water supply unit (top connection) and below, under the sink (bottom connection), connecting the device to closed or open pipes. For piping, there are two holes in the body of the device - hoses with hot and cold water are inserted into them.

Low-power electric water heaters, focused on one point of water consumption, usually have a hose with a shower head instead of hot water outlet to a common line.

The water heater can be connected both to the central pipes and to the storage tank, which is located 4 m (at least) above the installation site of the device. When supplying water from a tank, constant monitoring of the water level will be required.
Direct connection to a well or well (in country houses) is also practiced, but only through a coarse filter, otherwise the manufacturer withdraws its warranty obligations.
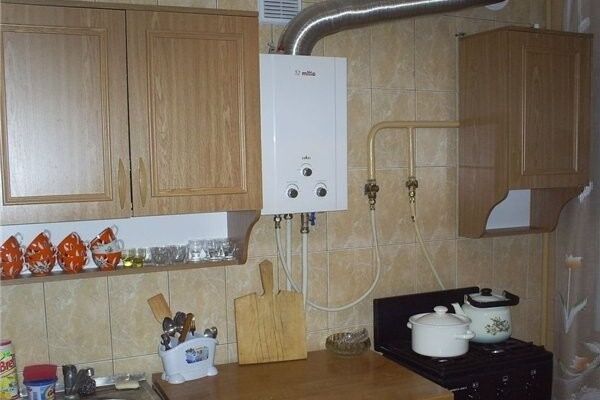
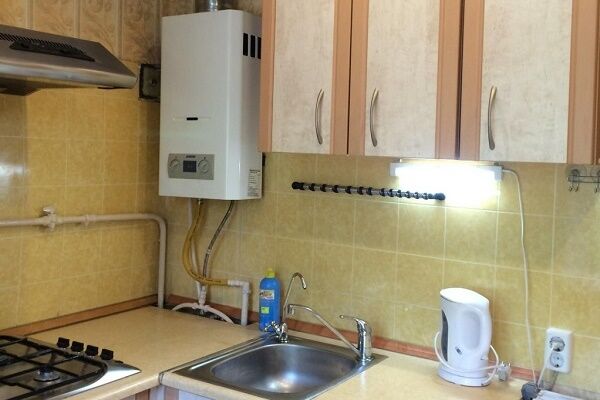
How to install a gas water heater?
The installation of a geyser differs from the installation of electrical equipment in the large number of requirements and a more complex connection process. However, time and effort are compensated by savings on fuel costs - natural gas, which is cheaper than electricity.
Step 1. Coordination and compliance
To install a geyser, you will need to supply gas to the house (in some regions this is the most expensive expense item), then draw up a competent engineering project and have it approved by certain authorities. The project must be drawn up by a licensed organization.
About the procedure for connecting a private house to the main gas supply system in detail written here. We recommend that you read the information provided.
To get an idea of what the installation requirements are, you can look at the title documents:
- General provisions for the design and construction of gas distribution systems made of metal and polyethylene pipes (SP 42-101-2003).
- Gas distribution systems (SNiP 42-01-2002).
The basic rules for installing gas equipment include a room volume of at least 7.5 m³ and a ceiling height of at least 2 m. A prerequisite is well-established ventilation. The minimum chimney diameter is 110 – 130 mm (depending on the manufacturer’s requirements).

Anyone wishing to install a gas water heater with their own hands should understand that the device without installation by representatives of a licensed organization (authorized service center) is completely void of warranty and free maintenance.
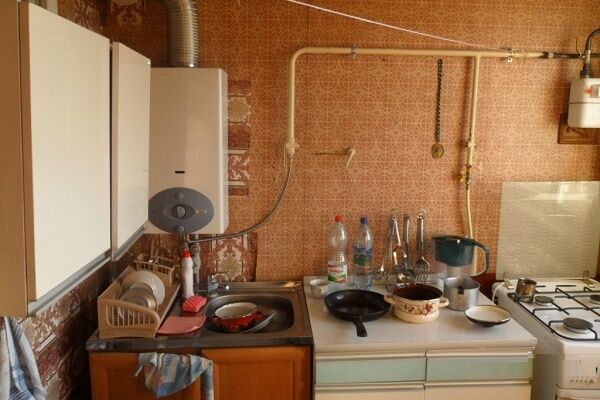
Step #2. Rules for dismantling an old gas water heater
The process of replacing a gas water heater is faster than installing a new water heater, since no chimney equipment or connection to the gas main is required.
The work progress is as follows:
- Close the valve on the gas supply pipe to stop the flow of gas.
- Unscrew the nut securing the flexible hose and carefully remove it. If the column is connected using the old method of connecting through a metal pipe, you will have to cut it with a hacksaw.
- It is better to throw away the old connecting fittings and buy a modern, durable hose.
- Turn off the water supply system - to be safe, it is better to turn off the taps at the riser.
- Remove the air exhaust pipe and carefully remove it from the chimney.
- Carefully remove the device body from the wall bracket.
During the dismantling process, try not to damage the supply pipes, otherwise replacing the water heating device will result in replacing all adjacent equipment.

If you notice wear on the pipes, it is better to replace them with new ones - most likely, during the operation of the old device, more reliable models appeared in stores.
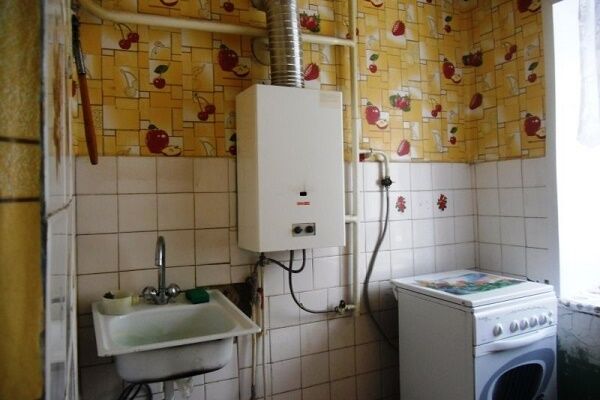
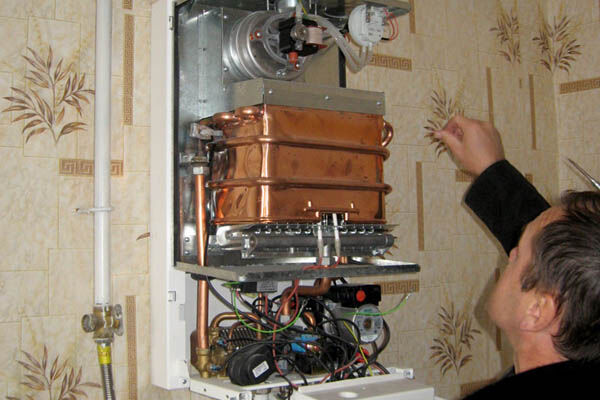
Step #3. Installation instructions for a new gas model
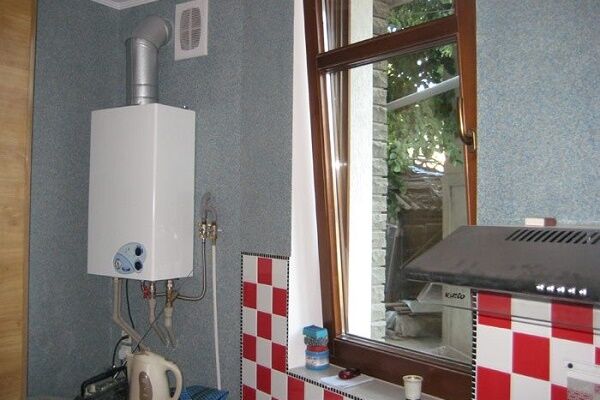
First, check the serviceability of the chimney. Check the tightness of the connections, the vertical position of the gas exhaust pipe, and the quality of the thermal insulation.Do not forget that the outlet must be located above the highest point of the roof and be protected from precipitation by a canopy.
It doesn’t matter which pipe you use – flexible or rigid – rather, its characteristics depend on the installation conditions. Then check if the ventilation is working properly.

Adjust the mounting points for the new model. Remove the switch handle (power regulator), unscrew the fasteners holding the casing, and remove the front part of the housing. Use mounting loops, screws, and dowels to hang the speaker on the wall. Remember: the housing should hang freely on the wall, and not stand on the water or gas supply pipes.
Using flexible hoses, connect the device to a cold water pipe, then connect the outlet to a hot water tap.

The next stage is connecting the gas. Use a flexible hose to connect the gas tap to the water heater inlet. You can perform the verification in the traditional way by soaping the joint and opening the gas supply. No bubbles indicate correct connection.
Lastly, install the chimney pipe. Most often this is a flexible corrugation, selected according to the diameter of the outlet hole. Fix one end of the corrugation at the outlet of the column, insert the other into the chimney.Reinstall the front panel with switches, tighten the fasteners and test the device.
Operating and Maintenance Rules
Malfunctions can appear either after a few years or after a month. The risk of breakdown is especially high if the device is not used properly.
In order for electrical equipment to work properly, it is necessary to keep the filter clean and clean the aerator from time to time. Carry out preventive maintenance approximately once a year: turn off the water heater, remove accumulated dirt, and blow out the pipes. If necessary, tighten the fasteners.
At gas water heaters, keep the heat exchanger clean, change seals, clean the burner and pilot nozzle, change water filters.
If maintenance and simplest repair of low-power electrical appliances can be done on your own, then it is better to entrust control over the operation of the gas water heater to the employees of the gas service with which the contract has been concluded.
It is especially not worth taking risks if there is a problem with insufficient water pressure, the water supply fittings are clogged, or the heat exchanger is covered with limescale.
Conclusions and useful video on the topic
Three informative videos will introduce you to the secrets of installing instantaneous water heaters and prevent questions that often arise during the installation process.
Video #1. Installation instructions for the Stiebel Eltron DHC electric water heater:
Video #2. How to install a CLAGE DSX instantaneous water heater with remote control:
Video #3. Professional installation of a geyser:
As you can see, you can install an instantaneous electric or gas water heater yourself, using the manufacturer’s instructions or useful videos.However, you can maintain the warranty and increase the service life of the device only with the help of professional service.
Do you have any questions while reading the information we offer? Do you have useful information that you would like to share with site visitors, or a photo in which you recorded the steps of your own installation? Please write comments in the block below, and you can also leave files with pictures here.


If possible, it is better to consider the option of purchasing a gas instantaneous water heater. The point is not only the lower cost of operation, but also higher quality and stronger heating of water, even with cheap samples. Moreover, there is no risk of contact between water and electric current. Low-power electric options do not heat the water as much; their power is not always enough for normal bathing.
Hello. The gas water heater also has its disadvantages. If the water pressure is poor, it simply will not light up and there will be no hot water supply, while the electric boiler will draw and heat water, you must always control the draft, again, there is an explosion and fire hazard from the water heater + weakness to water quality.
It happened in my experience that, out of stupidity, the column was turned on while swimming, and as the water cooled, hot water was opened, topped up, and the column turned on. But it turned out that dirty water came from the central water supply and clogged the system. The column began to boil and began to spit boiling mud.
As for the contact between water and current, well, in general, many modern speakers have electrically dependent functions. Any system needs constant diagnostics, just as it suits you.
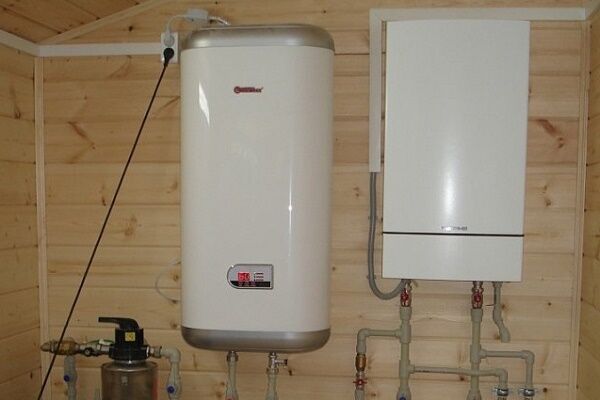
Help in this situation, maybe someone has encountered this? In general, about six months ago I decided to give up central heating and switched to individual heating. I installed a boiler in the bathroom, and a flow-through water heater in the kitchen, since the kitchen only needs warm water for washing dishes. After installing and connecting the water heater to the network, the electrical circuit breakers began to periodically knock out. What could be causing this, and how can I solve it?
One of three things - either the wiring is weak and needs to be changed (the most unlikely case, but it happens), or the machine cannot cope with the tasks assigned to it (more likely, especially if it comes with a bunch of other things in addition to the water heater), or the device itself is defective. It's more likely a matter of the machine. For such power it is generally recommended to install a separate machine.
You have a lot of tension in the network because... water heaters are energy-intensive, so either the machines are too small for these water heaters, or the wiring is of insufficient cross-section. Test the wire insulation when you turn on the water heater to see if it is warm or cold. If the wire heats up, it means it will have to be changed - a larger cross-section is required. Don’t delay this, otherwise you’re not far from a fire. If the network turns off and the wire does not heat up, you need to change the circuit breakers: if they are 10A, set them to 16 amps or 25A.