Is it possible to lay laminate flooring on old parquet: step-by-step instructions
Buying an apartment of the “Stalinist” design, even without renovation, can be considered a success if you need housing in a house with a classic layout with wide flights of stairs and high ceilings. As a rule, in such an apartment, future residents are greeted with worn-out parquet floors. There are 2 ways to solve the problem - replace the coating or lay laminate flooring on the old parquet. Both options are problematic, so it makes sense to choose the one that requires less time and effort.
The content of the article:
Is it possible to lay laminate flooring on old parquet?
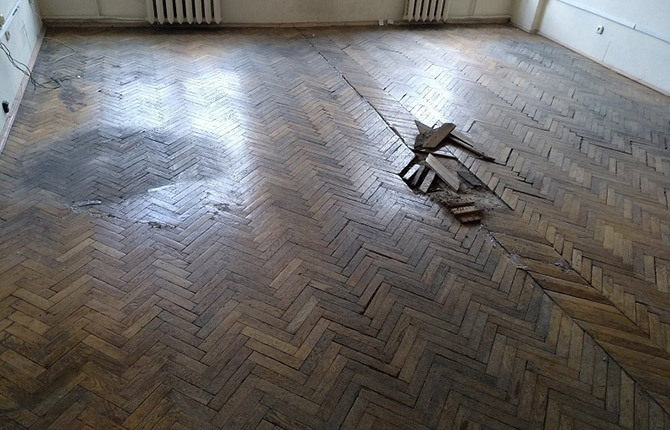
To install the slats, a level, stable and dry base is required. Therefore, in theory, installing laminate flooring on old parquet is no more difficult than any other covering. In practice, it turns out that laminate flooring is capricious; the slats break easily and do not fit well into place on old parquet.
The most serious problems:
- It will require repairing the old parquet, replacing individual tiles, and possibly resurfacing the surface. Regular scraping is not enough.
- Old parquet requires revision and additional sanitation. Natural wood, even if old parquet tiles are glued together from several layers, can become infected with fungus if not properly cared for.
- The base under the laminate must be thoroughly dried, waterproofed, and ventilated. Otherwise, the old parquet will play with moisture, and the laminate will creak when locked.
The old parquet floor will need to be leveled, part of the surface will need to be sanded, somewhere sanding will be enough. But most of the time and effort will be spent on leveling the surface. So that there are no humps and holes. Otherwise, laying laminate flooring loses its meaning. It’s easier to remove the old floor, clean the concrete and lay down chipboard.
Old parquet, after 20 years of service, develops a peculiar smell of decaying wood. This is dust that is formed during the abrasion of a parquet floor, mixed with coating care products.
Before laying underlayment or leveling pads over the parquet, the odor must be blocked, otherwise it will remain in the room even after the laminate has been installed.
This is useful! Engineered board or laminate: what is better to choose for floor construction.
Advantages and disadvantages
Is it worth it to lay laminate flooring on an old parquet floor? The feasibility of such an undertaking depends on the quality of the parquet, the degree of its wear, and the availability of funds for its repair. Laminate can be considered an inexpensive alternative to expensive renovations.
Positive aspects of the decision to lay laminate flooring
It is possible to save the old parquet. There is no point in removing the boards if the covering is made of valuable material. Ebony, wenge, oak strips with sandalwood inserts, simple mosaic parquet if restoration is done.
The old parquet itself is a strong and reliable foundation. The only drawback is surface wear. Otherwise, a rough foundation based on a high-quality parquet floor will be more reliable and safer than sheets of chipboard or OSB. The former are made on the basis of phenol-formaldehyde resin, the latter (OSB) do not tolerate contact with water vapor.The material doesn’t just swell, it burns into dust. Fiberboard is too thin and flexible to be used as a subfloor.
The volume and cost of work to level the surface and strengthen the slabs of old parquet is less than in the case of dismantling the covering and laying plywood sheets. However, plywood also contains formaldehyde.
In addition, the thickness of the old parquet, taking into account the adhesive base, will be greater than that of plywood. The parquet board after sanding and repair has a thickness of 18 mm, and taking into account the mastic - 20-23 mm. Whereas plywood laid on concrete is 16 mm at best, and most often 12 mm. In terms of noise and thermal insulation, parquet, even old, looks more preferable.
Even if the boards of the old floor need to be covered with an intermediate layer of plywood, the thickness of the sheet will be smaller, usually 6-8 mm, which means that preparation for laying the laminate will be cheaper.
Flaws
There are fewer negative sides to the idea. Old parquet requires careful preparation before installation. Laminate – this is not linoleum. Any poorly secured, “swinging” boards can cause damage to locks and even breakage of end connections.
Old parquet is still a typesetting covering with a huge number of seams. This means that any moisture that seeps under the laminate can cause the floor to deform. It will be difficult to dry old parquet boards without removing the laminate.
The parquet creaks a lot - the worse the condition, the louder the squeaks. And if the creaking of the laminate is added to the sounds of the parquet blocks, then walking on such a floor will be uncomfortable.
Old parquet floors have broken strips or loose adhesive strips, as well as those that have been exposed to water and could be contaminated by pathogenic microorganisms. Therefore, it will take a lot of time to find all the defective boards and repair them.
Parquet preparation
Laminated parquet has many seams and joints into which moisture can enter. If the floor has been regularly treated with polishes, the residual amount of water will be small, and the coating will be durable and even. On old parquet flooring in an abandoned apartment, the parquet flooring may dry out and become deformed. And there will be waves all over the floor.
Preparatory work always begins with examining and cleaning the parquet flooring. A damp cloth and a vacuum cleaner will help remove most of the dust and dirt. Next, you need to cull, replace and re-glue the parquet boards.
Renewing old parquet
The first step is to go through all the rows of laid planks and tap each one with a hammer through a wooden block. If the sound is high, then there are no cracks. If you are deaf, you will need to move the block with your hand and see if the parquet flooring sways under load.
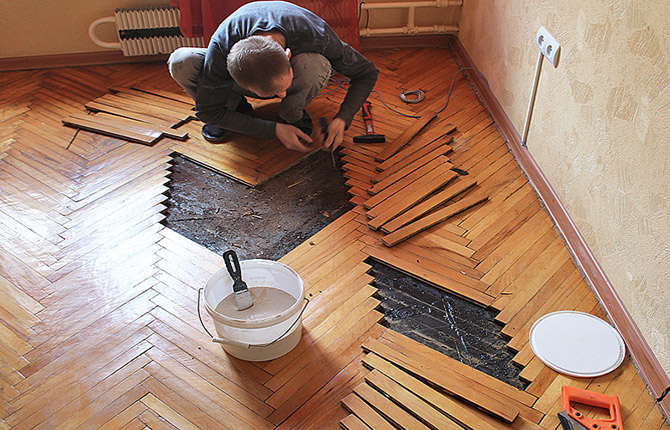
If the part has peeled off, it is removed from the floor and the back and sides are inspected. If there are rotten areas and cracks on the base, the parquet flooring is discarded. If the tree is intact, but there is a suspicion of fungus, then the marking number is applied to the front part and first sent for firing with a gas burner, then a mordant is applied and dried. Then the old parquet flooring needs to be glued or screwed into place.
Broken planks are cut out and replaced with patches. Repair dies are made from spruce or pine, impregnated and varnished. It is best to lay it on melted hot mastic.
Checking the surface of the old parquet flooring
The next step is to check the wear of the old parquet. This can be done using 2 paint cords stretched between the baseboards, or use a laser level. The boundaries of humps and dips in the coating are marked with colored markers, and then on the floor we write the approximate value of the deviation, with a plus and a minus, respectively. This map will be useful for further leveling sanding.
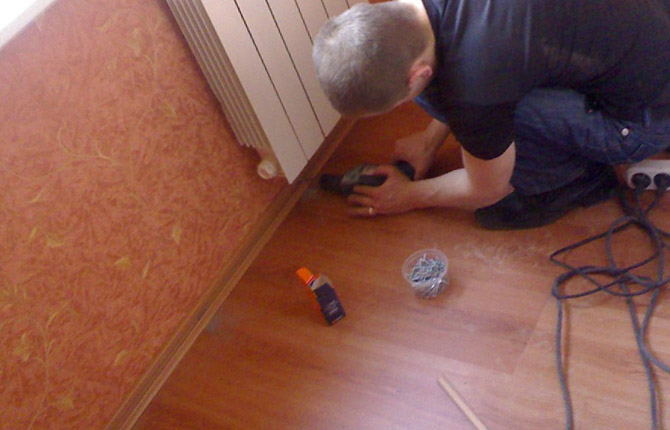
When inspecting old parquet, special attention should be paid to areas near heating radiators and near doorways. On the floor under the heating radiator, the old parquet is the least worn, but due to regular overheating, the old wood dries out and the planks protrude above the general floor level. If you try to lay laminate on top of parquet in this place, the lamellas will be at a level higher than their neighbors. There will be a hump under the radiator.
In addition, between the doors and furniture in the room, the old parquet is most worn out. Entire paths are formed that are easy to distinguish with the naked eye. We also mark them with a sanding marker.
Protective varnish treatment
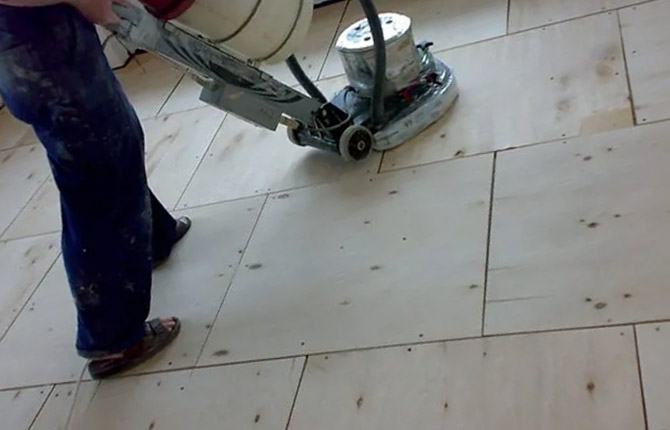
The next stage is grinding the humps and holes. When using a sander, do not try to cut off all the humps. With this approach, you can accidentally make a huge hole. During the process of laying the laminate, it will be difficult to compensate for the height difference, and, as a result, spilled water will collect in the center of this hole.
Only the most prominent protrusions under the radiators are cut off. The rest of the surface must be leveled so as to reduce surface differences on the old parquet. Let there be more holes and humps, but they will all be small. The result of grinding is checked using the two-meter plaster rule; height differences over one meter should not be more than 3 mm.
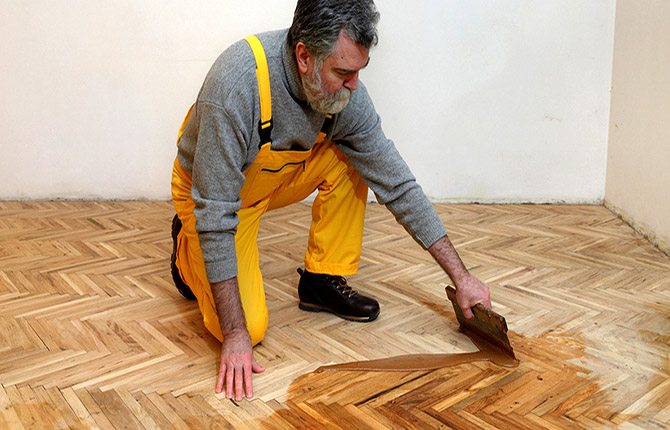
Some craftsmen recommend varnishing the old parquet after sanding. But this is not particularly necessary, since the parquet under the laminate does not wear out. You just need to seal repair patches and especially large joints between the boards with a varnish composition.
Laying plywood or fiberboard
Even after careful sanding, the old parquet floor is still too uneven to lay underlay and laminate flooring. It happens that the difference in heights per linear meter is no more than 2 mm, then fiberboard can not be laid, but immediately proceed to laying a double coniferous backing.
Fiberboard is laid on old parquet in relatively small rooms, no more than 20 m2. For large rooms, it is better to use plywood that has been pre-impregnated with drying oil and dried in a warm place. Plywood sheets cut into squares 70x70 cm and lay out in a checkerboard pattern. The edges are nailed to the old parquet using wallpaper nails, no glue or screws.
It is best to lay fiberboard on parquet in large sheets. Sometimes it is necessary to place several small scraps under the slab to level the surface. Fiberboard can also be nailed to parquet or laid over old oil paint.
How to avoid squeaking
The ability of old parquet to make creaking sounds is checked before laying plywood or fiberboard. Once the laminate is laid, it will be difficult to figure out the source of the creaking sounds.
To check, you need to walk across all the parquet boards, preferably with a load in your hands. Places where the boards creak are marked. Typically, squeaking appears on suspended and badly broken dies.
There are 2 ways to combat squeaking:
- Using wax or stearin powder, cut from a candle.Sprinkle the powder on the cracks between the old parquet floors and try to blow air into the lock between the 2 dies.
- Creaking boards are wedged using small wedges driven into the gap. If the squeak disappears, you can add PVA to the wedge. Sometimes it is useful to drive a couple of additional nails into a squeaking die.
The most effective way is to rub a parquet floor with a wax candle before placing it in the set. Locks are treated using the same method when laying laminate flooring. But with laminate, coating with wax does not always have an effect. In addition, a layer of wax or stearin that gets inside the tenon can prevent the two lamellas from joining. And if you hit the panel with a hammer, you can easily break the lock.
The most common cause of squeaking on parquet or laminate flooring is moisture that has seeped inside the lock. As a result of swelling, the tenon elements (head or hook) increase in size and rest against the walls of the groove. Under load, the friction of 2 parts produces an unpleasant creaking sound.
When laying laminate flooring, it is best to use a silicone spray that is applied inside the tenon. The liquid displaces water and protects the lamella material, thereby eliminating the cause of squeaking. One package is enough for a room of 20-25 m2 For old parquet, given the number of joints and seams, you will have to use wax.
Rules and installation procedure
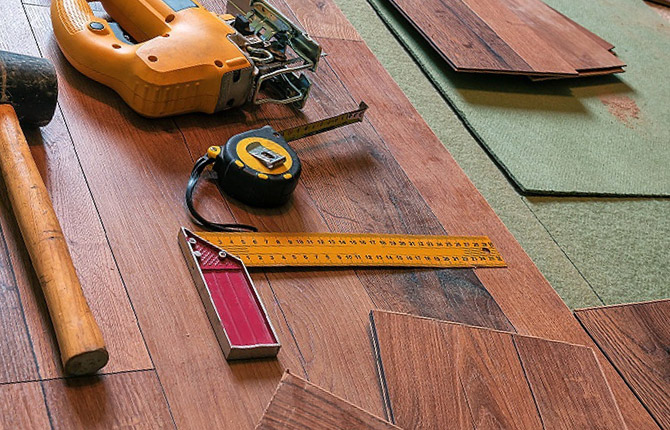
In addition to the backing and packs of laminate, you will need to purchase a cutting knife, a jigsaw with a blade (fine teeth), double-sided and single-sided tape, a hand saw, a stationery knife, a carpenter's square, devices for trimming the ends of the lamellas, a hammer, and emery cloth.
The first step is to decide on the substrate material.The best option for any laminate is considered to be cork. The material has high thermal insulation and dampens sounds and squeaks well. If the old parquet is glued directly onto a concrete screed, then the cork will help retain heat and also dampen the sound of footsteps.
If a cork lining turns out to be too expensive, then you can choose a coniferous lining. In terms of characteristics, pressed pine needles are no worse than cork, are cheaper, and do not rot and do not absorb water.
Substrate
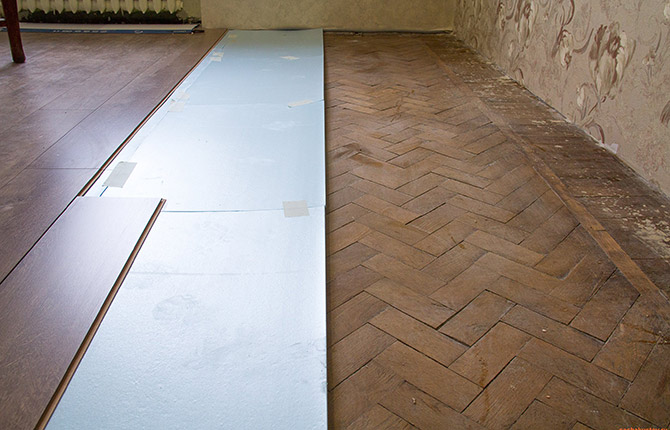
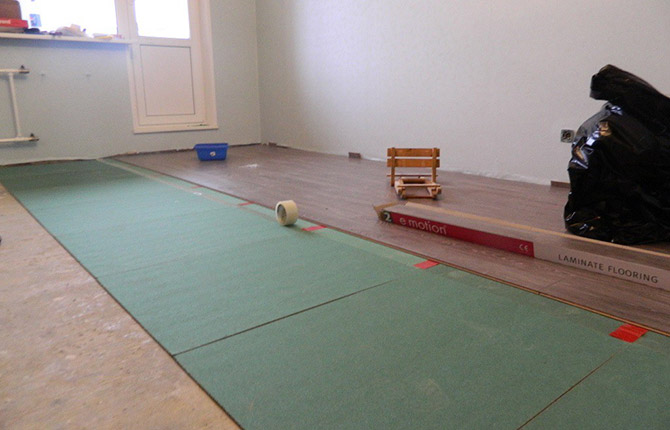
Cork lining is sold in rolls. It is rolled out onto the parquet from wall to wall parallel to the window opening. Individual panels are cut to size so that there is a margin of 1-2 cm on the walls, and fastened together with tape. The cork breaks easily; when walking on the lining carpet, you can easily touch the edge with your shoes and break it.
Coniferous lining is sold in packs in the form of ready-made mats. The total area is indicated on the packaging, so you can always calculate the required amount of material for the laminate.
Some craftsmen recommend laying the substrate in rows parallel to the window opening, always in a checkerboard pattern. If the laminate will be laid in long and wide panels, then this method of placing the lining material is allowed.
Under a laminate of short and narrow boards, it is recommended to lay the lining material on the old parquet in an oblique pattern, diagonally. In this case, the probability of the lock between the slats matching the seam between the mats is less than with direct installation.
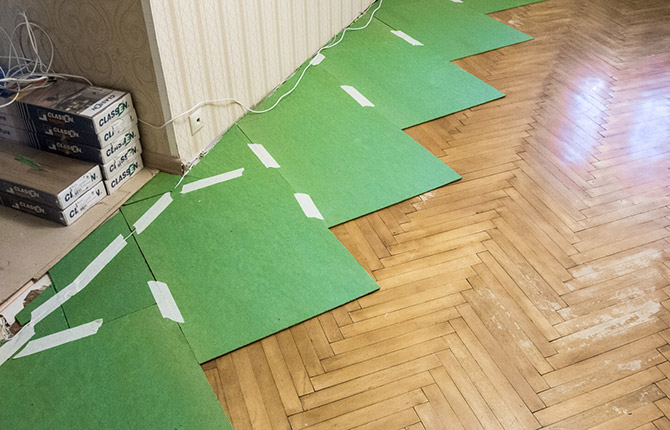
The coniferous backing can be laid all at once on the old parquet floor and secured to the walls using tape and staples. But in the process of laying laminate flooring, dust, shavings, and scraps of lining material are formed.Therefore, it is better to lay out coniferous mats as the lamellas are laid out, connecting them to adjacent rows using construction tape.
If the lining is placed directly on varnished parquet, then a couple of strips of double-sided tape should be glued to the back of the mat. This will allow you to securely fix the position of the lining on the floor even after filling the area with slats.
Laying
On the eve of installation, packs of laminate are brought into the room in the required quantity and unpacked. Lamels from different batches and packages differ in subtle shade. Therefore, the laminate is placed in one pile and mixed. It is difficult to see the difference; as a rule, the differences appear after the material is laid on the substrate in one floor covering.
Installation of the laminate begins from the farthest wall of the room, if you count from the front door. It is recommended to lay the slats so that the light from the window falls along the long side of the board. It is believed that in this position the seams and joints are less noticeable, and the laminate gives the impression of a continuous coating.
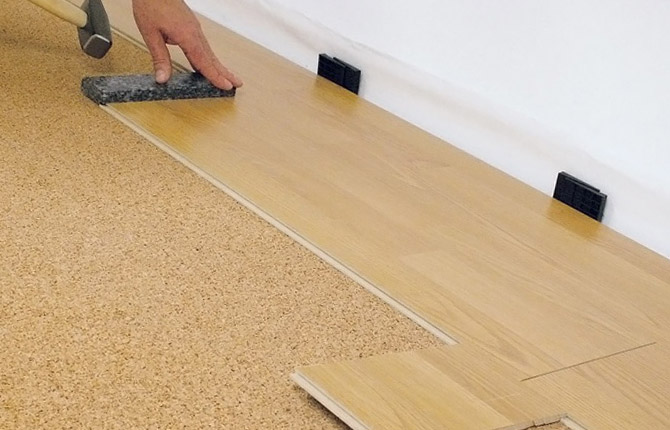
First, plastic clothespins-limiters are installed around the perimeter of the room. They fix the first panel laid along the wall, and at the same time provide a gap of 2 cm. Subsequently, the gap will be closed with skirting boards.
Since the total thickness of the substrate and laminate is at least 15 mm, some owners lay wiring and cables along the gap. This cannot be done, since the gap is used to compensate for the expansion of the lamellas. For the wire, you can use special plinth models with a channel.
In addition, the presence of a gap between the edge and the wall makes it possible to align the first lamella relative to the walls and the axis of the room.If this is not done immediately, the coating may “mow” to the side.
The first panel is laid with the end tenon to the wall - it is cut off with a jigsaw before installation. At the opposite end there is a groove into which the tenon of the next row of panels will be inserted. There is a similar groove on the short right end, and on the left there is a tenon, which is also cut off.
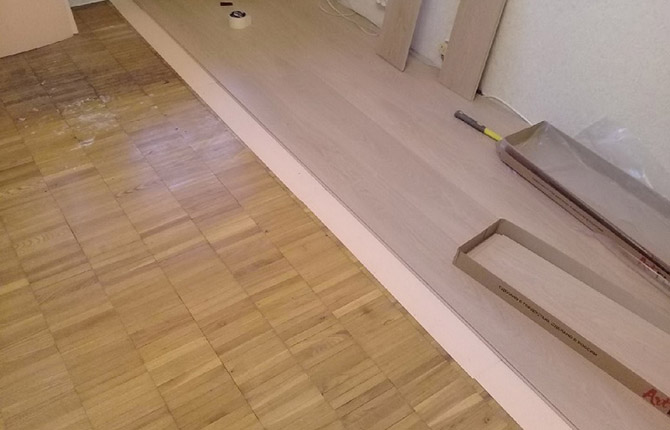
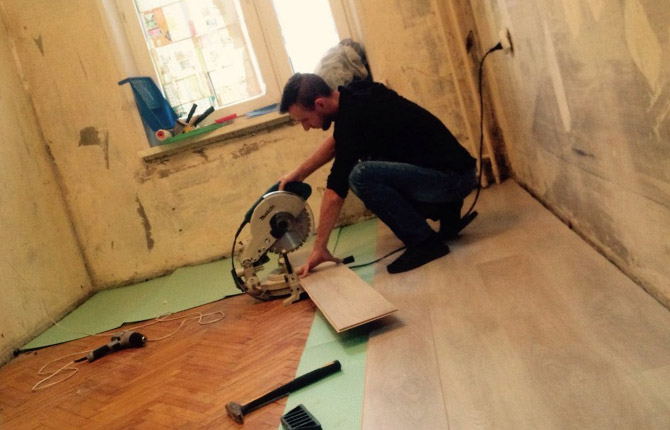
The next row is assembled with ligation of joints like “spoon” brickwork, after laying on the parquet. Each panel is measured to length and cut before installation. After joining, the lamella is hammered through the rubber pad. This ensures complete settling and adhesion of the lock parts.
Is it possible to make heated floors on old parquet?
The idea of laying a heating graphite film on a parquet base is interesting because you can save on preparing the base. Whether or not it is possible to install warm floors on old parquet will depend on the following factors:
- Type of base on which the parquet is laid. If it is a concrete floor slab, then there is no point in laying a heating film. Even if you use foil thermal insulation, most of the heat will still go into the concrete. Thermal insulation under the parquet is needed, that is, you can make a warm floor only if the old parquet is laid on a wooden board or plywood, stuffed onto logs with fill-in insulation;
- Adhesive mastic that holds old parquet in place. Any water-based adhesives and bitumen mastics are definitely not suitable. The parquet must be glued using the adhesive composition PAVI-COL P25 or PELPREN PL6. The latter can be used in heated floors of any design, but is most often used on film heaters.
Availability of varnish coating.Most old parquet floors retain remnants of protective mastic, wax and even varnish. All of them are easily flammable upon contact with a hot surface. Therefore, if you make a warm floor, the top layer of parquet will need to be sanded and cleaned with hot air.
Heating of the floor covering can be done if old parquet is used as a base for self-leveling flooring. The thickness of the fill must be at least 25 mm, after which the foil thermal insulation and the film itself are laid. Laminate can be laid on this floor.
It is possible to lay laminate flooring on old parquet, which is practiced in many apartments as a temporary measure. After 5-6 years, most owners return to the idea of restoring the parquet, if the technical condition allows it.
If the parquet floor is too worn out, then it is unlikely to be used as a base for laying laminate flooring. The only correct solution is to remove the floor and lay a new parquet board, which will last much longer than the laminate.
Do you think the idea of laying laminate flooring on parquet has a right to exist? Or is it still not worth doing this? Share in the comments. Save the article in your bookmarks so that our instructions are always available to you.


If you don’t like it, pour self-leveling flooring over the parquet and lay down whatever you want, even tiles. If you throw fiberboard into the gap, nothing will happen, no paths will appear.
The laminate sits evenly on the parquet for at most two to three years, then the profile of the humps on the parquet is transferred to the slats. The same paths appear as on the parquet floor. This is me from my own experience.