Installing a gas oven: standards and safety requirements for connecting a gas oven
Household gas is a dangerous substance; a leak can threaten health and even life.Therefore, the installation of a gas oven must be carried out professionally, in compliance with all safety requirements.
You will learn everything about the regulatory requirements for installing an oven and its implementation from our article. We have described in detail the procedure for installing this type of household equipment and connecting it to the gas supply. Here you will find valuable advice and a list of actions performed to check the tightness of connection points.
The content of the article:
Safety first
A domestic gas leak is an extremely dangerous situation that can lead to serious poisoning, explosion, property damage and death. This happens infrequently, and the cause of misfortunes is usually common - errors in connecting devices and violation of their operating conditions.
The set of rules and safety standards boils down to ensuring that all connections of gas pipes and appliances are sealed; the number of such components must be kept to a minimum. Having studied the rules for installing gas household appliances, even a home craftsman can cope with this task.
During the work, it is necessary to follow the procedure for connecting the equipment, use suitable materials, and strictly follow the instructions. Upon completion of work, all connections are checked.Compliance with the rules will allow you to get the desired result - a safely installed and connected gas oven.
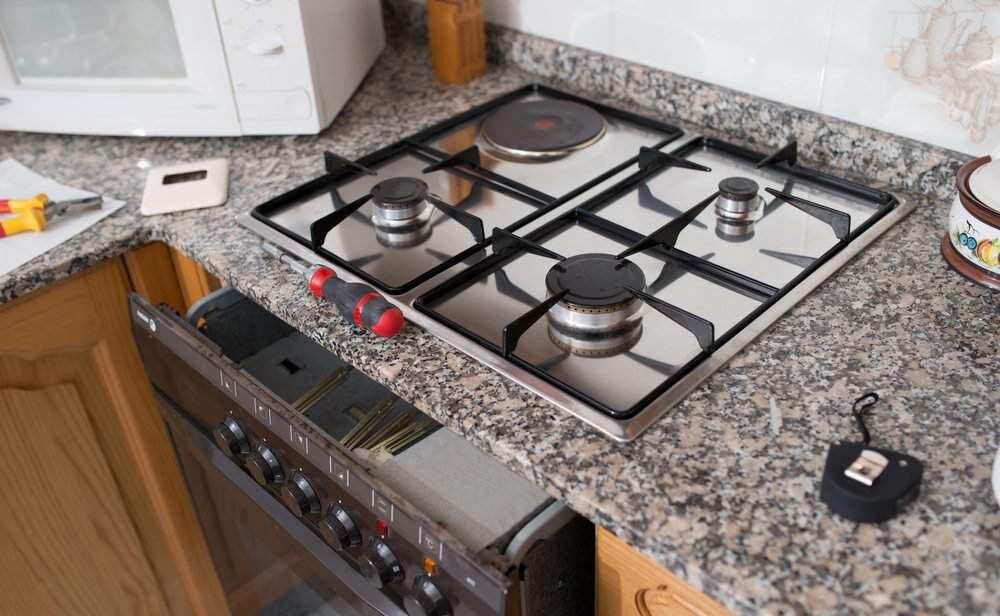
When installing a built-in gas oven with your own hands, the most common violation is the use of a tee for a gas pipe to which the hob is already connected.
Inexperienced craftsmen believe that if it works with running water, then it will also work for the gas supply system. The result is three joints that must be carefully sealed.
According to the rules, connecting the oven and hob should be done separately, connecting each device to its own pipe. The number of connections in this case will be reduced to two.
In practice, using a tee can be quite safe. If the threads are properly sealed, it does not really matter whether two connections are made when connecting or three.

But this method contradicts the existing rules for installing a gas oven. If during an inspection a gas service representative discovers such a tee, the owners of the apartment or house will face a completely legal fine.
Therefore, from the very beginning it is necessary to take this point into account in order to connect the oven correctly. In addition, a dielectric gasket should be used, and a shut-off valve should be installed for each gas-consuming appliance.
Installation and connection procedure
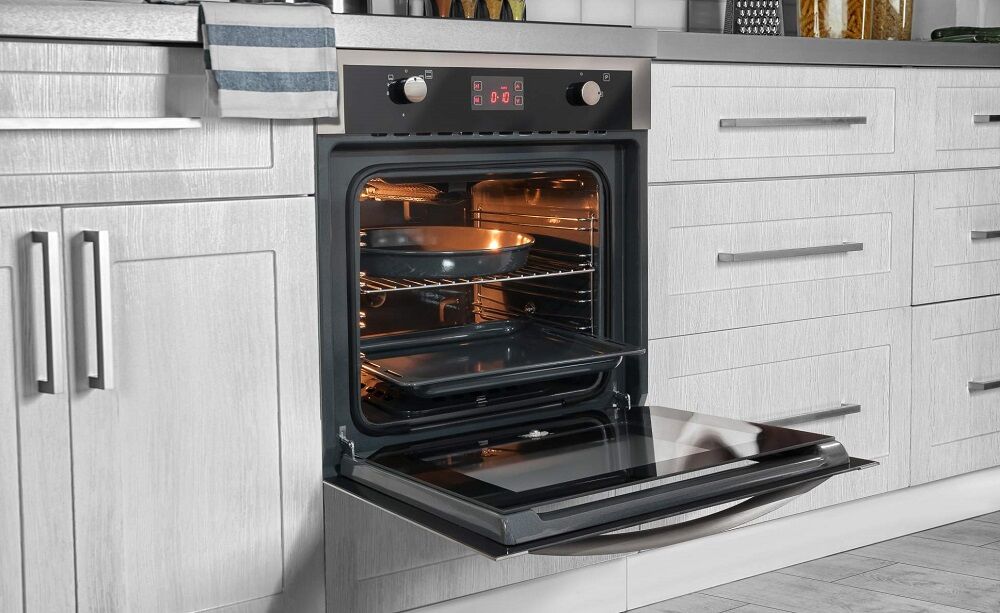
The oven can be dependent, i.e. a common control panel combined with the hob, or independent.The first is mounted under the stove and installed simultaneously with it, and for the second you can choose almost any convenient place, not necessarily under the cooking surface or next to gas stove.
The connection procedure for both types of ovens is practically the same. To do this you need:
- select and prepare the installation location;
- connect the device to the power supply;
- connect to the gas supply system;
- install in a niche or cabinet;
- check connections for leaks;
- test all device functions.
Before you replace your built-in gas oven, it should be unpacked and inspected to ensure there is no damage caused by careless handling.
Then you should read the manufacturer's instructions. It contains useful information that will help you consider the features of this particular model when installing and using it.
For effective ventilation of the outer walls of the oven, the following gaps must be provided:
- from the rear wall of the niche - 50 mm;
- bottom - 100 mm;
- on the sides - 50 mm.
In practice, these dimensions are rarely observed. If the oven has a wall blowing function, you don’t have to worry about the ventilation gap. The clearance available near the back wall of the device is usually sufficient. Before installation, the back panel of the furniture niche is simply removed or holes are made in it for the appropriate communications.
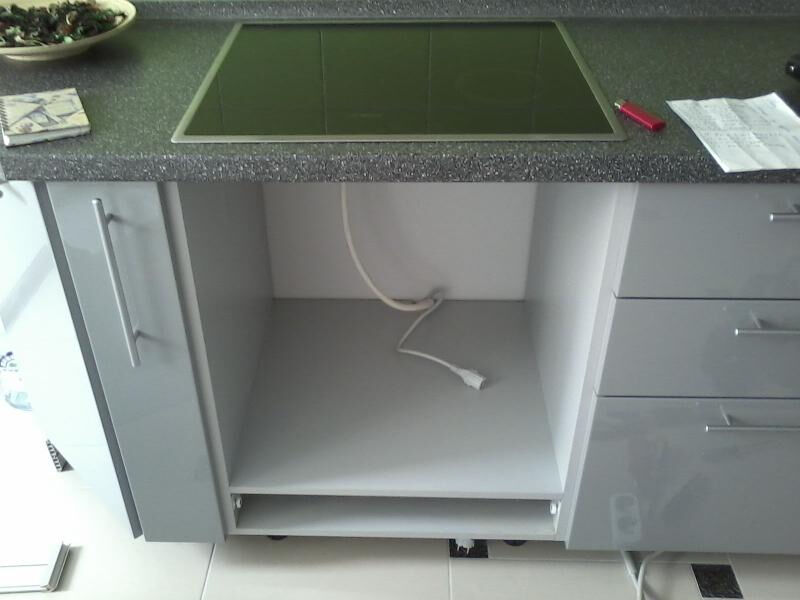
The material from which adjacent furniture is made must withstand heat up to 120 degrees. After the device is unpacked, you need to place it near the connection point, for example, by placing it on wooden blocks. This will make the necessary manipulations easier.
If you need power
Modern gas ovens are equipped with many additional features, such as:
- electric ignition;
- fan;
- grill;
- electronic control, etc.
These useful devices require electricity to operate. To provide connection from electrical panel a three-core power cable is connected to the device, install RCD at 16A (for devices with a power of more than 3.5 kW - at 32 A, but such indicators are typical for electrical cabinets), provide grounding of the device.
In some modern kitchens grounded socket provided by the project and intended for an electric stove. It can be used to connect a gas oven. Before carrying out work, turn off the power supply, use a tool equipped with an insulating coating, and adhere to other safety rules.
Sometimes you have to connect the power cable to the oven yourself.
This simple operation is performed as follows:
- Open the connection box (installed on the rear panel of the device).
- Loosen the screws that secure the terminals.
- Secure the power cable wires to the terminals.
- Secure the connection by tightening the screws.
- Close the lid of the box.
The exact diagram for connecting the power cable is usually given in the instructions.
Safety rules prohibit the use of extension cords, double sockets, twists and other elements for such connections that may not withstand the voltage, cause a fire, short circuit, etc. The position of the cable should be such that it heats up to no more than 70 degrees.
Connecting the device to the gas supply
At this stage, it is better to adhere to the rule “if you’re not sure, call a specialist.” Errors and negligence when installing a gas oven are unacceptable. A gas leak can cause a serious explosion. Inexperienced craftsmen should turn to professionals from the gas service.
As mentioned, the oven requires a connection branch separate from the hob, on which a tap is installed so that the gas flow to the device can be interrupted. Be sure to install a dielectric gasket, which will open the electrical network if voltage appears on the gas pipe.
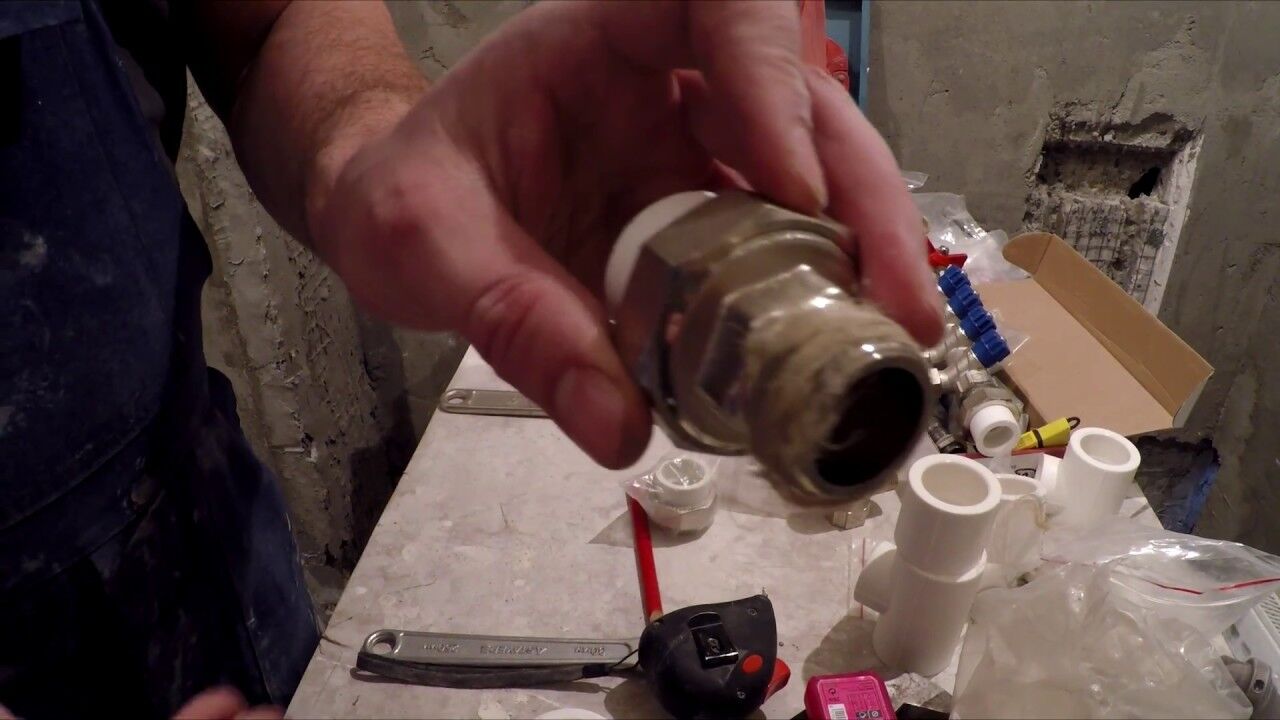
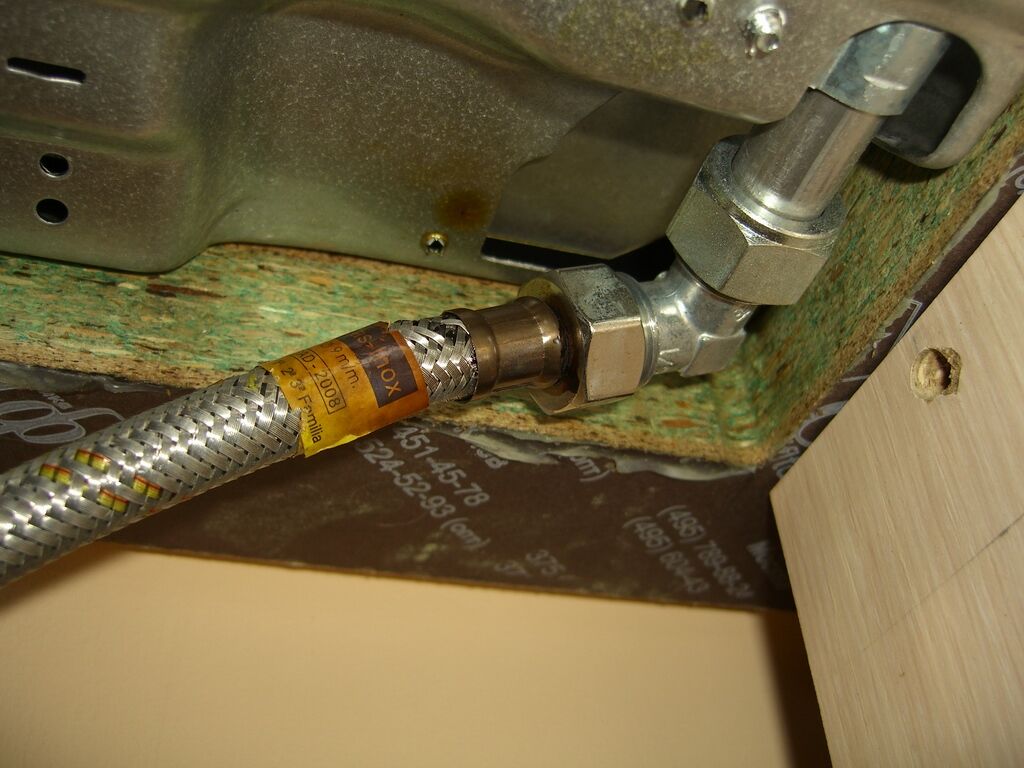
A flexible bellows is used for connection. gas hose or a metal pipe - copper or steel. A rigid connection is used if the oven is very close to the main line.
It is more convenient to use a hose where the distance is greater or where it is more difficult to install a pipe. The connection point usually has standard dimensions - a half-inch pipe equipped with an external thread.
When using a hose you must:
- make sure that it is not pinched, stretched or comes into contact with moving elements;
- make only two connections - at the oven inlet and on the main gas pipe;
- be sure to install a dielectric gasket and a tap;
- use a length of no more than 1.2 meters;
- do not extend the hose, it must be solid.
Tools for sealing the connection may include gas wrenches and double-pipe pliers. As a sealant, you can use FUM tape equipped with a fluoroplastic film intended for gas pipes.
A universal nylon cord impregnated with sealant will also work. A gasket must be inserted into the nut that secures the connection. The fasteners should be tightened tightly, but carefully so as not to damage this gasket.
Some craftsmen use the old method - linen thread with drying oil, but it is considered not very reliable. In any case, you need to take a product that is certified as intended specifically for gas pipes. It must be resistant to pressure changes, vibration, temperature changes, corrosion and other destructive factors.
The thread is wrapped three times with Teflon tape, then the connection is tightened until it stops. The connection must be tightened with a gas wrench. It is normal for some sealant to come out.
Other sealing agents must be used in accordance with the instructions. For example, the base for a nylon thread should be slightly rough.A smooth surface reduces adhesion, so it is treated first.
Checking tightness and completing work
To ensure the tightness of threaded connections, use a simple method. Soap foam is applied to all joints and the gas is turned on. Foam will bubble in areas of leakage. To eliminate the error, you need to perform the sealing again, and then check the result again.
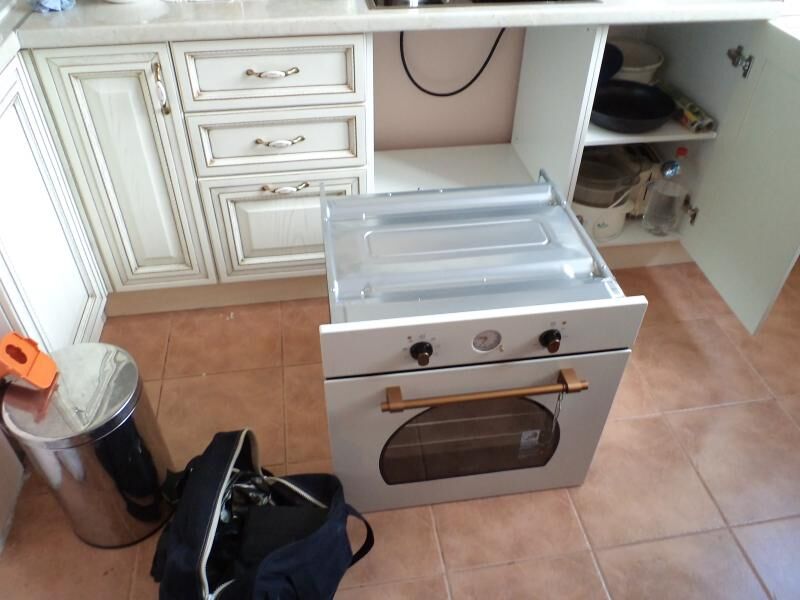
After connecting to the gas pipe and power supply, you need to fix the oven in the mounting niche. This is usually done using four self-tapping screws; details are described in the instructions. Then the operation of the device is checked.
First you need to remove all films and stickers. Then connect the oven to electricity and turn on the RCD. After this, open the tap on the gas pipe and light the oven. If the device works correctly, the installation can be considered complete.
Conclusions and useful video on the topic
Why is it important to follow the rules when connecting gas appliances:
Why do you need a dielectric gasket:
Oven installation procedure:
It seems that installing the oven is easy. It is necessary to follow certain steps sequentially and take care of the tight connection of all nodes. In practice, inept craftsmen make serious mistakes.
An almost imperceptible gas leak often leads to serious losses, as well as more dire consequences - illness and death. Therefore, for the sake of safety, it is better to invite a professional with the necessary knowledge to perform this type of work.


