Connection diagram for solar panels: to the controller, to the battery and serviced systems
Autonomous power supply systems for suburban properties allow you to live in comfort even far from centralized communications.Often, along with traditional schemes, alternative ones are used, based on the use of solar energy.
In order for the solar system to function correctly, a well-designed solar panel connection diagram is required. You will need a set of high-quality equipment capable of coping with the assigned responsibilities.
We will tell you how to correctly plan the placement of mini-power plant components. You will learn how to select technical devices for assembling the system and how to connect them correctly. Taking into account our advice, you can build an efficient installation.
The content of the article:
Solar power plant design diagram
Let's look at how a solar system for a country house is designed and works. Its main purpose is to convert solar energy into 220 V electricity, which is the main power source for household electrical appliances.
The main parts that make up the SES:
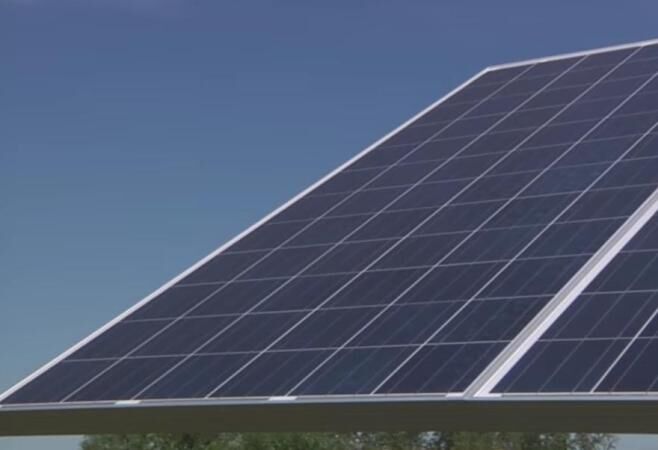
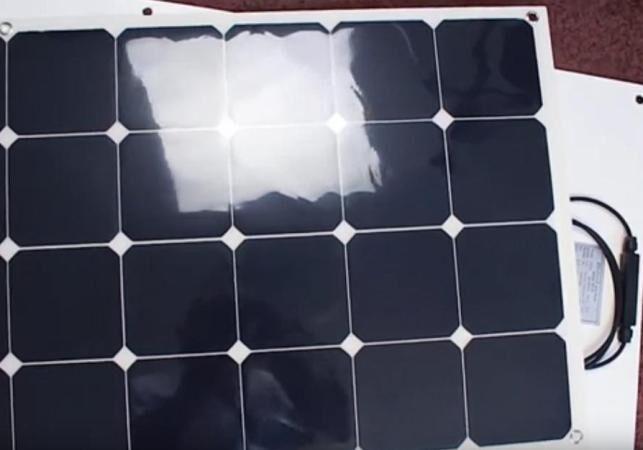
- Batteries (panels) that convert solar radiation into direct voltage current.
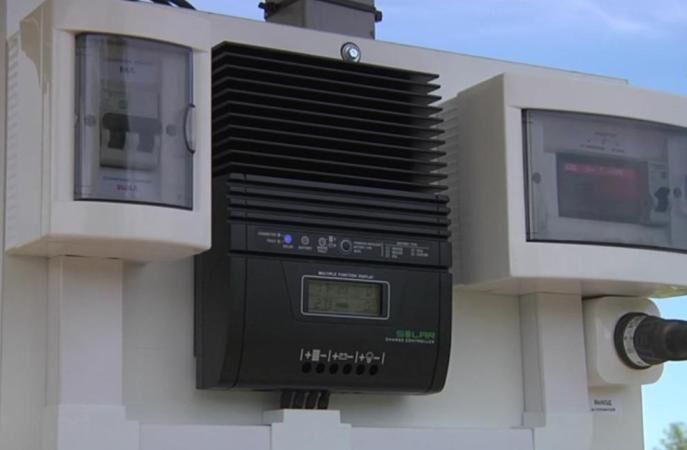
- A controller that regulates the battery charge.
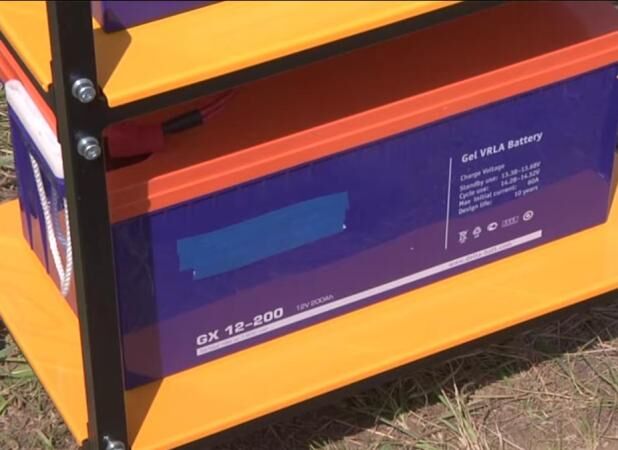
- Battery pack.
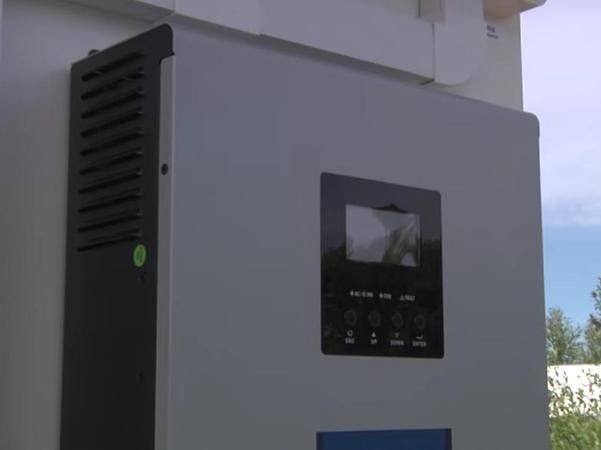
- An inverter that converts battery voltage to 220 V.
The design of the battery is designed in such a way that it allows the equipment to operate in various weather conditions, at temperatures from -35ºС to +80ºС.
It turns out that correctly installed solar panels will work with the same performance in both winter and summer, but under one condition - in clear weather, when the sun gives off the maximum amount of heat.In cloudy conditions, work efficiency decreases sharply.

The weight of one 300 W battery is 20 kg. Most often, the panels are mounted on the roof, facade, or special racks installed next to the house. Necessary conditions: turning the plane towards the sun and an optimal tilt (on average 45° to the surface of the earth), ensuring a perpendicular incidence of the sun's rays.
If possible, install a tracker that tracks the movement of the sun and regulates the position of the panels.

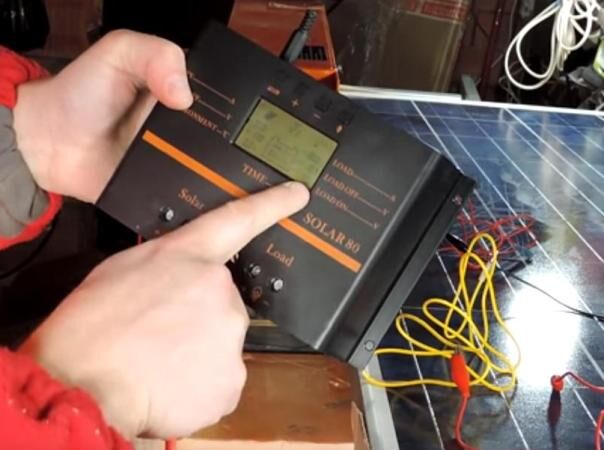
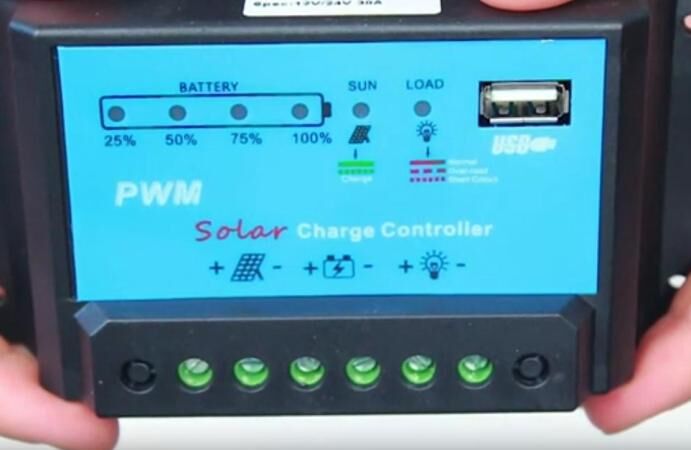
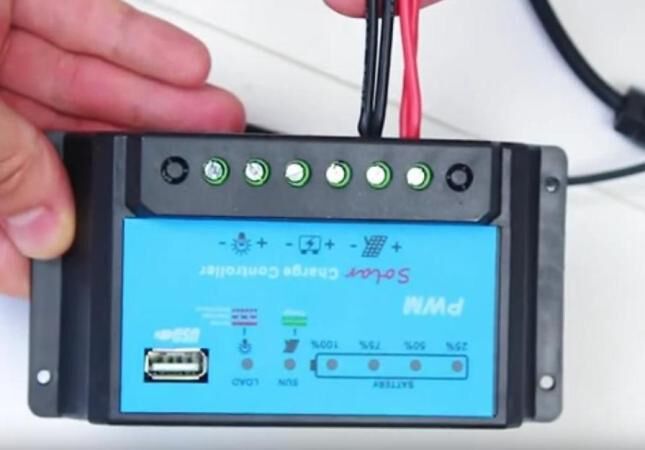
The controller performs several functions. In addition to the main one - automatic adjustment of the battery charge, controller regulates the supply of energy from solar panels, thereby protecting the battery from complete discharge.
When fully charged, the controller automatically disconnects the battery from the system. Modern devices are equipped with a control panel with a display showing battery voltage.
For homemade solar systems, the best choice is gel batteries, which have an uninterrupted service life of 10-12 years. After 10 years of operation, their capacity decreases by approximately 15-25%. These are maintenance-free and absolutely safe devices that do not emit harmful substances.

Task inverters — convert direct voltage from the battery into alternating voltage 220 V. They differ in such technical characteristics as power and quality of the received voltage. Sinus equipment is capable of servicing the most “capricious” devices in terms of current quality - compressors, consumer electronics.
Review of household SES:
It is worth knowing that household power plants are capable of servicing a constantly running refrigerator, a periodically running submersible pump, a TV, and a lighting system. To provide energy for the functioning of a boiler or even a microwave oven, more powerful and very expensive equipment will be required.

There are other, more complex solar power plant assembly diagrams, however, this solution is universal and most popular in everyday life.
Steps for connecting batteries to solar power plant equipment
The connection occurs in stages, usually in the following order: first, the controller is connected to the battery, then the controller is connected to the solar panels, then the battery is connected to the inverter, and lastly, the wiring is done to consumers.
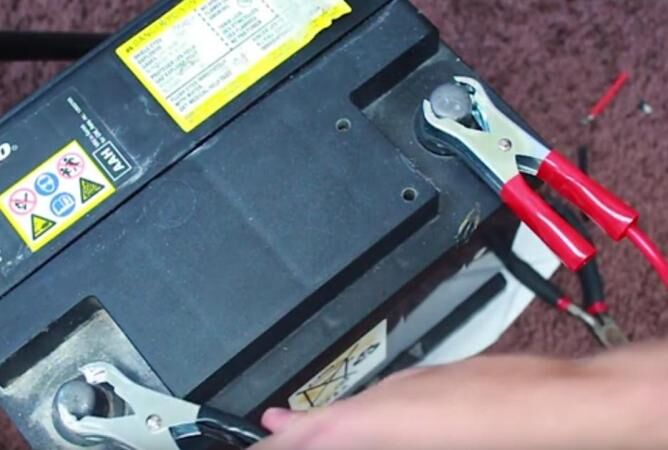
Step #1: Connecting to Battery
Batteries occupy a clearly defined place in the network. They are not connected to the solar panels directly, but through a controller that regulates their loading/unloading. On the other hand, the battery pack is connected to an inverter that converts the current.
Thus, the connection diagram solar panels to the battery looks like this:
- We connect the battery/controller (then the controller/solar panels);
- connect the battery and inverter.
Other connection options are possible, but this one is optimal, since battery stores unspent energy and, if necessary, releases it to consumers.

If one battery is not enough, purchase several batteries with the same characteristics. They are installed in one place and connected in series.
For ease of use and maintenance, the blocks are installed on a metal rack with a polymer coating.

Let's look at how the battery is connected to the controller and inverter.
The next step is to connect the controller to the solar panels and the battery pack to the inverter.
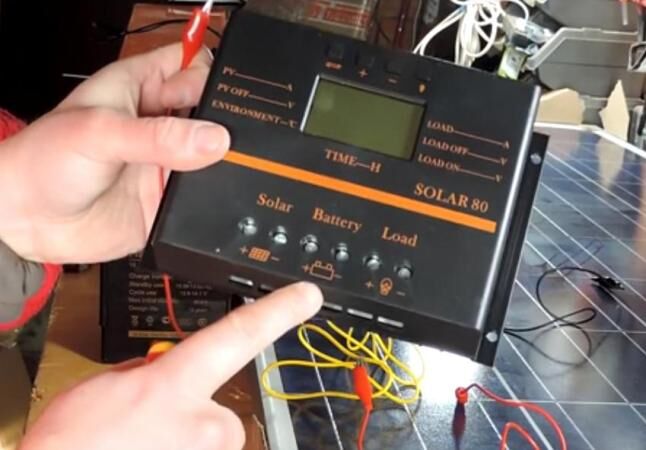
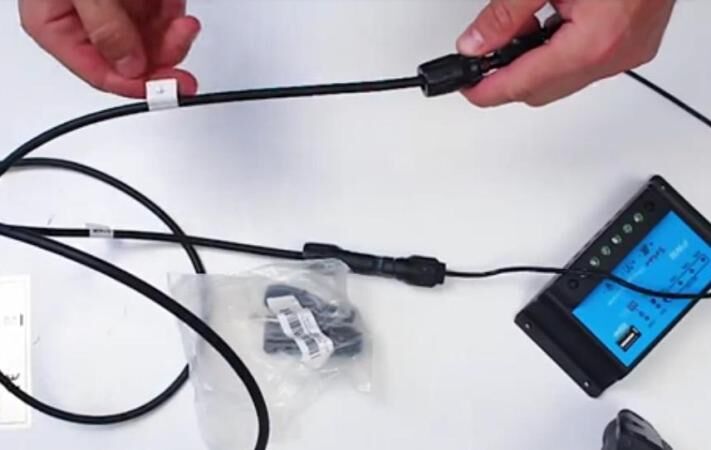
Step #2: connecting to the controller
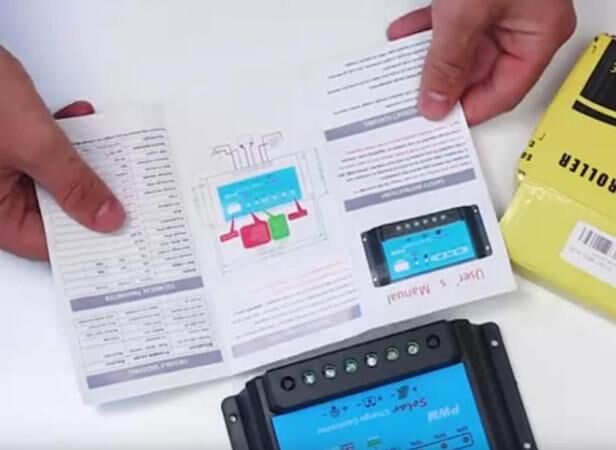
Let's consider an option that is often used in practice by owners of country houses. They order inexpensive equipment made in China on one of the Internet sites.

Connection occurs in the following order:
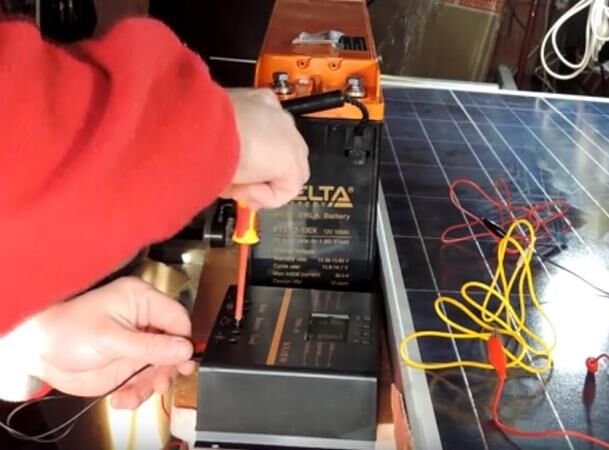
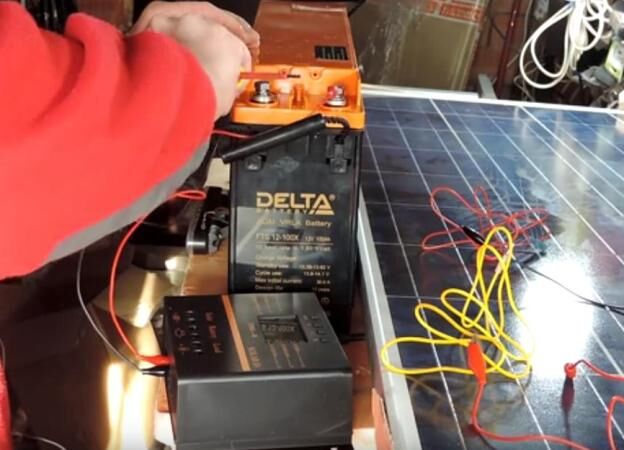
- First, a battery pack is connected to the controller. This is done intentionally to check how the device will detect the rated mains voltage (standard values - 12 V, 24 V). When connecting to the battery, use the first pair of terminals.
- Then the solar panels are directly connected, using the wires supplied with them, and the controller has a second pair of terminals.
- Lastly, night lighting equipment is installed.I – this is exactly what the third pair of terminals is for. Apart from low-voltage lighting, which operates only after dark and is powered by a battery, other equipment cannot be used.
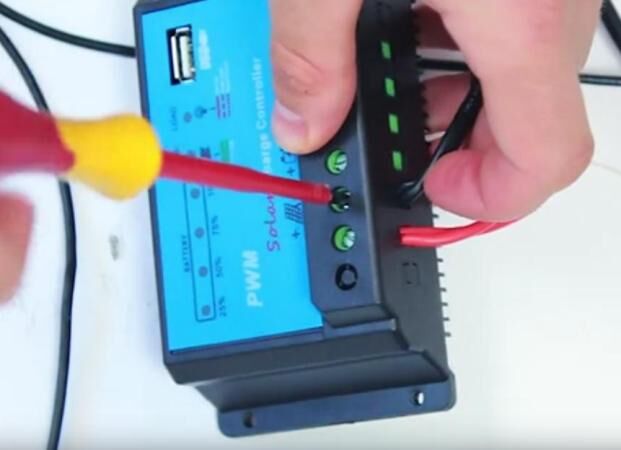
For any type of connection, you must ensure polarity.
Failure to observe the polarity leads to instant failure of the controller, as well as failure of solar panel parts.

The controller and battery constantly interact. For example, during peak loads, the battery acts as a buffer that protects the controller from failure.
These two devices, like the rest of the system, cannot be considered separately. When assembling a solar power plant, you should keep each device in mind, even if the specific connection does not concern it.
Step-by-step instructions for connecting solar panels to the controller
After connecting the controller to the battery and panels, we connect the inverter and, if necessary, low-voltage lighting devices.
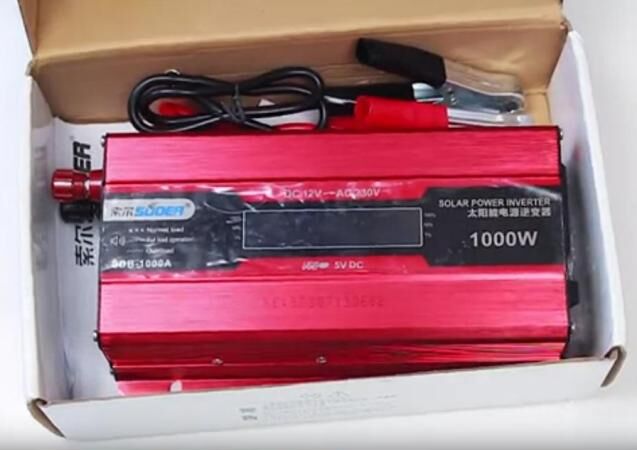
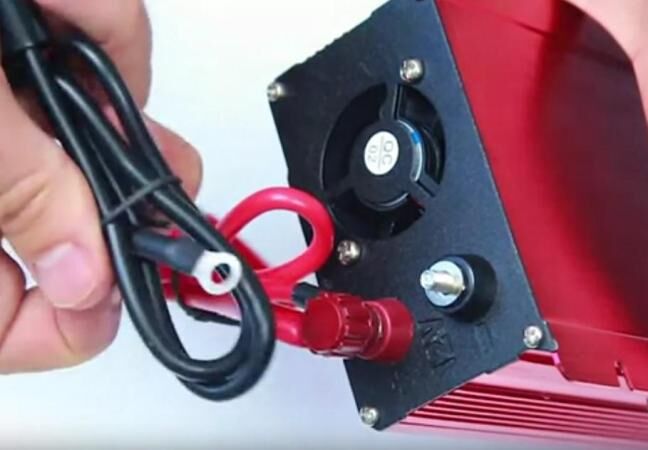
Step #3: connecting to the inverter
The inverter must be included in the system if the appliances in the house operate on 220 V. But there are exceptions when solar panels are installed for a 12 V system, in which case an inverter is not needed.

The device is purchased in the same way as the rest of the solar system: as part of the SES kit or separately.
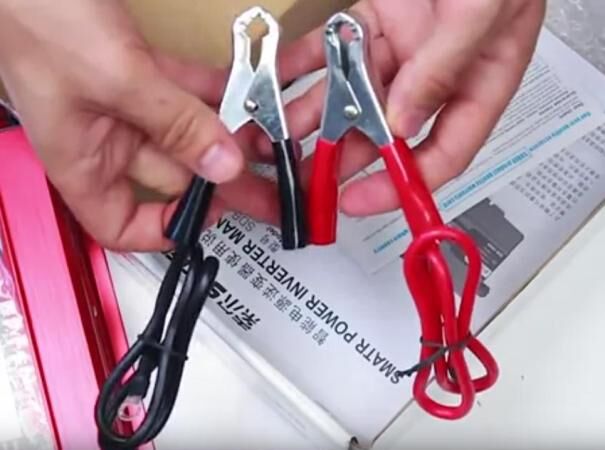
Procedure for connecting the inverter to the battery:
If you have not previously installed solar power plants, we recommend purchasing not individual devices, but a complete system.
The advantage of a ready-to-install system is that it matches the equipment parameters (batteries correctly selected for power, the required number of solar panels, a set of wires for quick connection).
It is logical that devices compatible in capacity, voltage and power will be much more efficient at converting solar energy and providing the house with electricity. In fact, free green energy can be used with heating systems, power supply for household devices.
Conclusions and useful video on the topic
Owners of suburban housing have long appreciated the advantages of alternative energy and are actively using solar power plants as a permanent or backup source. Useful recommendations from solar power plant users will help you install your own system.
Video #1. Step-by-step instructions for assembly and connection:
Video #2. Analysis of common mistakes when selecting and installing equipment:
Video #3. Overview of one of the home installation options:
The use of alternative energy for the needs of humanity is truly a big technological leap. Today, every homeowner can independently assemble and connect a solar power plant that supplies the house with electricity. Taking into account the cost-effectiveness and environmental friendliness, this is a practical and effective solution.
Would you like to tell us about how you assembled a small solar power station with your own hands? Are there any interesting facts or useful information on the topic of the article? Please write comments in the block below, share your impressions, opinions and thematic photographs.


If we connect several batteries, then the output we will no longer get is 12 Volts.In my opinion, the author is stupid or off topic...
If in series then this is one thing, if in parallel then it is a multi-ampere power bank.
Hello, please help me with a connection diagram.
Solar panels 18.7-21.67 V (8 pcs), controller 12/24 V 80 A max 50 V, 6 pcs 12V 80Ah batteries and invector 24 V / 220V.
Sergey, you are the one being stupid. Have you ever heard of parallel connection of electrical appliances? If you're off topic, don't embarrass yourself.
24 volts is obtained from the battery circuit
Which scheme is better? The system is 5 kV grid.
Hello! Please tell me how the voltage is cut off from the common power line? That is, an existing power transmission line (PTL), during the repair of a power transmission line, or a voltage loss on the general network? Will the voltage get to the common line from the solar panels? Thank you.
Hello. I will try to answer your questions as detailed and simple as possible. I understand that you are interested in the issue of working both from the central power grid and from solar panels at the same time. How the system will behave in the event of a power outage in the general network and in the event of a drop in performance on solar panels. Regarding the transfer of electricity to the general system, then the installation of a special grid system will be required to transfer the excess to the central power grid. For clarity, I will attach a diagram.
Now on other points: you don’t have to worry about failures; if the power of the solar panels sags, the system will switch to supply from the central power grid and vice versa.It would take a long time to explain and describe, everything is controlled automatically, I have also attached a visual diagram.
Hello. To solve these problems, a changeover switch is installed.
Please advise, I need the following diagram. There is a 0.4 kV network, there are panels, there is a desire to minimize consumption from the network. It is not possible to compensate completely with panels due to the small installation area, but there are no plans to return it to the network. How to assemble a circuit correctly?
Varta today serves 1-1.5 years. It was quite rude to post it in a photo.
Waste of money.
What is the fuse in amps before the inverter?
Please tell me what will happen if you connect a 230w solar panel with an idle voltage of 20+ volts to a Chinese 12/24v 30a controller, will the controller convert, for example, 20 or 30 volts into 12/24 or do you need to buy only 12v panels?
How to choose the right batteries for the load and inverter
Good afternoon, please tell me I have a 12 volt system, a Solar 80 controller, I want to buy a panel
Good afternoon, please tell me, I have a 12 volt system, a solar 80 controller, I want to buy a panel, I added a photo, will the controller work????
Hello! I can’t find information, I need help: I install a 100A controller, a 12V battery, batteries. Question, at the “Load” output, such as a load (light bulb), what is the possible load? And in sunny weather will there be tension there?