How to make a fountain pump with your own hands: step-by-step master class
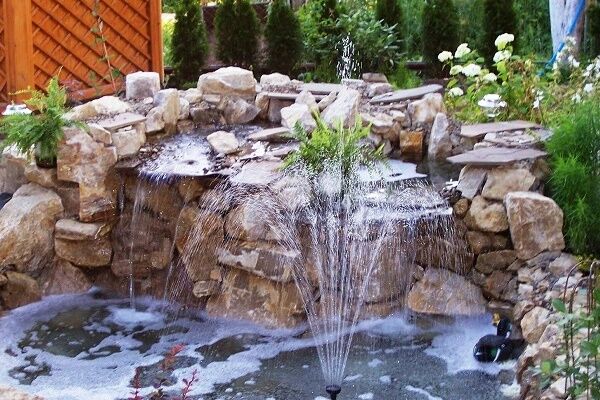
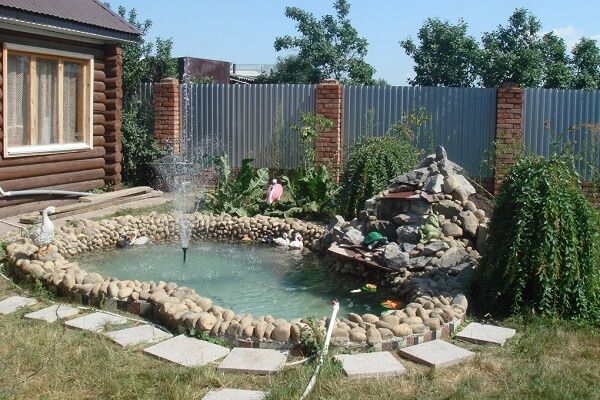
To improve the aesthetic appeal of small decorative ponds, swimming pools and artificial reservoirs, fountains are used.The main structural element is a water pump, which builds up pressure, resulting in a jet of water being supplied to a certain height.
You can buy a ready-made water unit or build a small fountain pump with your own hands using available materials.
The article describes the principle of operation of the pump, and also provides detailed instructions for assembling a simple model. If you have all the materials at hand, you can make a pump in a couple of hours.
The content of the article:
Materials for creating a water pump
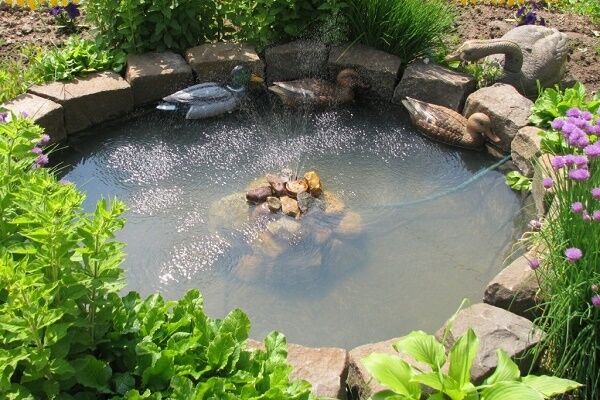
Designing a full-fledged pump for a fountain is quite simple, but you should remember that a self-made unit has low power, so it is suitable for decorating small decorative bowls, sometimes - arrangement of swimming pools or fountains.
It is impossible to increase the pump power and assemble a system capable of supplying water at an atmospheric pressure of 1 bar or higher at home - it is more expedient and cheaper to purchase a ready-made design.
Before you begin assembling a water pump, it is important to familiarize yourself with the principles of its operation.
A typical fountain pump consists of a snail-shaped body. It houses a motor and blades similar to fan blades. Two pipelines are connected to the body - water is taken through one, and water is supplied through the other.
With the help of a motor, the blades rotate, which help draw water from the outside, build up pressure in the system and supply water to the discharge line.

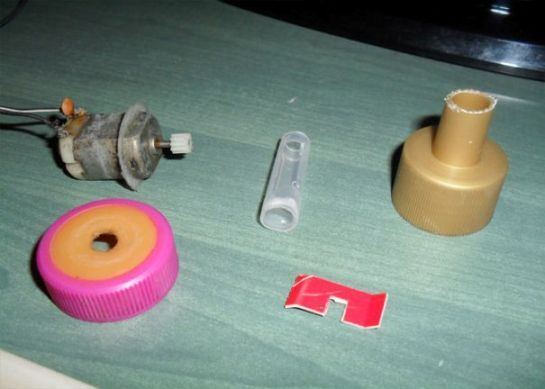
To create a fountain pump, the following elements are required:
- micromotor;
- 3 regular plastic drink caps;
- 2 pens, felt-tip pens or any tubes of different diameters, made of durable and water-resistant material;
- a piece of plastic (you can take a mayonnaise lid, an unnecessary plastic card, a disk, etc.);
- worm or gear;
- power unit.
The micromotor is the main element of the system. Thanks to it, the fan blades rotate. The device can be taken from a toy car, DVD player, old tape recorder, or purchased on the market.
It should be remembered that micromotors, depending on the power, have different dimensions and shapes. In this example, we use a device borrowed from a toy car.

Depending on the size of the motor, you need to select the dimensions of the housing. In our case, the body will be made of three plastic caps. If the motor is larger, you can take a shaving foam can with a lid.
The housing from under the pen or felt-tip pen will serve as a supply and discharge pipeline.
The back wall and blades for the pump are made of plastic, which will be attached to a worm or gear. The mini fan will be glued to the motor shaft, which will help rotate them when running.
The following tools and auxiliary substances will be needed:
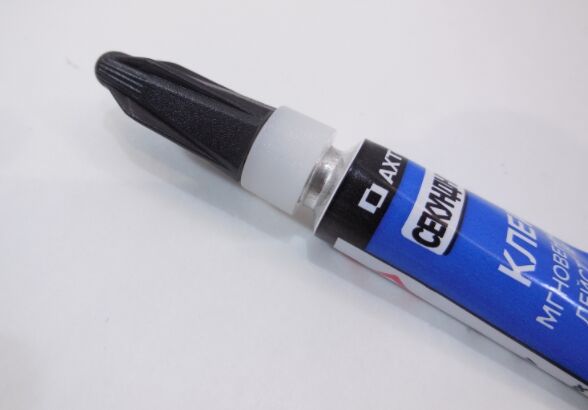
- regular quick-acting super glue, hot melt glue or waterproof all-purpose glue;
- wire cutters and wire stripper;
- knife, drill or awl;
- a piece of sandpaper;
- soldering iron, metal file, jigsaw or grinding machine, engraver with special wheels for cutting, stripping, drilling, etc.
You can choose any glue. Standard Moment adhesive has a high speed of gluing elements, while waterproof universal substances require more time to harden.
Sandpaper, tools are needed to process the edges and clean the surface, a knife is needed to create holes.
Step-by-step example of assembling a micro pump
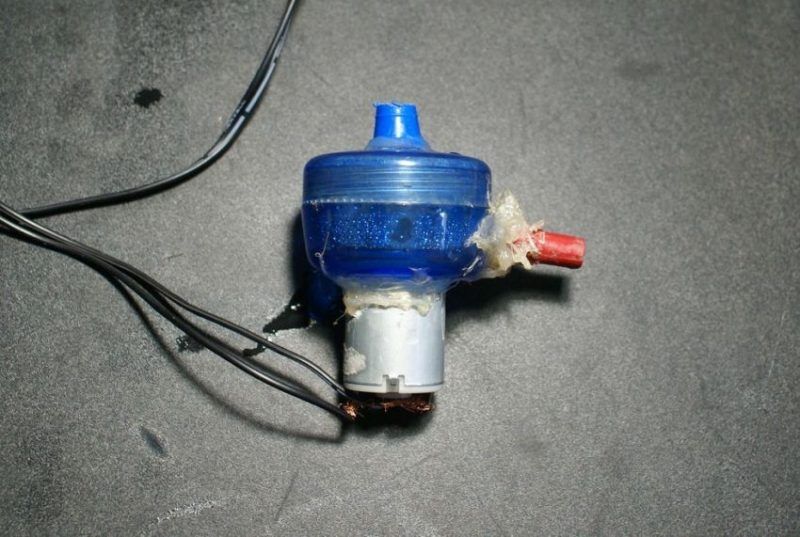
To make a small, low-power pump, the assembly process of which is shown in the example, you need to stock up on a 5-liter plastic bottle, a body from an old felt-tip pen and a motor that can be removed from a used DVD drive.
The preparatory measures have been completed, now you can safely begin assembling our pumping unit in miniature.
Having collected all the necessary parts, you can begin assembling the pump.
It will happen in several stages:
- Creation of a plastic case.
- Manufacturing of a blade wheel.
- Creating an injection area.
- Assembly of all elements.
- Connecting the power supply.
- Installation.
Let's look at each stage in more detail.
Step #1 - designing the case
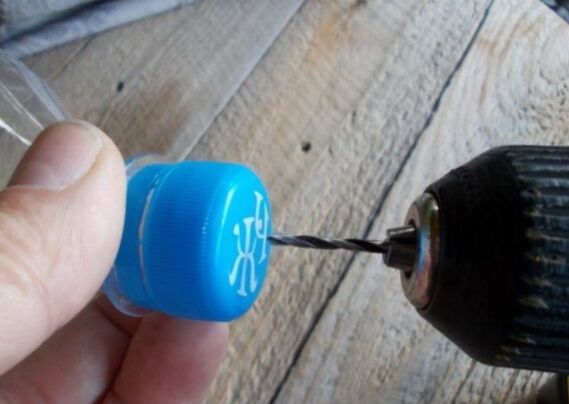
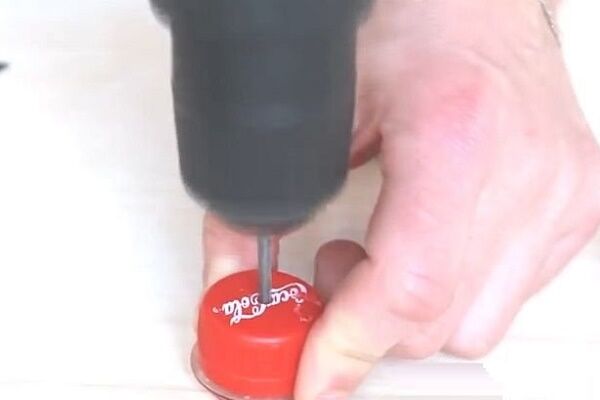
First of all, it is necessary to form the body of the structure.To do this, you need to take a plastic cap and, using a knife, awl, soldering iron or drill, make two holes in it.
The first hole is made on the flat part of the lid. To do this, you need to find its center (it is usually indicated by a small bulge), and then use a knife, awl or any other sharp tool to cut a hole.
The second hole is made in the side of the lid. Its size should match the diameter of the body of a pen or felt-tip pen with a smaller diameter, but not exceed it. In what follows, we will call the manufactured body the main one.
A micromotor, a discharge tube and an impeller are glued to the main body. Pressure will build up in this part of the device
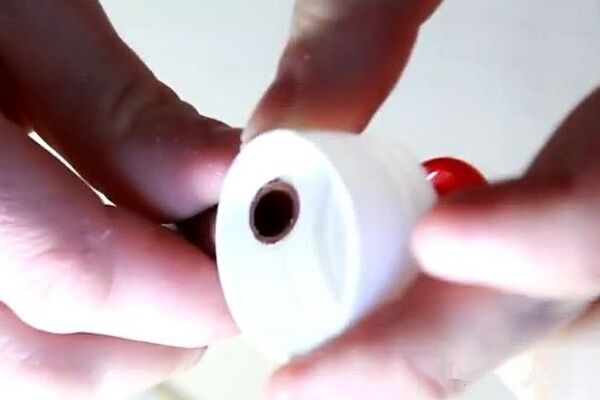
Next you need to take the second lid and cut out its bottom. In the third you need to drill one small hole - the motor wires will pass through it.
Also at this stage it is necessary to create a back wall that will be attached to the front of the main body. To do this, use a piece of plastic. You need to place the lid on a sheet of plastic and trace its circumference with a pencil.
The resulting contour must be cut out, and then a hole must be drilled in the center with a diameter that corresponds to the diameter of the circumference of the larger tube.
A supply water supply made from a larger diameter handle will be placed in the hole in the back wall. It should be 2-5 cm long and cut at an angle of 90°.
Step #2 - making a paddle wheel
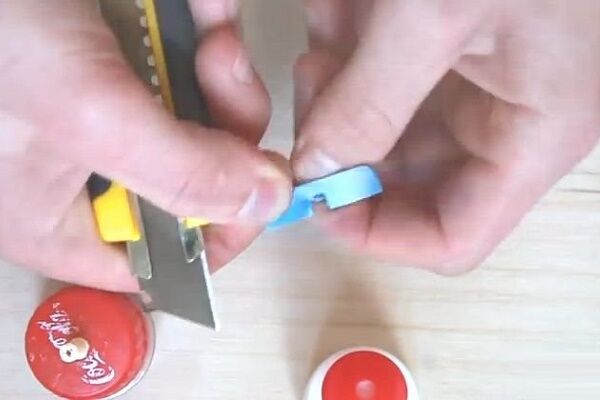
Pump blades can be made from plastic, part of an old disk, card, or other dense, water-resistant materials.In our example, the blades will be made from plastic. It is enough to take the sheet that was used to create the back wall.
From it you need to cut a rectangle with dimensions of 1*3 cm. From the resulting rectangle you need to make 2 small blades.
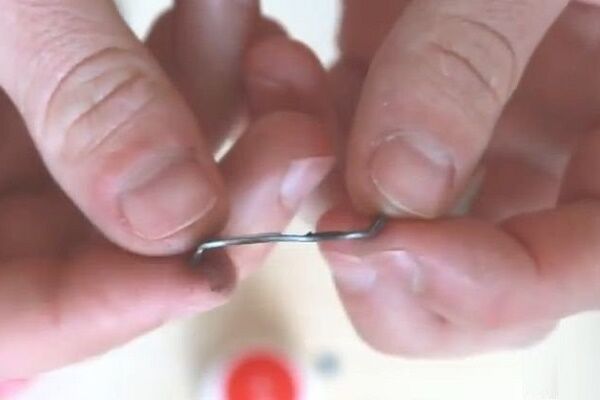
The blades are glued to the gear or worm at an angle of 90° or at an attack to each other (at an angle of 45°) on the same line, since such installation increases the performance of the pump several times. The blades must be glued with superglue.
You need to make sure that the blades will fit into the lid, and also visually assess that when rotating they will not rub against the walls and base of the main body.
Step #3 - Assembling the Injection Area
Let's take a handle with a smaller diameter and cut off its edges. On the resulting tube you need to measure 5-8 cm and cut one end at an angle of 45°.
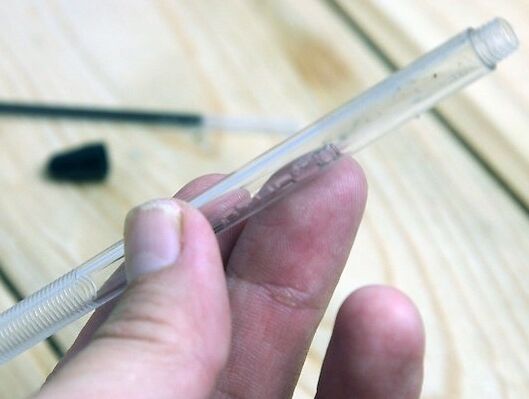
One side of the injection area should be cut at a right angle, the other at an angle of 45°. The pipe must be glued to the main body with the side cut at an angle.
After creating the pipeline, it is necessary to clear its internal area of pieces of plastic so that nothing prevents the water from flowing freely.
Step #4 - gluing all the elements
Before assembling all the elements, it is necessary to carry out some preliminary work.
First, you need to thoroughly clean the holes in the main pump body. To do this, use a layer of thin sandpaper and wire cutters. It is important to erase defects and inscriptions from the lid at the joints.It is necessary to clean until a smooth surface is formed.
This will avoid damage to the structure and the formation of holes through which water will pass.
Using wire cutters, clean the inside surface of the lid. This is usually necessary in cases where the holes are made with a knife. To clean, you need to cover the areas of plastic that have formed on the contour of the holes and, using force, eliminate the defects.
Once the main body is cleaned, you can begin gluing.
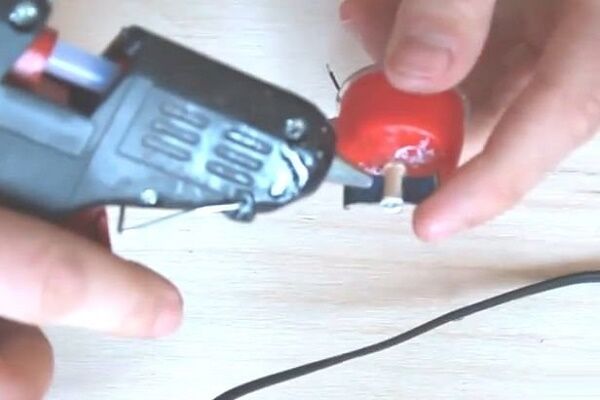
First we glue the engine to the main body. You need to take glue, lubricate the outer surface of the cap with it, and then place the engine in the hole so that the tongue and its convex part fall into the hole. The joints can also be additionally glued with superglue.
The engine and the cap must be pressed firmly for a few seconds to make sure there are no gaps, otherwise water leaks may occur in the future.
Next, the discharge line is glued to the main body. To do this, apply the pipeline from the handle to the side hole of the lid with the side cut at 45°.
It should be remembered that it is impossible to glue the pipeline at a right angle, since the performance of the pump will significantly decrease - the blades will not drive water directly into the injection area, as a result of which the water will slip, not enter the pipe, but circulate in the housing.
To glue the pipe and the body, you need to apply a thin layer of superglue to the surface of the cap in the area of the hole, and then put the pipe in place.The holes must coincide with each other, and parts of the pipe hole must not protrude outward.
Gluing the discharge pipe is a rather complex process, so it is important to hold the pipe with your hands for 5 minutes, and then also wait 20-30 minutes until it is completely dry.
The blade wheel must be installed on the gear. Before gluing, it is important to check again that the blades do not touch or rub against the walls of the body. You also need to think about the direction in which the blades will move - they should drive water into the pipeline, and not push it out.
Depending on the location of the discharge pipe, the movement of the blades can be either clockwise or counterclockwise.
Next, you need to glue the back wall with a pipeline made from a plastic tube of larger diameter. If you install a supply line with the same or smaller diameter, the pump's performance will decrease.
It is important that there are no holes at the junction of the pipeline and the back wall, otherwise this will lead to incorrect operation of the pump. If holes appear, they must be covered with glue.
Now you need to glue the structure to the base of the lid. To do this, the base of the main body must be cleaned with fine sandpaper and any unevenness and roughness removed.
Afterwards, you need to shake off the dust along the contour and clean the inner surface of mechanical elements, and then glue the back cover to the body with superglue.
The back wall should be located exactly in the center.It is important that when gluing, no smudges form in the inner surface. You should also make sure that there are no gaps. If they exist, then a layer of glue must be applied to the places where they form. After this, wait 30 minutes until the substance is completely dry.
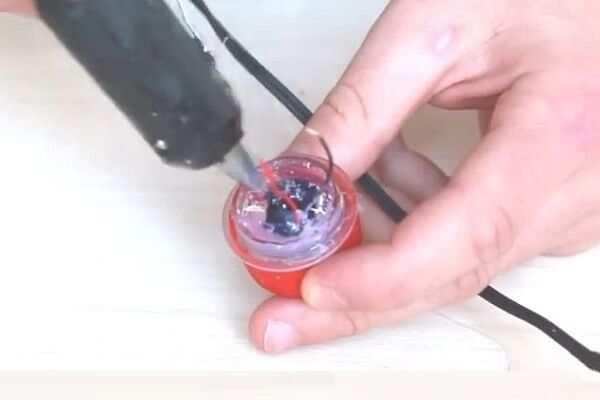
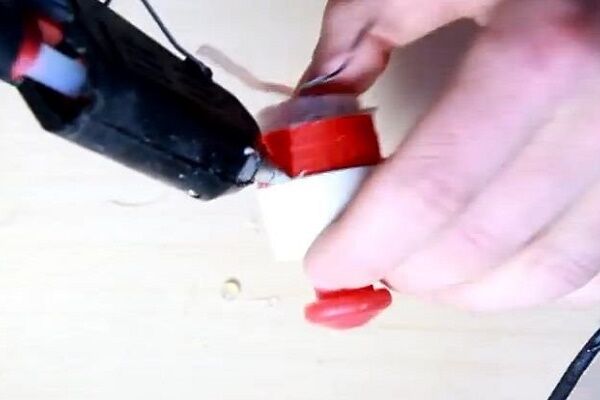
Next, we form a block in which the micromotor will be located. To do this, we put the lid without a bottom on the micromotor and glue it with silicone glue so that no gaps form.
The micromotor is sensitive to water ingress, so it is important to carefully insulate the lid that is placed on the device with glue.
Next, after the glue has dried, you need to thread the wires through the third cover with small holes, then glue the body, seal the gaps with glue at the joints and the area where the wires are located. Then you need to wait for the structure to dry.
Step #5 - connecting the power supply
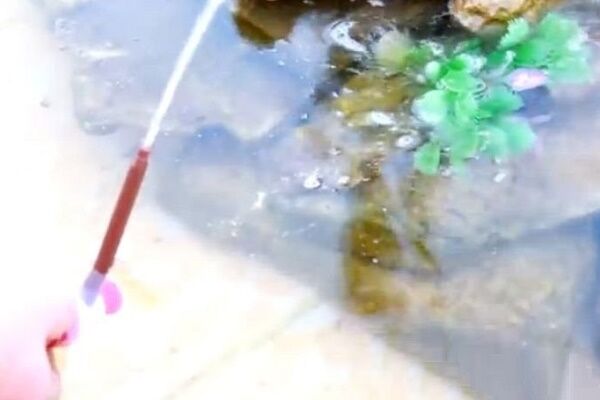
In order for the motor to work, you need to connect a power supply to it. The wires are insulated, so they can be placed in water. It is advisable to take a battery-powered power supply if the structure will be located outdoors. If it is assumed that the fountain will be at home, then you can use a regular power supply operating from a 220 V network.

The connection point for the power supply and micromotor wiring must be located outside the water. You can also provide a housing for the connection, which will add aesthetic appeal to the structure. The wiring itself may be partially submerged in water.
Features of operating a water pump
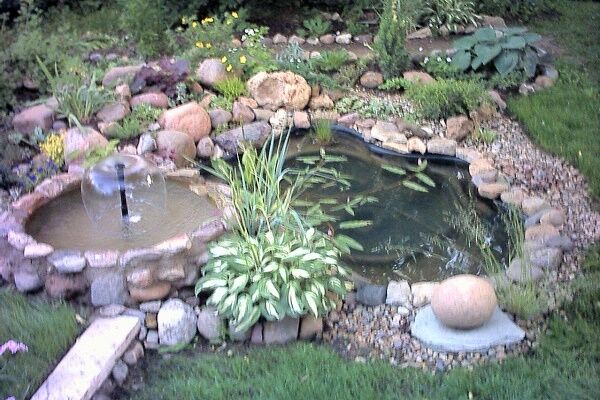
A home-made pump is suitable exclusively for artificial small fountains located in separate bowls. They are not installed in open ponds and reservoirs, since the mechanism is sensitive to dirty water and quickly becomes clogged.
The blades are small, so if small stones hit them they can break and fail. It is important to change the water in the bowl from time to time and clean the device.
Also, when immersing a homemade device, you need to equip a place on which it will stand. It is enough to place a small brick at the bottom of the bowl, and the pump can be supported with the help of a few pebbles.
When installing, it is important to consider that electrical cable is also a sensitive element. Therefore, it can be further protected.
In winter, the pump should be removed from the water and stored indoors.
To install large outdoor fountains and waterfalls, you need to purchase a powerful pump. Tips for selecting and installing such units are given in this article.
Conclusions and useful video on the topic
The video provides information on how you can create a pump based on a micromotor with large dimensions:
Another option for making a low-power fountain pump:
There is nothing complicated about making a homemade fountain pump. The materials used for assembly are found in every home, and the technology itself is simple and understandable.
If you have experience making a fountain pump, please share the information with our readers. Leave comments and add photos of your homemade items in the form below.


I made small pumps myself for miniature fountains in the house.I had to look for the right material for a long time to get started. I spent a long time selecting suitable materials both for assembling pumps and for making fountains. It was difficult, but the result was worth it. It is very beautiful and pleasant when a couple of fountains gurgle in the house. And now I’m thinking about making a backlight.
There is a small fountain at the dacha. I’m just delighted with it - it’s very beautiful, it looks impressive against the background of the green area. Your soul just rejoices when you are next to him. I persuaded my husband to make another one, larger than the previous one. But he says that now it is very difficult to find all the parts to assemble the pump and the fountain itself. I hope he comes up with something. After all, I have already been inspired by your beautiful photos.
We live in the private sector. We have a fairly large yard, and we try to decorate and improve it as best we can. I really wanted to have my own fountain in the yard: it’s beautiful and unusual. The husband, of course, at first decided that this was impossible - he was not able to make such a thing. But then I began to study everything, read and ask knowledgeable people. And after some effort and difficulties, he succeeded. Now we have such beauty near our house, guests always admire it.
There are a lot of hassles if you do it yourself. Despite the fact that they are inexpensive, on Aliexpress they cost from 250 rubles. In my opinion, it's easier to buy.