How ventilation is built in the kitchen: rules and diagrams for the hood
As a result of the widespread use of plastic windows in the kitchens of our homes, the natural ventilation provided by wood frames has been disrupted.Meanwhile, effective ventilation in the kitchen is essential.
Moreover, it needs to be organized with skill, so that instead of extracting kitchen air, you do not get an influx of “aromas” from neighboring apartments or from the toilet. Are you also concerned about this problem, but you don’t know where to start? In our material we will talk about arranging ventilation in the kitchen. We will tell you about the types of hoods and the nuances of their installation.
The content of the article:
Why do you need to ventilate kitchens?
Most domestic apartments are equipped with stoves that use natural gas. During its combustion, carbon dioxide is formed, the toxic properties of which appear as its concentration in the air increases.
The most reasonable and modern solution to this problem is to install a hood and forced ventilation of the room.

So, ventilation is necessary even if the gas stove is working perfectly. The need for it increases with errors in equipment settings, which can cause the release of carbon monoxide. It is much more dangerous than carbon dioxide, and its presence may not be noticed: this gas has neither color nor odor.
In addition, pipeline or natural gas may not burn completely, accumulating in the air. There are situations when the burner flame goes out. For example, it was filled with “escaped” milk. If there is no special protection, then the gas entering the room can provoke an explosion that can cause trouble throughout the house.
It turns out that when starting to work with a gas stove, you need to immediately turn on the exhaust fan. But the presence of an electric stove in the kitchen does not reduce the importance of ventilation of this room.
Burning of food, which often happens among lovers of fried potatoes and fish, is accompanied by the release of harmful compounds that are formed as a result of the pyrolysis of organic compounds. Those who prefer steamed foods know that evaporation leads to an increase in humidity in the room. And its level also needs to be lowered.
And even supporters of the smell of fresh baked goods understand that it is impossible to saturate the entire apartment with this wonderful aroma. A mixture of odors that are attractive at first turns over time into a mess of partially decomposed volatile organic matter, the presence of which in the air is unlikely to please anyone.

Conclusion: a hood in a modern kitchen is not a tribute to fashion, but a vital necessity.
Types of kitchen hoods
The different needs of users force manufacturers to develop offers that would optimally suit the needs of a specific buyer.Therefore, the range of kitchen hoods that the modern market of household appliances offers us is quite wide. Let's try to understand their diversity.
According to the method of purifying air masses
There are many ways to purify the air in the kitchen.
Depending on which of them is used in a particular model, hoods are divided into:
- Evacuees. These models exhaust air from the kitchen outside through air ducts made in the form of a metal box or corrugated pipe. For such a device to work, there must be a ventilation duct or a simple hole. Usually the air duct is equipped with a valve that prevents the occurrence of reverse draft.
- Circulating. This model has carbon filter, similar to a gas mask. In fact, this is not a hood, but a filtering unit that purifies the air from the main “odors”: there is no air exchange with the external environment. Such a device is attractive due to its simplicity of installation, but it is not able to protect, for example, from gas leaks.
Circulating hoods can be adjacent to standard kitchen ventilation. Their disadvantages usually include high cost and expensive maintenance: carbon filters require periodic replacement.

A special feature of an evacuating hood is that it also removes excess heat, which always forms during the cooking period. The circulation model does not have such a function.
Division by type of construction
In addition to the main function, buyers pay attention to other distinctive characteristics of various models.The exhaust device should fit well into the overall interior of the room, be convenient to use, and also: it would be nice if you could save money and install it yourself.
Therefore, modern hoods differ not only air purification power, but also the installation method, design, material of manufacture and the presence of additional options.

According to the type of design, exhaust devices are divided into:
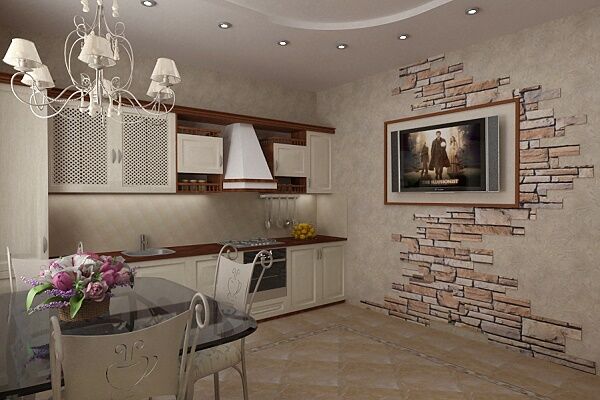
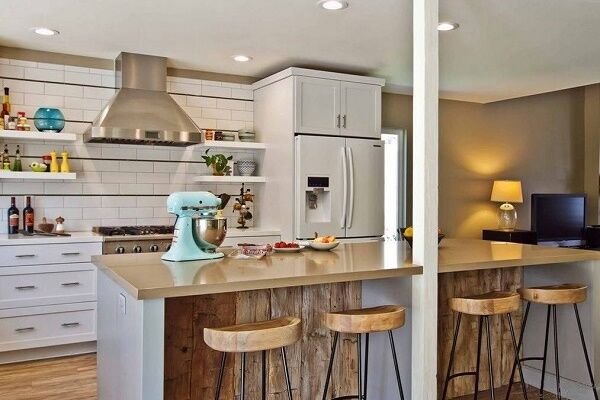
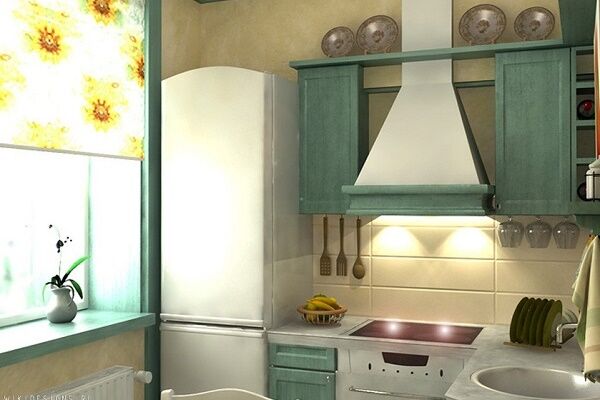
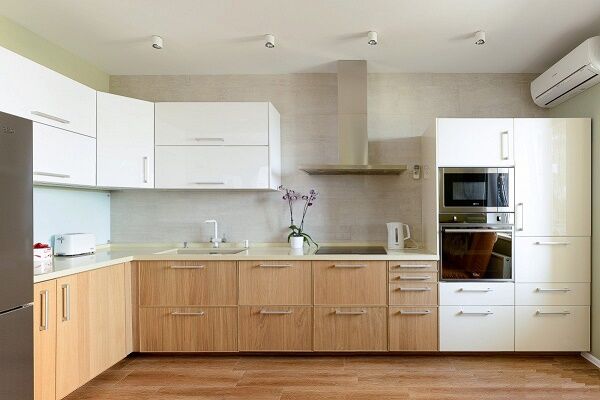
- Dome. This model got its name due to the shape of the air intake. It looks like a truncated pyramid, the dome of which is located directly above the slab. An air duct extends from an opening in the top of the dome, transporting air outside the kitchen through a hole in the wall or through a ventilation duct.
- Built-in. This hood is located inside the furniture in the kitchen. Often built-in hood It is equipped with a retractable panel, which allows you to economically use room space and, at the same time, provide comfortable control of the equipment.
Before ordering furniture and buying a hood, you should plan the kitchen space so that pieces of furniture and household appliances do not interfere with each other, look aesthetically pleasing, and are convenient to use.
Spatial layout is also very important when installing a built-in hood. As a rule, if the hood is not included in the kit initially, the furniture for it is made to order. At the same time, all the nuances are necessarily provided for, allowing all elements of the built-in equipment to be beautifully and neatly arranged.
Classification according to installation location
Exhaust equipment is installed in the kitchen taking into account various factors: the size of the room, the location of the stove, and so on.

Depending on the location of installation, hoods are divided into:
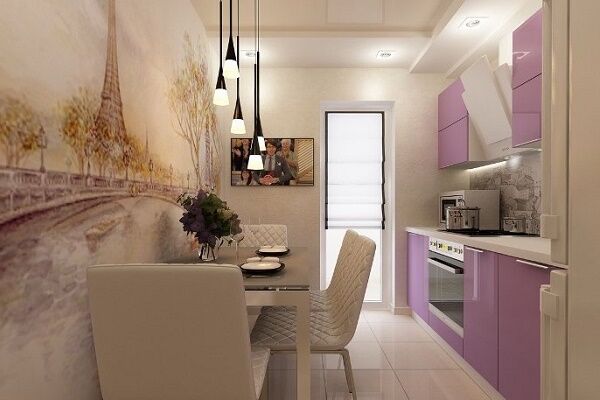
- Wall-mounted. In this case, one side of the hood dome is adjacent directly to the wall, and the second is located above the stove.
- Angular. Placing the stove in the corner not only saves kitchen space, but also makes the hob more accessible. The design of the corner hood dome itself has a shape in which its two sides fit into the corner of the room, tightly adjacent to the walls.
- Island. The lucky ones who have a large kitchen space can afford to install an island structure. It is placed above the stove located in the center of the room.
The range of manufactured models includes hoods of various shapes. For example, flat models are mounted under furniture so as to overhang the stove.

Before installing the hood in the kitchen yourself, you must carefully study the instructions. Each model has its own installation nuances, but some general rules apply to all hoods.
This is the height at which they should be located relative to the surface of the slab. For gas stoves, the distance is from 75 cm, and for electric stoves - at least 65 cm.

So, the lower level of installation is determined, the upper one is selected independently. And it depends on the height of the apartment owners: using the stove and hood should be convenient. You can read more about the nuances of installing a hood in this material.
Most often, modern buyers prefer built-in models. They are cheaper and easy to install yourself.
Schematic diagram of a kitchen hood
Any hood includes the following elements:
- Fan with electric motor. A multi-speed asynchronous motor rotates the exhaust fan, which forces air flow through grease-retaining filters.
- Filters. All hoods are equipped grease filters reusable or disposable. Carbon filters are present only in circulating models and act similarly to activated carbon. They are replaced every 3-4 months of operation.
- Lighting lamps. The hob is illuminated using incandescent, LED or halogen lighting fixtures.
- Speed switching diagram. In different models, speed switching is carried out in different ways: using touch devices, using buttons or using a slide switch.
Take a look at the standard hood electrical circuit, which contains all the elements mentioned above.

Ensuring the safety of the structure
The exhaust equipment kit must include a fan, which means that the hood must be connected to an outlet. If you have just started renovations in a new apartment, be sure to provide a separate outlet for the hood, because this equipment must always be connected.
The occupancy of the outlet by a single device allows you to hide it behind the elements of the furniture set. But don't forget to make it easy to access. There is one more important rule: the socket should be located no closer than 60 cm from the sink and from the stove.
Remember that this hood is an electrical appliance that can cause electric shock, so electrical safety issues must be taken seriously.
The kitchen, like the bathroom, is a room that can be both hot and humid at the same time. Excess moisture and grease from cooking settles on the hood grate. This creates favorable conditions for electrical breakdown on the metal casing from the fan motor. It is for this reason that the device should be connected to the electrical network using three wires.

The wiring must include zero, phase and ground. The ground wire can be easily identified by its yellow insulation and longitudinal green stripe. Modern houses are equipped in advance with European sockets and a grounding circuit. In this case, it is enough to connect the grounding wire to the corresponding terminal of the plug. It is easy to distinguish it from others by its icon in the form of three parallel lines of different sizes.
Older buildings may not have grounding loops. In this case, you need to take care of protection yourself. In the event of a breakdown on the housing, grounding will allow the circuit breaker to turn off. In addition, it is necessary for potential equalization.
As additional protection, it is recommended to make the wiring for the hood socket a separate cable with RCD and circuit breaker protection.
How to make protective grounding yourself?
To build protective grounding in an old house, it is not at all necessary to dig a trench and drive metal pins into the ground. You cannot ground exhaust equipment to a water supply system, heating plant, and, especially, to a gas pipe. This is dangerous not only for you, but also for your neighbors.
To install grounding in an old house, you need to find a dead neutral and connect to it. To do this, open the input panel in your entrance or apartment. The wires included in it are enclosed in a pipe, which is walled up in the wall. There should be a threaded pin on it, possibly with previously connected ground connections. This is the desired solid neutral: the pipe is reliably grounded.
You need to take a flexible stranded wire with a cross-section of at least 2.5 mm2, and lead it from the neutral to the location where the socket is installed. The hood should be connected to the network using a 6.3 Ampere circuit breaker.

As mentioned above, there may be other ground connections on the solid neutral. They cannot be turned off. You should place your terminal over the existing ones and secure it with a nut.If the neutral surface is smooth, a clamp can be used to secure the grounding. It would be great if an electrician from your Management Company takes part in this work.
Possible ventilation problems
When installing a hood, the standard ventilation system of the apartment may be disrupted. An attempt to solve this problem is to punch an additional hole specifically for exhaust to the outside or into the ventilation duct. But the desired effect cannot be achieved this way. The cross-sectional area of the same ventilation duct does not increase when another hole appears in it.
If a successful combination of circumstances occurs, only ¾ of the children from the kitchen will go into the canal, and ¼ will remain in the apartment. If there is a strong wind outside or there is a draft from the lower floors, then all the fumes will return to the kitchen or go to the neighbors, which can result in damaged relations with them.
As for venting air outside through a hole in the wall, the supporting structure is affected. Such work must be pre-coordinated and a draft of the changes made must be drawn up. In addition, this solution creates the risk of condensation settling both in the air duct and on the fan motor. Then a breakdown to the body is almost inevitable.

As a way out of this situation, it is proposed to use an additional section of the air box equipped with a flapper valve. The diagram of this device is shown below.
Under the exhaust duct you need a window in the shape of a square, the side of which is ¾ of the diameter of the duct.This allows its cross-sectional area to correspond to a similar area of the duct. The perimeter will be slightly smaller than the circumference of the duct. Then there will be no difficulty connecting.
The damper can be made of aluminum 0.5 mm thick or from fluoroplastic or fiberglass of the same thickness. A product made of aluminum is preferable, because not only the rigidity and thickness of the material is important, but also its lightness. The firing of a firecracker will be more effective if the specific gravity of the material from which it is made is lower.
The damper is equipped with a weak, thin spring. Its function is this: when the damper is raised to the top position and the impact on it stops, it should smoothly return to its place. If the spring is loosely tensioned but stiff, then it will not be suitable for our purpose.
The wire that makes up the spring should have a diameter of 0.2-0.3 mm. With a length of 120-150 mm, the diameter of the spring itself should be 3-5 mm.
Read more about how to properly connect a kitchen hood to ventilation. Further.
Using odor neutralizers
Kitchen hoods are often equipped with odor neutralizers.
In our stores you can find three types of neutralizers:
- Chemical. These neutralizers need to be changed frequently, because they quickly become covered with a greasy film and stop working before they fully exhaust their service life. In addition, they themselves emit compounds that can be harmful to health.
- Electroionization. If you have an ionizer, then the principle of operation of this device is also familiar to you. But in any room of the house, harmful substances are in much lower concentrations than in the kitchen above the hob.To neutralize them, a strong discharge is required, which can also harm the housewife standing at the stove.
- Ultraviolet. When using neutralizers of this type, it is necessary to occasionally clean the bulbs from plaque and change them approximately every two years. And these light bulbs are not cheap. But such a neutralizer is safe for human health. Moreover, the lamps emit not only ultraviolet light, but also light: white or with a slight blueness.
Armed with the information received, we will choose the right neutralizer not blindly, but with knowledge of the matter.
A few words about air ducts
The hood kit does not include an air duct. It will have to be purchased separately. It is believed that a metal box with a rectangular cross-section looks more aesthetically pleasing aluminum corrugation, but it also has its merits.

The corrugation should be selected with a diameter that corresponds to the inlet hole in the upper part of the hood. If the length of this pipe is less than 1.5 meters, then the aerodynamic resistance of this material is practically negligible in comparison with the random losses resulting from turbulence in ventilation. The corrugation is easy to cut with ordinary scissors.
The corrugation can be given a square shape to connect it with the clapperboard. It completely lacks the resonant properties that sometimes occur with rigid boxes. If you still choose to purchase a corrugated stove, then cooking in your home will never be accompanied by a monotonous hum.
Conclusions and useful video on the topic
The specialist's recommendations in this video will help you not to get confused when considering the models of exhaust devices that modern supermarkets of electrical household appliances offer you. The choice must be made wisely, so listen to the advice of a professional:
When installing a hood, non-standard situations may arise. Practical advice from the master, which you will find in this video, will help you cope with the task:
You can build ventilation in the kitchen with your own hands. But before you get started, you need to find out what types of exhaust devices the modern market offers, what rules and hood device diagrams for the kitchen there are.
If you have had to deal with the arrangement of kitchen ventilation and have something to advise our readers, or have any questions that you would like answered, please leave your comments in the block below.


It’s interesting, of course, at the very beginning it is written - who said that absolutely everyone has plastic windows installed? Nowadays there are a lot of wooden modern windows, it’s just a trend. Installed everywhere. But that's not the point. As for corrugation, it used to be considered unattractive, but now designers have somehow played up this point and very often people ask to install corrugation rather than a metal box.
While I was living with my mother, I didn’t really think about the fact that recycling kitchen air was so necessary in an apartment. We always ventilated the room thoroughly, and there were no problems with odors. When I moved to my future husband, I saw this miracle of technology.The kitchen was located in the apartment in such a way that it was not possible to remove odors simply by opening the window; it was too far away. Our hood has three modes, switches with buttons and all the aroma of food moves to the toilet. But several times something burned and the hood couldn’t handle it even on the most powerful mode.