Countertop sink in the bathroom: how to choose + installation guide
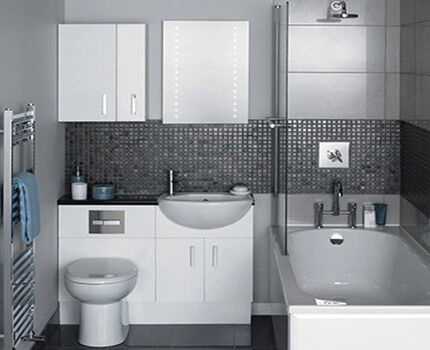
Compared to conventional types of plumbing fixtures, a countertop sink in a bathroom allows for more efficient use of space. This is true not only for small bathrooms - in large rooms you can also find a use for the freed up space.
We will tell you how to choose the best countertop sink for you personally. We will describe in detail how the selected plumbing fixture should be installed on the countertop. The article we have presented provides valuable recommendations, the observance of which will ensure an impeccable result of the efforts made.
The content of the article:
Features of choosing and installing washbasins
When you start to take an interest in the existing types of overhead bowls for washbasins, it seems that the imagination of designers has finally given free rein after many decades of forced creative abstinence.
Indeed, it is the overhead options, due to their original design, that allow you to create such a variety of shapes.
Shapes and sizes of overhead sinks
There are models so unusual that it is simply impossible to install them in the first bathroom you come across; you need to create an interior based on the design of this very sink. Manufacturers produce them in the form of a cup, an open flower bud, and a flowing stream of water.
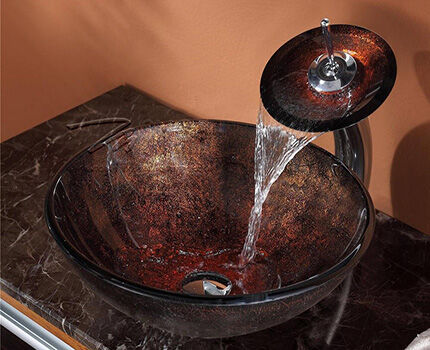
But when choosing an overhead sink for a bathroom countertop, you need to evaluate not only the design, but also the ease of subsequent use.
For example, small washbasins can only be used for washing hands, and even washing a child in them is inconvenient, since water splashes outside the bowl. Washing your hair or refreshing large items when cleaning is out of the question.
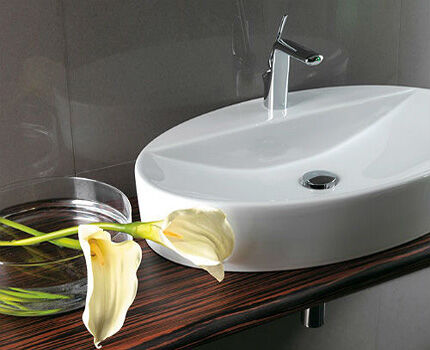
Washbasins come in oval, round, triangular and rectangular shapes. Overhead shells of unusual, abstract shapes are also common, in the form of a drop, a boat, a stone with a recess, or a flower. They all come in different depths and widths—everyone chooses the appropriate size individually.
Bowl-shaped countertop sinks have gained wide popularity. It is the small models that are not entirely convenient; it is unlikely that you will be able to wash your face in them without getting the countertop wet. But large washbasins are both beautiful and practical.
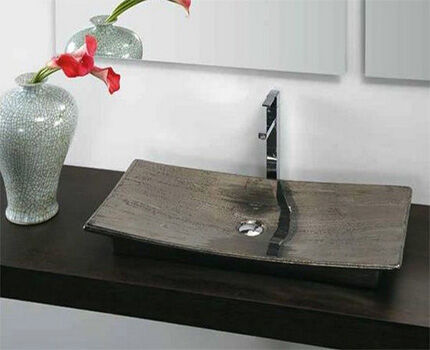
Features of choosing a sink for a countertop
The first thing you need to pay attention to when purchasing is the presence of a hole for the tap. It is not always necessary, because the mixer can be used in common - for the bath and sink. But most often, in the case of a countertop sink, they install a free-standing faucet on the countertop or connect a faucet built into the wall.
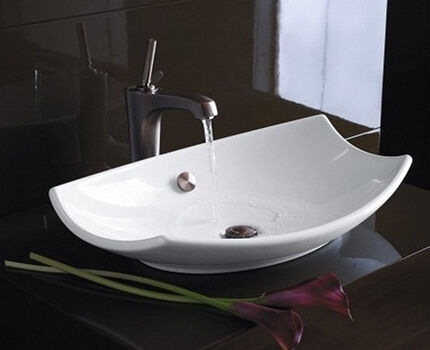
Another important point in choosing countertop sink — the presence of an overflow hole that protects against flooding when using a sink with a closed drain. The overflow can be through or built into the sink, which is connected inside it with a common outlet into the siphon.
If the overflow hole is through, then a special siphon is connected to it with separate water outlets from the overflow and drain, which are then connected into one outlet.
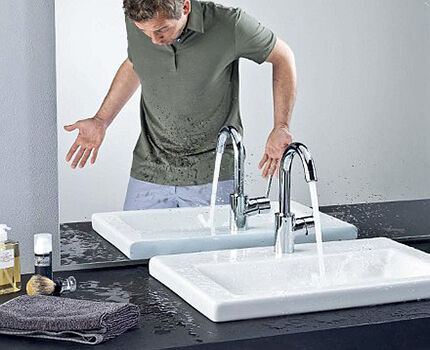
Before purchasing, you must carefully measure the location of the sink so as not to make a mistake with the size, and when purchasing the product, make sure there are no cracks or chips.
Material for the production of washbasins
Despite the constant search by designers for new ideas and materials for production, washbasins made of sanitary porcelain and sanitary ware remain the most popular. This material is resistant to scratches and cracks, and does not collapse under the influence of temperature changes.
And although they can split from an impact, this still happens quite rarely. The traditional white color of the material will suit almost any design.
Glass sinks look airy and elegant. The disadvantage of such washbasins becomes obvious after you start using them - every drop of water, when dried, leaves a mark. Since it is unlikely that anyone will wipe it after each use, such a washbasin does not look very neat. From this point of view, frosted glass behaves much better.
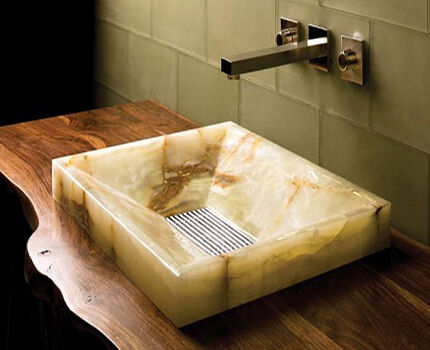
Natural or artificial stone sinks can be made from marble, stone chips, sand and a binder. It would seem that this is a very durable material, but even with stone products problems can arise if used incorrectly - small cracks appear, or even completely split.
The manufacturer describes how to properly care for such plumbing fixtures in the product instructions. Most often, there are recommendations to wipe them dry and not to use too hot water.
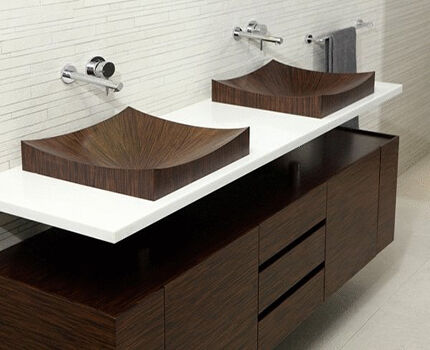
Wood sinks are also produced, using hardwood with a beautiful texture. Washbasins arouse interest simply by the choice of material, and in combination with a successful design they can become a real decoration of the bathroom.
The wood from which plumbing fixtures are made is treated with special oils that prevent water from penetrating into its pores. Caring for such a sink is quite difficult. It cannot be cleaned with detergents containing high acids or alkalis, or with abrasive substances.
They also produce overhead sinks made of acrylic.The material is more familiar in connection with the production of bathtubs, but washbasins made from it are also deservedly popular. Strength, lightness, resistance to temperature changes, ease of maintenance, as well as the ability to create the most incredible design solutions make acrylic attractive to both buyers and manufacturers.
Is the sink above the washing machine convenient?
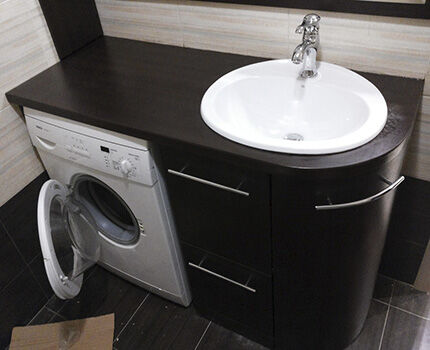
If there is very little space in the bathroom, then the sink can be installed on the countertop above the washing machine. This will free up space that could be occupied by a regular plumbing fixture, and in its place you can install a spacious laundry basket and make a cabinet for detergents and cleaning supplies.
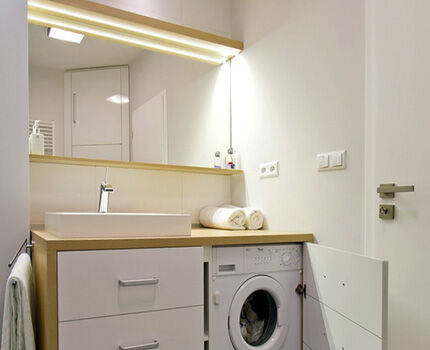
But perhaps this option is not suitable for a home in which all or some family members are below average height, since a sink installed on the countertop above the washing machine will be located quite high.
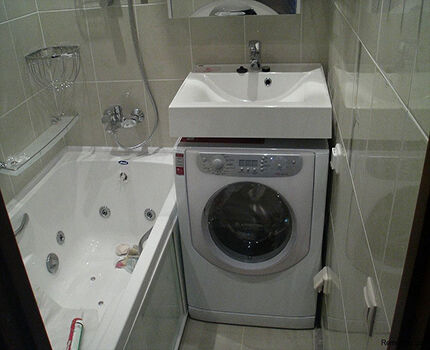
Main difference water lily shells from overhead ones - the presence of mounting elements for mounting on the wall. This solution looks less sophisticated, but in small baths it is the only possible one.
To ensure that the future use of an overhead sink on a bathroom countertop does not cause inconvenience, you need to calculate its height before installation.
You need to focus on the standard height of the washing area - about 0.8-0.85 m, while the permissible deviations are about 20 mm. The approximate height of the washing machine is 85 cm. The thickness of the countertop can be from 2 to 7 mm.
Here you should also add the height of the sink, which can be very different. Consequently, having carefully calculated all the values, you can already decide whether or not to refuse the installation sinks above the washing machine.
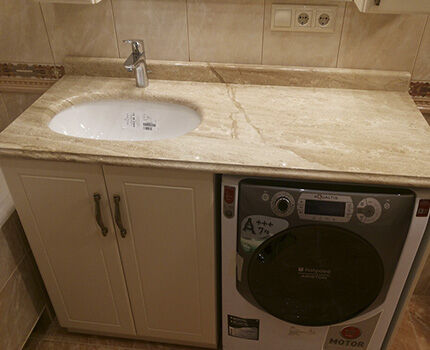
When installing a sink for the washing area above the washing machine, you must also take care to position the equipment correctly. Vibration effects can make countertops and sinks impossible to use.
Therefore, a small gap is left on all sides of the cabinet. It is necessary even if the machine has an imbalance control function.
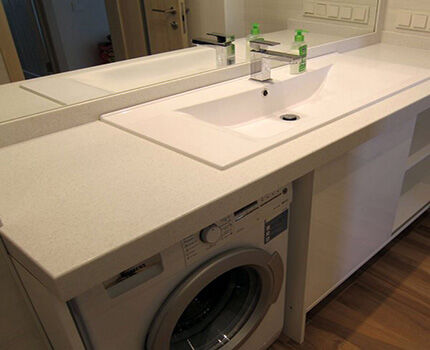
Which countertop to choose for the sink?
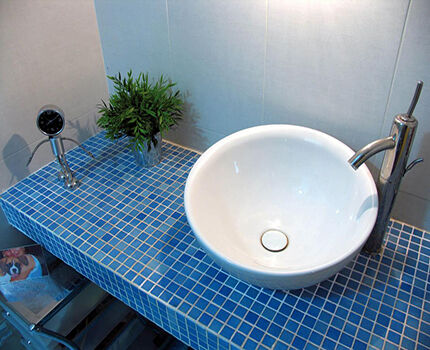
The overhead washbasin does not have fastenings for wall mounting and can be installed on any flat surface. This can be a cabinet or a wall-mounted shelf made of MDF, wood, artificial or natural stone, or glass.
To install MDF countertops under the washbasin, a material with a laminated coating is used.The coating itself is not afraid of moisture, but at the joints between it and the edge or at the cut points (for example, if the washbasin is built into the cutout of the countertop), the slab, when wet, absorbs water. This leads to its swelling and delamination of the laminate.
A wood tabletop is a beautiful and environmentally friendly material that fully justifies its use both in terms of aesthetics and practicality. But there is one thing.
Wood itself does not serve well not only in direct contact with water, but also in conditions of high humidity. Therefore, it is important that the manufacturer of such products knows his business well - after all, properly processed material can even be used for the production of bathtubs and sinks.
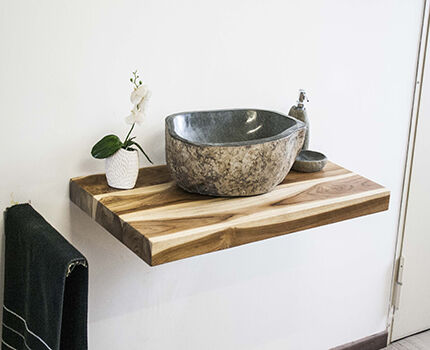
Natural stone countertops are most often used for built-in types of sinks or a shell is cut into them themselves. But they can also be considered as a support for a counter-mounted washbasin; the main thing is to choose compatible materials.
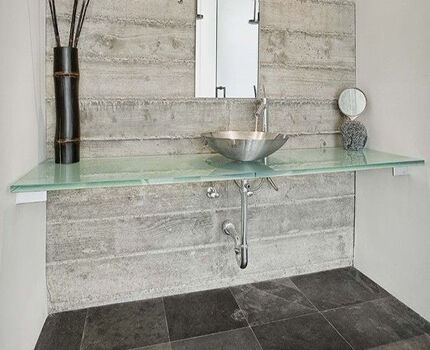
Glass surfaces are suitable for interiors in the style of Hi-Tech and minimalism. They are made from fairly thick and durable glass and if you do not expose them to shock, they can be called quite safe.Glass is not afraid of moisture and can be washed with any detergent. One of the main disadvantages of the material is traces of water drops and stains.
How to install a countertop washbasin?
A sink installed on a countertop is connected in almost the same way as the models we are familiar with. The only significant difference is that it does not need to be fixed to the wall.
Procedure for installing an overhead sink:
- Shut off the hot and cold water supply.
- Shut-off valves for water supply are screwed to the cold and hot water outlets.
- To seal the thread, use FUM tape or flax with a special paste. 5 turns of the tape in a clockwise direction are enough. Wound with high quality, it does not slip onto the hole and completely covers the thread.
- The taps are turned clockwise. If they are angular, they should be turned with the hole up.
- A supply hose is installed on each tap and tightened by hand. The presence of a sealing rubber eliminates the need to use seals for this connection.
- Next, you need to check the quality of the connection of the taps and hoses - turn on the water, make sure there are no leaks. At the same time, the pipes and hoses are washed so that the dirt accumulated in them does not get into the mixer.
- Then a cabinet is installed in a permanent place or a table top or shelf is installed.
- If necessary, two holes are drilled in the cabinet for the sewer pipe. The first hole is made at the bottom of the cabinet. To do this, measure the distance from the wall to the center of the drain in the floor.Measure and mark the same distance from the edge of the cabinet and drill a hole using a drill with a round attachment.
- If there are several shelves inside the cabinet, a hole is also made in them, but of a smaller diameter.
- Using adjustable legs, the cabinet is leveled.
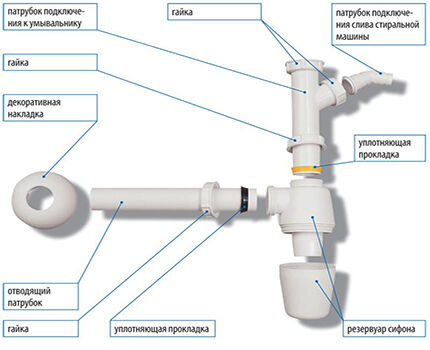
- The next step is installing the siphon. Install the corrugated tube with the larger diameter end into the drain. The upper end is connected to the siphon body, and the length of the corrugated tube is adjusted.
- The siphon grille is screwed onto the sink. Take a rubber ring designed to seal the connection with the drain hole of the washbasin and put it on the siphon. Tighten the connecting nut by hand.
Installation of the mixer consists of connecting flexible hoses and fixing brackets to it.
In the case of installing a countertop sink on a shelf screwed to the wall, it is necessary to replace the usual plumbing siphon with a beautiful nickel-plated analogue. It is not very cheap, but not only will it not spoil the interior with its appearance, but it can also complement and decorate it.
He will familiarize you with the specifics of assembling and fastening a structure from a cabinet with a sink in the bathroom. next article, which describes in detail the process of selecting furniture and plumbing fixtures, as well as the installation procedure itself.
Conclusions and useful video on the topic
Video #1. How to install a countertop sink on a cabinet:
Video #2. Overhead bathtub: 75 ideas for your home in photos:
To summarize, I would like to say that a countertop sink in a bathroom is very beautiful, not hackneyed and simply functional.
Moving away from the traditional perception of the bathroom only as a place for hygiene procedures, you understand that it can become a full-fledged relaxation room. Therefore, you want to make the room stylish, cozy and harmonious, and an overhead sink will take an important place here.
Would you like to tell us about how you assembled a structure from an overhead sink with a countertop with your own hands? Do you want to share technological subtleties known only to you? Please write comments in the block below the text of the article, ask questions, post photos on the topic.


We have a very small bathroom, although it is not combined with a toilet, and there is catastrophically little space. Therefore, an overhead sink on the countertop was simply a salvation. Why didn’t I think about this before? The choice now is simply huge: your eyes run wild. I didn’t want to take a very small one, it’s inconvenient, it would splash all over the room. We took it from natural stone and are very pleased. She is eternal. My husband installed it himself.
We wanted to take an overhead sink in the form of a bowl, but we didn’t like the small ones because of their convenience, and the large ones look heavy and cumbersome. We bought a rectangular one, it also has its own nuances, but it’s convenient to use, and the installation was on par with the bathroom furniture. I think that the space was used rationally. We took the standard white one because it matches the bathtub and toilet. But the color options in the assortment were gorgeous, of course.