How to choose and install a fan in the bathroom + how to connect the fan to the switch
A forced ventilation device is one of the ways to ensure a comfortable microclimate in a private house or city apartment. Simpler devices - fans - over time turned out to be supplanted by split systems and air conditioners, but retained their relevance in the bathroom or toilet.
Let's try together to figure out how to choose and install a fan in the bathroom for the most effective cleaning and removal of air.
The content of the article:
Reasons for installing a household fan
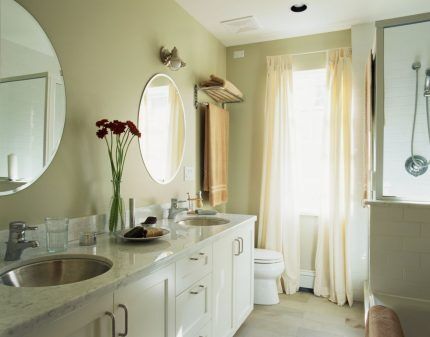
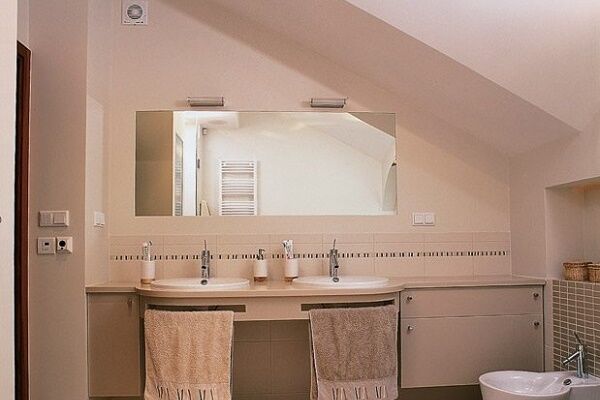
The highest level of humidity in the house is located in the bathroom or combined toilet - where water is actively used and in large quantities. The small size of the room, the peculiarities of the wall cladding, and sudden changes in air temperature are additional factors in which high humidity becomes the most dangerous.
There is a risk of the spread of fungus and mold - unpleasant microorganisms that form colonies and are strong allergens.
The appearance of black spots in the seams between tiles or condensation on mirrors, plumbing fixtures and pipes that do not have time to dry are the first signs that the natural ventilation system is broken. The reason may be a lack of fresh air flow through window openings (frames, transoms, special openings under the window).
In a private home, problems may arise due to ill-conceived installation of ventilation ducts or supply valves in the walls.
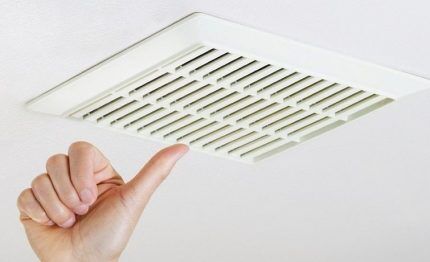
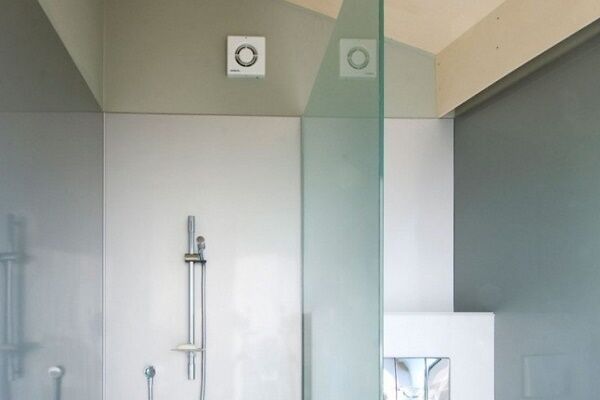
The simplest solution to ensure forced air circulation in the bathroom is to install a fan. Modern devices have an attractive, laconic design and convenient controls, have a reduced noise level and sufficient performance to create a comfortable atmosphere. If you have experience with electrical wiring, you can select and install the fan yourself.
Criteria for selecting suitable equipment
To buy a good fan, you can simply visit a supermarket and find out all the secrets from a sales assistant.However, you should not rely on 100% honest and reliable information, since one of the seller’s tasks is often the sale of stale or most expensive goods. But it’s better to start by studying rating the best devices, after which you need to carefully study the important aspects of the upcoming purchase.
Types of fans for domestic use
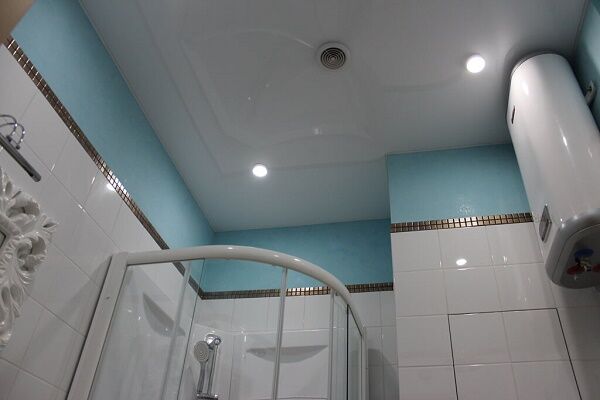
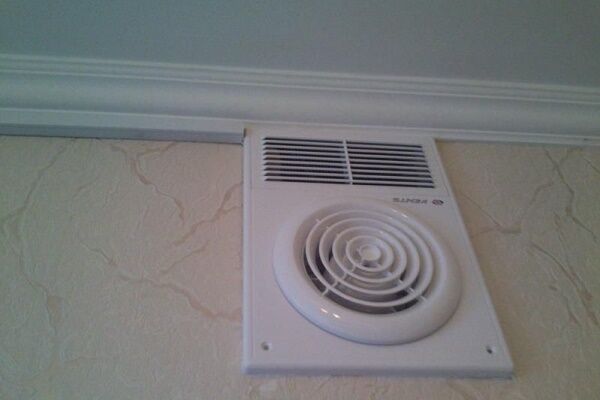
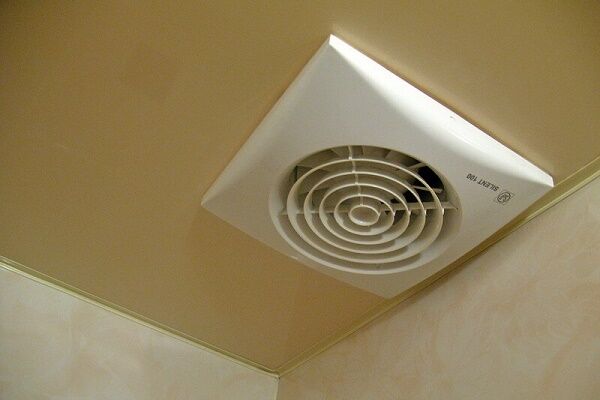
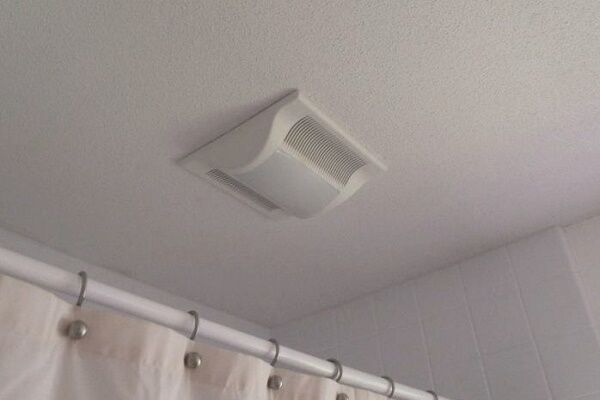
Unlike industrial units, home appliances are small in size, have less power and have a less industrial look. Typically, stationary exhaust ventilation devices are used, built into the wall or ceiling (mobile portable systems are used on construction sites, in workshops, etc.).
Based on the method of air intake and design, household fans are divided into two types:
- axial, located in a cylindrical body and equipped with blades that capture and move air parallel to the axis;
- radial, used to change the direction of air flow from axial to radial when passing through the impeller of the device.
The first type is in demand much more often due to the simplicity of design and installation in residential premises.
According to the location and method of installation, two groups are also distinguished:
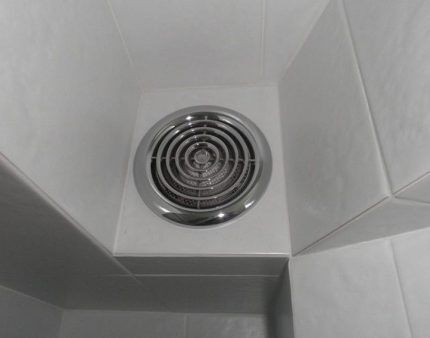
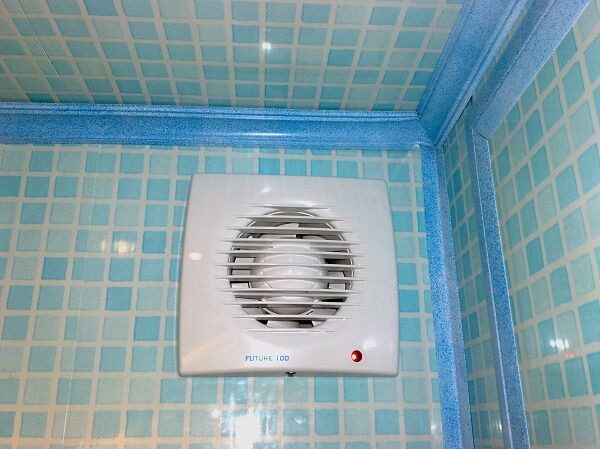
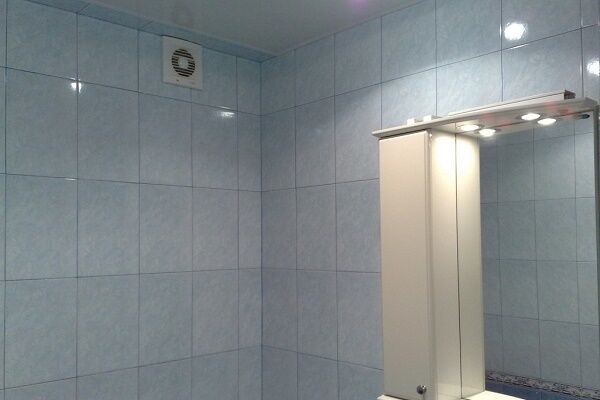
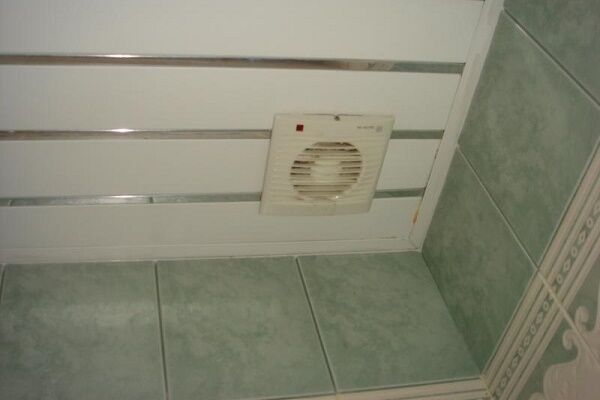
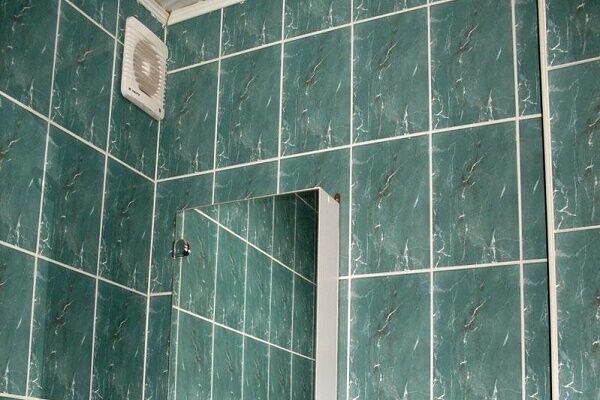
- invoices, having a square or round shape, mounted in the ventilation duct hole (usually on the wall under the ceiling);
- channel, more powerful and quieter, which are placed inside the air ducts.
For a city apartment, only the first category is suitable, but for private houses there are options.

Often, when choosing a bathroom fan, they focus solely on design. Appearance is important, but without suitable technical properties, the device will not cope with the task assigned to it. Let's consider the parameters that play a decisive role when purchasing.
Technical characteristics of bathroom appliances
A fan has much fewer nuances than a refrigerator or washing machine, but each characteristic is important for comfortable living:
- device performance, reflecting the speed and volume of air exchange in the room;
- noise level;
- safety (moisture protection).
The performance must be indicated in the technical description of the device.Average values are in the range of 50-250 m³/h.
The noise levels produced vary from 25 to 50 dB. The lower the noise level number, the quieter the fan operates, and, accordingly, the calmer the atmosphere in the house. The ideal parameters are 25-30 dB. They are required if the device operates in night mode.
Be careful when choosing powerful models whose noise level reaches a maximum. Our other material contains a rating of the best silent fans for the bathroom, we invite you to familiarize yourself.

The fan is an electrical device, so the degree of protection is also important. Equipment marked IP 44 and IP 45 is suitable for the bathroom.
Calculation of productivity using the formula
It is not difficult to find the performance of the device - it is indicated in the passport, but how to determine whether a fan with such characteristics is suitable for your bathroom? One solution is to make calculations using ready-made formulas. First you need to calculate the volume of the bathroom and find out the optimal air exchange rate.
The formula for calculating volume has been known since school:
V = a x b x h
(the length must be multiplied by the width, then the result obtained by the height)
For example, the length of the bathroom is 2 m, the width is 1.8 m, the height is 2.5 m. We multiply everything, we get a volume of 9 m³.
Next, you will need parameters for the air exchange rate for the bathroom.

According to building codes, for a family of 1-3 people, the multiplicity (the number of fresh air changes per hour) is 6, if there are more than 3 residents, then 8. We multiply the resulting volume of 9 m³ by 8, we get 72 m³/h. Therefore, when purchasing a device, we pay attention to samples with a productivity of 75 m³/h or slightly higher.
Modern additional devices
The simplest modifications, equipped with a noisy rotating propeller and an inconvenient control method, are a thing of the past. Today, bathroom fans are equipped with devices that expand their functionality and even allow you to program the air exchange process. Let's look at some improvements:
- Check valve. This is a special automatic damper that prevents exhaust air from entering back into the room. As soon as the fan turns off, the damper slams shut.
- Motion Sensor. A technical device that responds to the appearance of a person. Its use is not always justified, since the short periods of time during which a person is in the bathroom are not enough to ventilate it.
- Humidity sensor. A device that automatically adjusts on/off depending on the percentage of moisture in the air. According to the requirements of SanPiN (5179-90), indoor humidity should not exceed 60-65%. If the indicator is higher, the hydrostat is activated and starts the fan.
- Timer. A device that allows you to delay turning on the fan for a certain period of time. Suppose the motion sensor is triggered or you press the light switch off button - and exactly 15 (30, 45) minutes later the fan turns on.
The additional function “ventilation” is the ability to constantly maintain the most comfortable microclimate in the bathroom. The device constantly operates at low speeds, but if necessary it turns on at full power.

On our website there are several articles devoted to choosing exhaust fans for the bathroom. We recommend that you familiarize yourself with them:
- Exhaust hood in the bathroom: selection rules and installation features
- Exhaust fan for the bathroom: how to choose the right one + installation rules
- Ventilation in the bathroom and toilet: operating principle, typical diagrams and installation features
Connecting several electrical appliances into a single network is not an easy task. Let's consider several of the most popular options for hood equipment.
Bathroom fan connection diagrams
The possibility of using several methods of turning on and adjusting the fan makes it difficult to choose the desired circuit. When connecting, you should focus on the design features, the presence of additional devices and the manufacturer’s recommendations. The simplest scheme is to install a fan with a built-in on/off device.

The following diagram shows how to connect a bathroom fan to a separate switch. The control process becomes easier, but you will have to lay a couple of additional cables.

Installing a timer somewhat complicates the connection process: you will need another additional phase wire.

The connection diagram for a fan together with lighting is convenient from a control point of view, but ineffective. It turns out that the room is ventilated only during the period while the light is on.
This leads to either incomplete ventilation or excessive energy consumption. A more expedient option is to install two-gang switch.

Before choosing a circuit, check whether it is possible to groove and lay additional electrical wires.
Installation instructions for a fan with a timer
For self-installation, we recommend purchasing an overhead fan that is attached to the ventilation outlet. Before installing the device, you should carefully study the accompanying technical documentation. There is no need to buy a timer separately; it is usually supplied complete with diagrams and installation instructions.

Similar models - Era, CATA, Migliore, VENTS, VULKAN.
Checking installation conditions
In order for the installation to proceed smoothly, you should check whether there is air draft in the common house shaft (or the air duct of a private house), whether the hole in the wall is suitable for mounting the selected model, and whether the electrical wiring corresponds to the connection diagram.

Older homes have vents in bathrooms, toilets, and kitchens. They are usually located high under the ceiling and have the same diameter (shape).
However, after a major renovation, when additional walls, partitions and suspended ceilings are erected, there is a possibility of moving the installation location of the fan, but with the installation of an additional channel leading into the same hole.

If you want to make the installation process as fast as possible, prepare in advance the tools and materials that may be required for installation:
- tape measure, pencil, square;
- perforator for punching walls;
- screwdriver, hammer, pliers;
- sealant or liquid nails (if necessary);
- fasteners (dowels, screws).
When choosing a circuit with a switch as a control device, you need to purchase it, as well as electrical wires.
Important nuances of electrical wiring
If you are installing the fan for the first time, be prepared for the construction work required to install the electrical cable. You may have to remove the plastic ceiling, make holes in the tension ceiling, trench the walls and dismantle the tiles.
If this is too difficult or expensive, you can choose a simpler way - external laying of wires in cable channels. It's not as aesthetically pleasing, but it's quick and inexpensive.

Requirements for wires and sockets:
- the cable cross-section must correspond to the load;
- Do not install wires in a metal braid;
- all cables must be insulated;
- socket protection class - not lower than IP 44;
- it is necessary to consider protective disconnection or grounding.
It is strictly forbidden to ground wires through heating or sewer pipes.
Fan assembly and timer connection
Assembly of the device usually occurs along with installation, since first the housing is attached, then the wires are connected, and at the very end the decorative panel is snapped into place.

Using the back wall of the case, which will be fixed directly to the wall, we make markings.

When the working part of the fan is securely fixed to the wall, we bring in the wires and connect them to the terminals of the device.

If there are no other devices, install a decorative cover.

To connect an exhaust fan with a timer, you must select one of the circuits. Ideally, if the fan is also connected to a switch, a 4-wire wire is required. The wire, which is usually used for grounding, is connected to the timer.

After installing all instruments and devices, testing must be done to check how the fan functions.
At the same time, a timer is usually set - a time interval is set, after which the hood will automatically turn on.
Conclusions and useful video on the topic
Video instructions for installing the simplest model:
Detailed instructions for installing a hood with a check valve in a private house:
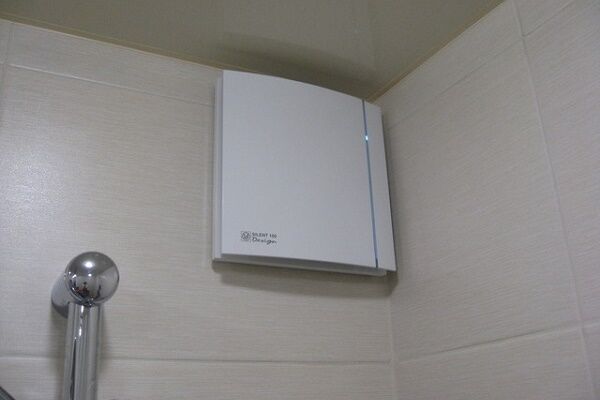
Instructions from the manufacturer of the silent model Silent 100:
Fan switch installation:
As you can see, you can install exhaust ventilation yourself, without the involvement of professional electricians, but subject to several conditions. To connect a fan (simple, with a timer or switch), you need to understand the electrical circuits, carefully study the design of the device and take into account technical and sanitary standards during installation.
While studying the material, did you have any questions about connecting an exhaust fan in the bathroom? Or can you give valuable advice to those who are faced with a similar task for the first time? Please leave your comments in the block below.


An extractor hood is definitely needed in the bathroom. Opening the door after taking a bath or shower is not a solution; all the moisture will go into the apartment. Verified. Condensation immediately settles in corners and external walls (especially in winter). And then, when it does not have time to dry, the surface begins to become covered with mucus and turn black. So the most effective thing was and will be to install a fan or, at worst, to create a basic vent.
When we accepted the apartment from the developer, the fan in the toilet turned out to not be working. We wrote an application and waited for six months, but a representative from the management company finally came and replaced the fan. But initially its switch was provided with a “pull” hanging from the device itself, but now it is connected to the light switch. When you turn on the light, the fan turns on. This is not always convenient. Tell me, how difficult is it to return the previous switching scheme? Type - regular overhead, cheap, quite noisy... Maybe it would be easier to replace it with a more modern and expensive one?
Good afternoon, Marina.The electrician will return the previous circuit to you in 5 minutes of work, but at the same time the “twitch” will return. When choosing a fan, proceed primarily from its power.
I can assume that the ventilation in the toilet works simultaneously for the bathroom. If there is a through hole on the common wall of the toilet and bathtub in the upper corner, then calculate the volume of both rooms at once. For clarity, see the figure.
More information about silent hoods can be found in this article. And in this material provides good tips for choosing a fan for your bathroom.
Thanks to the authors!! Very detailed!!! Well done!!! True, I didn’t find what I wanted... But I wanted to know... what kind of light bulb it was. .is located in the fan... which lights up when it is working.. Thereby signaling its operation