Installing a Bosch dishwasher: how to properly install and connect the dishwasher
The desire to install an electric dishwasher in the kitchen is understandable: it saves time, wastes a minimum of water, and efficiently washes dishes with greasy stains and dried pieces of food.
Self-installation of a Bosch dishwasher is not fundamentally different from connecting similar technical devices, and the installation manual is provided with detailed diagrams. In this article, we will look at the procedure for installing a dishwasher and the features of connecting it to communications, providing the material with step-by-step photos and thematic videos.
The content of the article:
Determining the location for the PMM
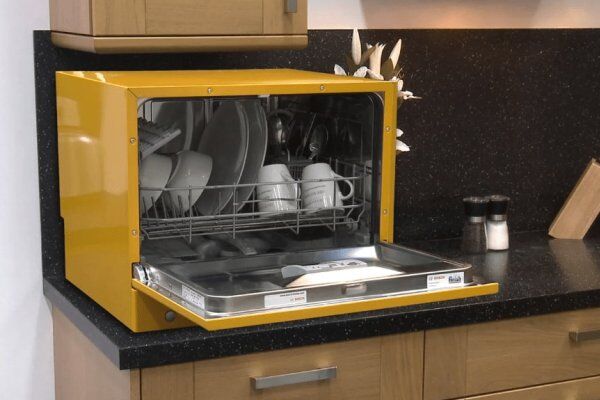
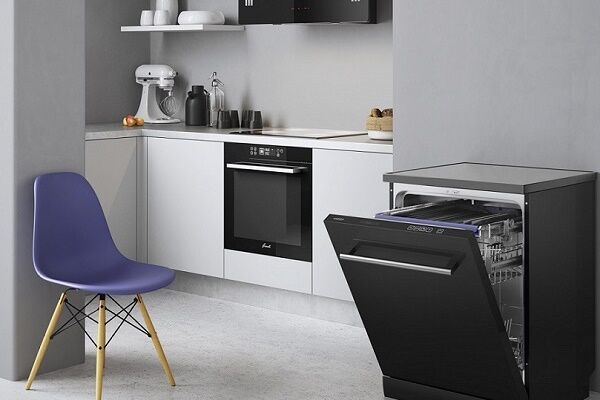
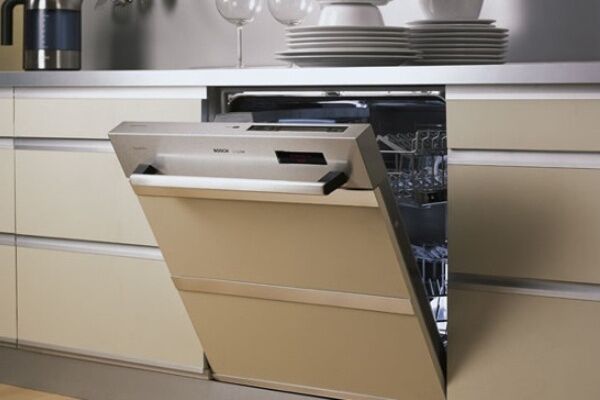
Before buying a kitchen assistant, you should evaluate the possibilities of the room and find a place to place a new household appliance. There are desktop and floor-standing models, built-in, built-in and free-standing types of machines, respectively, you can choose the most suitable option. We reviewed the best models of Bosch brand dishwashers in next material.
You need to completely abandon the purchase only if the kitchen is small and every centimeter of usable space is already occupied.
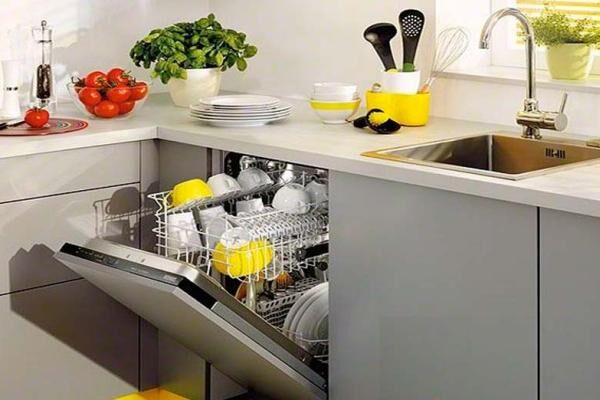
Usually the dishwasher is placed in the lower tier of furniture, not far from the sink. The connection location is dictated by the location of sewer and water supply communications. The closer the machine is to the pipes, the fewer problems there are with installing and connecting a Bosch dishwasher, regardless of its technical characteristics.
Do not forget that any saving is a concession. Suppose narrow built-in dishwashers easily process serving sets - plates, cutlery, cups, provided they are correct loading, but some models are not suitable for washing pots, baking trays, baking dishes, and frying pans. And housewives in large families know well how much time and effort goes into cleaning large-sized dishes.
General recommendations and rules
To ensure that the machine does not cause any complaints during use and does not require repairs and frequent maintenance, it is necessary to think through the procedure for its installation.
The following connection procedure applies to all types of dishwashers:
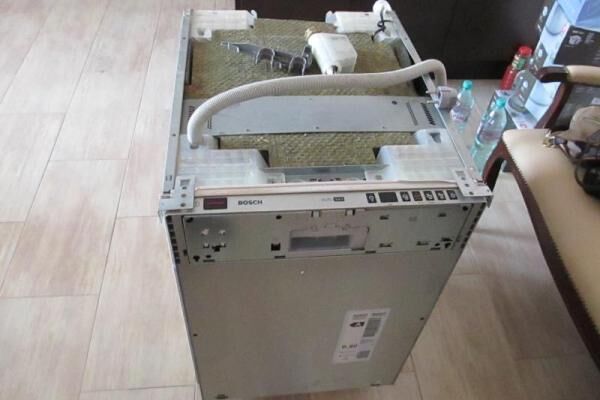
- Checking the complete set and integrity of the equipment after transporting it to the house.
- Installation at a predetermined location on a table, floor or furniture module.
- Connection to the sewer using a drain hose, which is inserted into the sink or connected to a siphon using an adapter.
- Connection to the water supply using a water supply hose.
- Installing a separate power outlet or using a pre-installed one.
If difficulties arise with connecting the hoses or the socket device, the connection order can be changed, however, you will need to complete each item from the list.

There are a number of rules, the implementation of which will help to avoid problematic and emergency situations. They are usually listed in the instructions, so the most important requirement is to carefully study the documentation.
It is not recommended to place the dishwasher near a radiator: the heat emitted by the battery negatively affects its “well-being”. If the machine is built next to a refrigerator, on the contrary, it will “suffer.”
Make sure that the power cord is also not exposed to heat, otherwise the insulation will melt and a short circuit or current leakage may occur - both of which are dangerous.

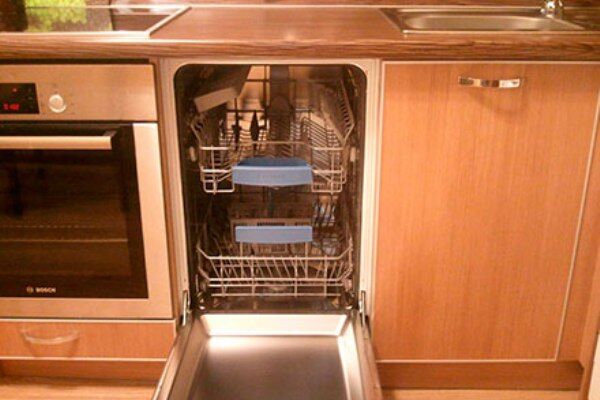
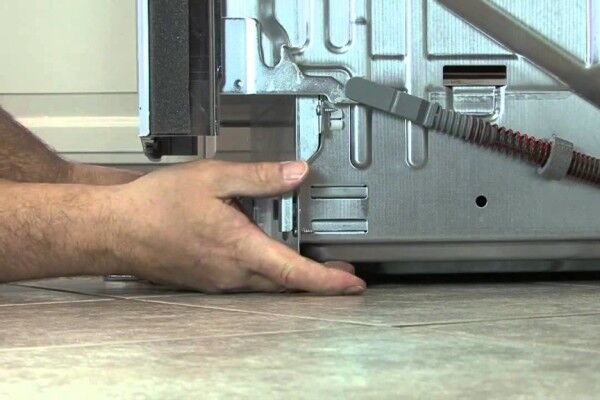
After installation, be sure to check whether the door opens well and whether the loading module(s) are working properly.If there is not enough space, then an open door will create a lack of space - do not forget about this during further use and try to arrange the furniture so that it is easy to service the machine.
Installation instructions for a Bosch machine
Organizations that sell household equipment usually offer installation services. Do not neglect them if you want to maintain the warranty on your new dishwasher. If calling a specialist is impossible for some reason, carefully read the instructions.
It contains diagrams and recommendations on how to properly install a specific model of Bosch dishwasher on your own.

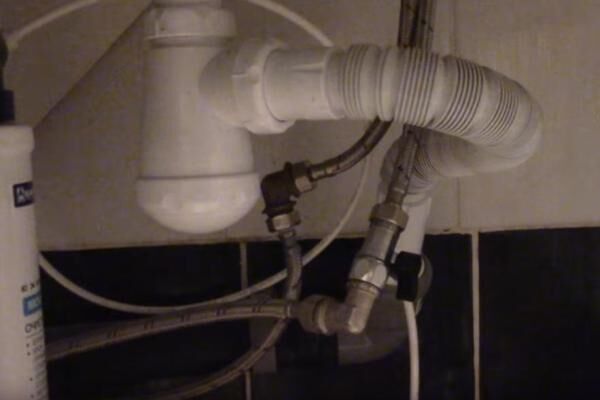
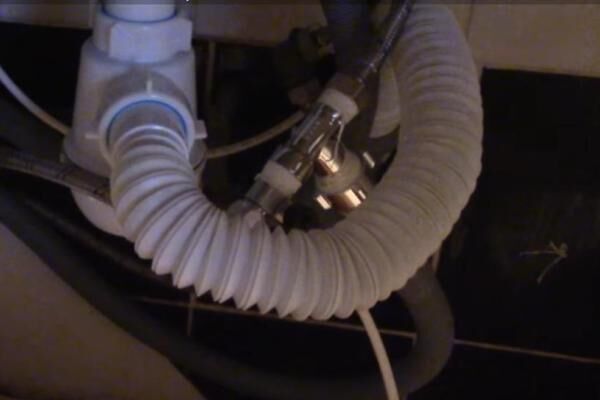
Stage #1 - connection to the sewer
A drain hose is used to connect the washing section of the machine to the sewer pipe. It may be part of the delivery kit, or may be purchased separately. The drainage hose can be smooth or corrugated. The first one gets clogged less, the second one bends better.

We suggest that you do not stop at simply inserting a drainage hose into a sewer outlet, but carry out a number of measures that will subsequently protect the machine and the connected hose from additional repairs and cleaning:
- be sure to use a siphon - this way you will forever get rid of the discomfort caused by the unpleasant odor;
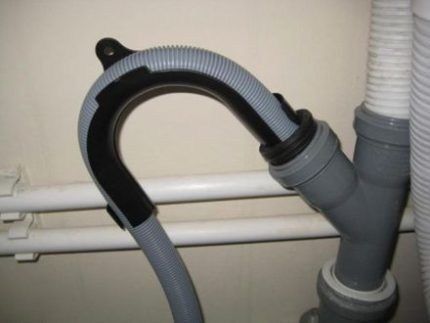
- bending in the form of a loop at a distance of 45-55 cm from the floor will help to avoid reverse flow of water;
- Ensure the connection between the drain and the sewer pipe is tight to eliminate the risk of leaks and flooding.
It is not advisable to fill the connections with sealant - when replacing elements, you will have to remove all the equipment. No less reliable are clamps that evenly tighten the hose around its entire circumference. There are devices with plastic union nuts - they are not as reliable, but with constant monitoring they can ensure tightness for a long time.
To connect the drain of dishwashers for kitchen sinks, siphons are produced with a pipe designed to connect to a hose. They attract with their compact size, optimal shape and convenient system assembly diagram.
So, to connect to the sewer you need:
- fix the drain hose on the outlet pipe of the machine;
- connect the hose to water seal;
- ensure a sealed entrance to the sewer pipe using an adapter.
If the machine takes a place next to the sink, the connection will be much easier, since you can organize a common drainage unit.

Stage #2 - connecting the water supply
To correctly connect the water, be sure to look at the instructions.Manufacturers indicate the desired temperature of the supplied water, and often it should not exceed +25 °C. This means that the machine itself heats the water to the required temperature and can only be connected to a cold branch.
This principle also applies to a number of washing machine models.

Dishwasher repair specialists strongly recommend not to take risks, but still make do with only a “cold” connection, and here’s why:
- Unlike heated water systems in private homes, which are self-regulated, centralized ones cannot provide the recommended temperature, and it often exceeds the parameters stated by the manufacturer.
- Hot water lines are sometimes not equipped with filters, and the quality is poor.
- In the summer, hot water is often turned off for a month in order to carry out maintenance and repair of networks.
- It is possible that using hot water will cost more than electricity to heat cold water - modern saving modes and Bosch developments have minimized energy costs.
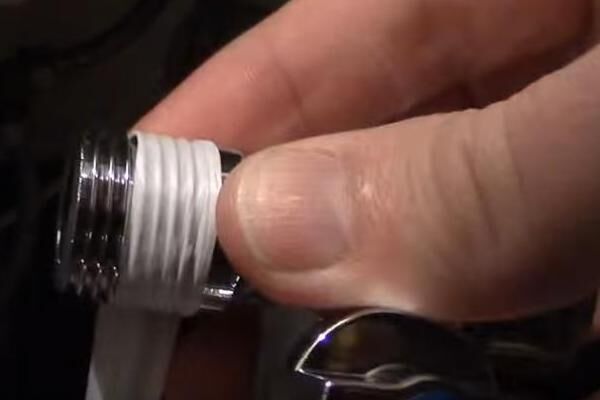
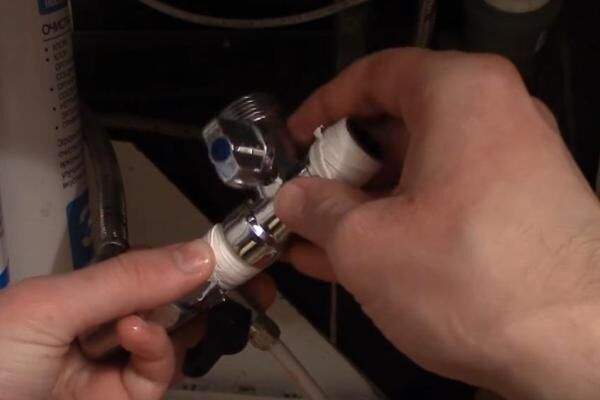
If the dishwasher “stands” next to the sink, the easiest way is to insert it into the channel going to the mixer. To do this, use a tee with the ability to overlap one line. It has ½" female-to-male outlets and a ¾" dishwasher outlet with a ¾" thread on the outside.
A shut-off valve is installed at the side outlet. A product with shut-off valves is a little more expensive, but it allows you to shut off the water flowing through the hose into the machine.This is convenient when you urgently need to make repairs or change parts in the dishwasher.
It is necessary to position the tee so that there is easy access to it if you need to turn off the water for the dishwasher.
Before installing the adapter with a tap, you should check its functionality so that you do not have to install it again. To do this, pour water into the side outlet pipe and turn the tap to different positions.

Often the distribution of cold water is not limited to a tee device: filters, a washing machine hose or an outlet to the boiler are already installed under the sink. Then it is more convenient to use a manifold that has several outlet pipes. A propylene or metal product is cut into the cold water supply pipe, and hoses leading to household appliances are connected to it.
In practice, you may encounter various problems when connecting a dishwasher to a water supply; the main thing is to find the optimal solution.
For example, it was noticed that when installing the machine at a considerable distance from the sink, it is more advisable to extend the water supply than to lengthen the flexible hoses. That is why, before ordering a new kitchen set, you first need to resolve all issues related to the installation of equipment.
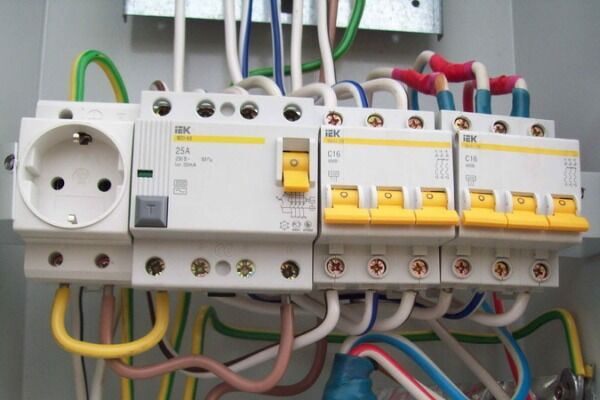
Stage #3 – providing power supply
To independently connect a Bosch dishwasher to the electrical network, you must have electrical installation skills; otherwise, we recommend contacting a qualified specialist.
The following materials will be required:
- cable VVG (il VVGng) 3*2.5;
- 16A grounded socket;
- circuit breaker.
The cable is laid in the prepared groove and connected through the installation box. Be sure to leave a small supply of wires inside the box for possible reconnection.

Then a separate circuit breaker is installed in the electrical panel: the blue wire is zero (N), the white wire is terminal 2, the yellow-green wire is sent to the ground wire.

The passport of the Bosch dishwasher contains technical data that must be observed. For example, voltage 220-240 V, 50-60 Hz, power consumption 2200-2400 W, recommended protective device data - 16 A.
After connecting to the power supply, a test run of the dishwasher is carried out. During testing, you can verify the performance of basic functions and check the noise level. After work, you should inspect the hoses for leaks and, if there are any, reconnect and more carefully seal the joints.
Also, before you start using it, it would be a good idea to familiarize yourself with operating rules dishwashing equipment.
Conclusions and useful video on the topic
The installation of the machines is carried out strictly according to the instructions, and you can see how this happens in real life in the videos below.
Installation of the BOSCH SPV58M50 model - everything strictly according to the instructions:
Secrets of connecting the built-in Bosch SMV45IX00R machine:
Testing the Bosch SPV40X80 model:
Using the instructions and following safety regulations, you can install even the most expensive Bosch dishwasher. However, if you have any difficulties related to connecting the sewerage system, water supply or power supply, be sure to contact the service center. There you can also order services for further maintenance and repair of household appliances. Although a number of problems with a Bosch dishwasher are quite manageable fix it yourself.
Would you like to supplement our publication with useful information or share your own experience of installing a Bosch machine? Tell us about the difficulties you encountered during the installation process, write your recommendations, and share photos of the finished work in the comments to this article.


