How a thermostat for a heating radiator works: principle of operation and installation features
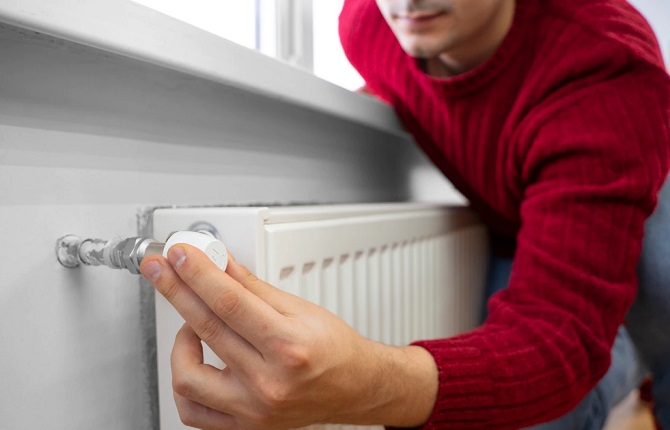
A thermostat for a heating radiator is a device that consists of a valve and a thermostatic mechanism.It is necessary to set and maintain a given heat level in the room. If the heating battery is equipped with a thermostat, you can create your own comfortable microclimate in each room.
Other benefits:
- optimization of heating costs;
- disconnecting only one battery in case of an emergency;
- no need to constantly monitor the operation of the sensor.
The content of the article:
Operating principle of thermostats
The operating principle of the device depends on its type.
Mechanical
Mechanical thermostats are easy to operate and attractive at an affordable price. You can adjust the amount of coolant and heat transfer manually. The valve allows you to set the heating temperature with high accuracy.
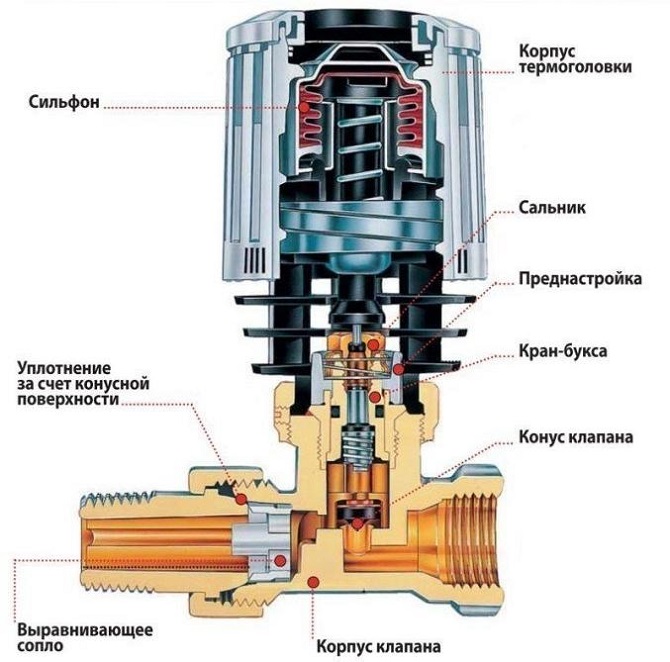
A mechanical thermostat consists of three elements: a regulator, a drive and a bellows with liquid or gas. The substance inside plays an important role in the operation of the device. If the position of the lever is changed, gas or liquid moves into the spool, adjusting the position of the rod. The latter partially blocks the passage and limits the entry of coolant into the radiator.
Electronic
There are two types of such devices:
- Open. They can be programmed: you can set the activation time of a certain mode. Such models are mainly used in industry.
- Closed. They are configured manually. You can adjust the temperature that will be maintained in the room and its permissible fluctuations in both directions.
The devices operate on batteries or a special rechargeable battery that comes with a charger. They are equipped with a display that shows the current temperature in the house. Electronic thermostats have a more complex design than mechanical ones. They use a microprocessor and push-button controls to set a specific temperature.

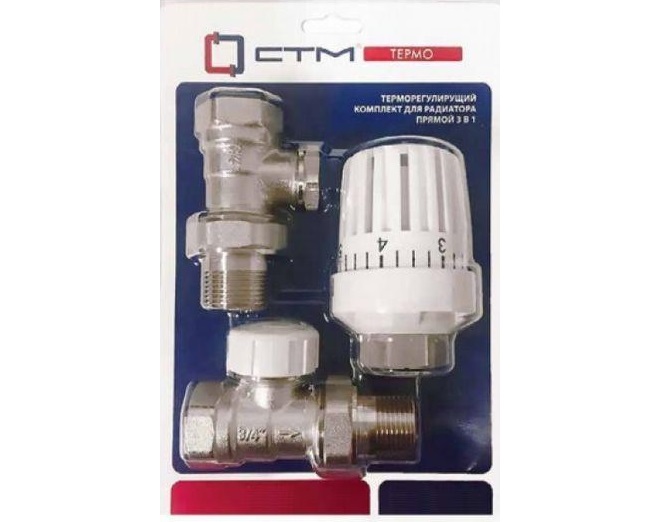
The thermostat kit includes shut-off valves. For example, the Valtec kit.
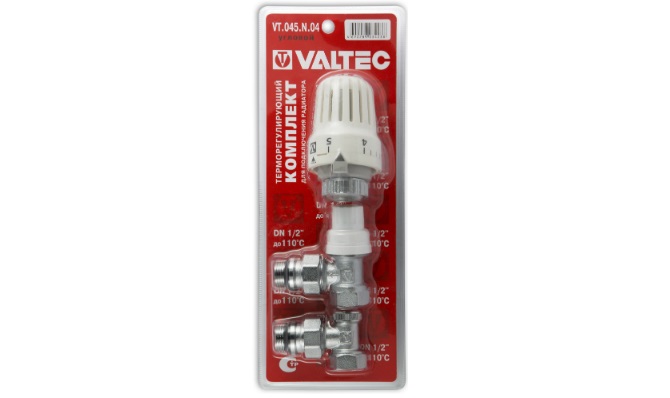
With its help, you can shut off the water/steam supply to the system in order to carry out repairs or replace equipment. It also allows you to regulate the room temperature.
Installation Features
- Before installing any device, you should read the manufacturer's instructions. If you have doubts about the correct installation of the thermostat, it is better to entrust the work to professionals.
- There are fragile elements in the design of thermostats. During installation, be careful not to damage them.
- During installation, you need to know how the coolant circulates. The thermostat has arrows indicating the direction of movement of the working medium.
- The valve must be installed so that the thermostat is in a horizontal plane. Otherwise, hot air from the radiator will flow to the thermostat. This will negatively affect its operation and service life.
- If the thermostat is mounted on a system with one pipe, then bypasses must be installed under the pipes in advance. Otherwise, when the heating is turned off, all batteries will fail.
- Electronic device models should not be installed in the kitchen, near the boiler room or in the hall.It is better to install them in corner rooms or areas with low temperatures. Electronic thermostats are more sensitive to external conditions.
- There should be no household appliances or devices that generate heat near the thermostat.
- It is not advisable for the device to be exposed to direct ultraviolet rays or to be in a draft.
Installation of a heating regulator
Installing a thermostat is the last stage of installing a heating system. It is recommended to place it at a distance of 40–60 cm from the floor. If the battery has a lower coolant supply, you need to adjust the regulator to a lower temperature or install a remote sensor.
The main stages of installing a thermostat:
- Draining. Before installation, all liquid must be drained from the batteries. This can be done using a ball valve or a shut-off valve. Then you need to open the radiator valve and turn off all the taps.
- Removing the adapter. The floor should be covered with napkins, towels or other materials that absorb moisture well. Use a wrench to unscrew the nuts that are on the pipe and adapter. Next, the adapter is unscrewed from the body.
- Installing a new adapter. You need to place the adapter in the structure, tighten the nuts and collar. After this, you need to thoroughly clean the internal threads, remove the old collar and install a new one.
- Installation of thermostat. Following the arrows drawn on the body, install the thermostat on the collar. Then, using an adjustable wrench to secure the valve, tighten the nut between the valve and the regulator.
- Filling the radiator with water. Open the valve and fill the battery with liquid.This way you can make sure the system is functioning correctly and set the required temperature.
When choosing a suitable valve, focus on the main parameters: maximum temperature, diameter of inlet and outlet connections, operating pressure.
If you need help, contact the consultants of the DobroStroy online plumbing store.
As an advertisement.


