Do-it-yourself paper wallpapering - step-by-step instructions
In order for paper wallpaper to lie flat and without defects, it is important to properly prepare the walls.When gluing, you need to follow simple step-by-step instructions. The choice of wallpaper is no less important. How long the repair work will take depends on their quality and complexity of the design.
The content of the article:
Selection and preparation of walls
There is a huge selection of this finishing material on sale:
- Simplex is a single-layer material that is practically never found today due to its minimal strength and fragility.
- Duplex is a two-layer material. It is stronger than the previous version and does not get wet after applying glue to its surface.
- With embossing. This is a two-layer version with a relief on the front side.
- Penoboy is a two-layer model on the front side of which a special composition is applied. When exposed to temperature, it foams, forming a pattern.
- Structural – multilayer material. Their advantage is strength and durability. Due to their thickness, they are able to mask the unevenness of the wall, so gluing paper wallpaper of this type is simplified, since it does not require preliminary preparation of the surface. To achieve a unique design, the manufacturer can add various materials here, for example, crushed nut shells or sawdust.
- Paintable – durable material with a water-repellent coating, which allows it to be painted. Gluing paper wallpaper intended for further painting is a popular way to decorate a ceiling.
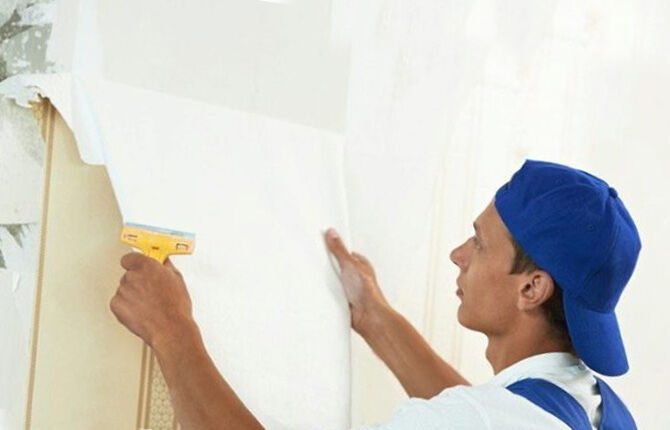
The gluing process begins with surface preparation. To do this, the wall is cleaned of remnants of old material.If the old paper covering is firmly attached to the wall, it should be moistened with water and after a while, carefully removed with a spatula or knife.
If you need to level the surface, use plaster. After drying, a layer of primer is applied to it.
Before gluing paper wallpaper with your own hands, it is advisable to remove the baseboard and turn off the electricity in the room, and unscrew the sockets and switch. After gluing the strip, a cross-shaped cut is made at the installation site of the electrical elements, and the corners are folded.
Read materials: How to replace the baseboard. How to install a warm baseboard.
Cutting material
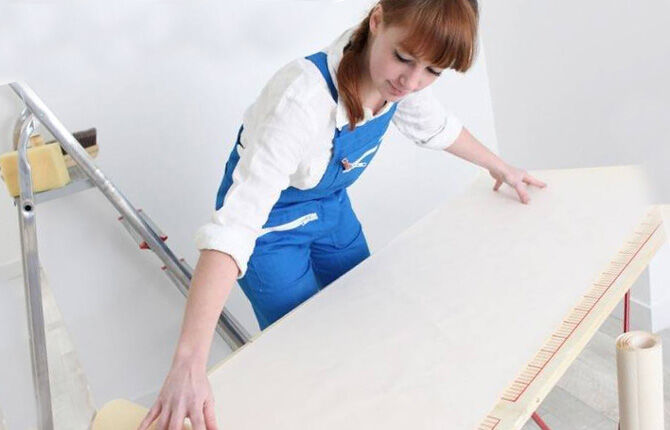
The material is spread face down on the floor and leveled. There is no need to cut all the rolls at once, especially if, when gluing paper wallpaper with your own hands, you need to select a pattern. For cutting, use scissors with a sharp blade or a stationery knife.
To determine the length of the strip, use a tape measure to measure the height of the wall. The direction of gluing paper wallpaper is indicated on the reverse side with a regular pencil.
Applying glue
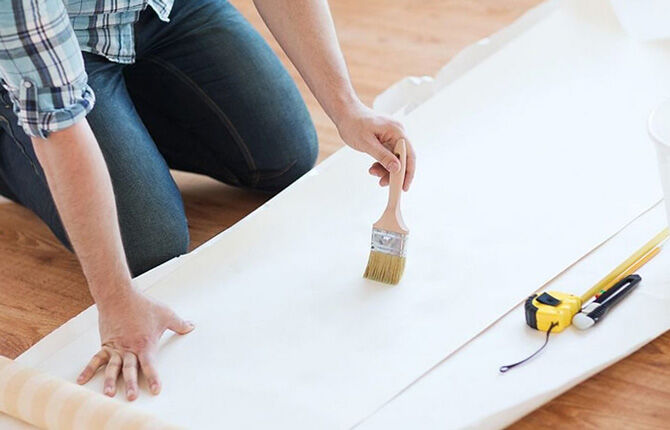
The glue must be prepared as written on the package. Before applying it under the wallpaper, it is recommended to lay a path of newspaper or film, which will protect the floor from glue. The process looks like this:
- Place several other strips under the first strip in the form of a ladder, leaving a gap of 1.5-2 cm from the edge. This will protect the front side and the floor from contamination with glue.
- The glue must be applied starting from the center of the canvas, evenly distributing it to the edges.
- It is important to ensure that the entire strip is spread evenly. If there is a dry place on its surface, a bubble will form here.
- Fold the strip coated with glue in half, leaving a small indent on one edge.
- Glue can be applied to 2-3 strips at a time.
- Wait 10 minutes, allowing the strips to get thoroughly wet.
If glue gets on the front side, remove it immediately with a damp sponge. After this, you can start working, taking into account the rules for gluing paper wallpaper.
The process of gluing paper wallpaper
To begin with, it is important to determine how paper wallpaper should be glued - overlapping or end-to-end. In the first case, work should be done from the window.
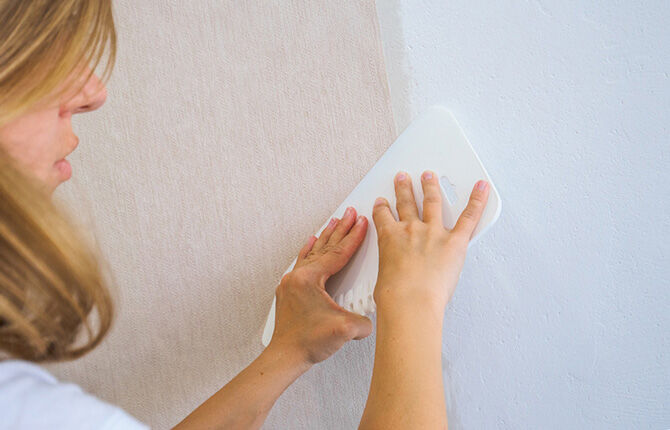
Each strip begins to be glued from its upper part. To prevent bubbles from forming under the canvas, it must be pressed and smoothed from the middle to the sides using a dry cloth.
The lower part should be folded. As work progresses, it is carefully peeled off and pressed against the wall. It is most convenient to do this together.
At the top and bottom, you need to make small allowances. After the material has dried, they are trimmed with a construction knife.
If the strips are glued end to end, you need to use a rubber roller to smooth this place. This way the gap between them will not be noticeable. This option for gluing paper wallpaper requires precision. If gluing is carried out overlapping, the strips overlap each other by no more than 3 cm.
When gluing paper wallpaper, special attention should be paid to:
- Inner corner. The strip that is glued first should extend to the other corner by about 1 cm. The other strip is glued strictly to the corner.
- External corner. In this case, the distance to the strip that was glued last is measured. A few centimeters are added to this figure and cut off. The second strip is glued to the other side of the corner. The overlap between them should be 1 cm.
To make the work easier, small cuts are made in those places where the fabric will need to be folded.
After completion of the work, the baseboard, sockets and switch are installed. If repairs are not possible on one's own, you can hire a specialist. The price of paper wallpaper will depend on its type and area of the room.
Paper wallpaper is an affordable option for wall decoration. The environmental friendliness of the material, its cost and large assortment speak in their favor. This type of finishing can be used in any room, regardless of its interior design. This process is quite simple and anyone can handle it.
Tell us in the comments about your wallpapering lifehacks. Share the article on social networks, save it in bookmarks.
We also recommend watching a video that will reinforce your knowledge and answer any remaining questions.
How to properly glue paper wallpaper.
Pasting paper wallpaper.


