How to make a cabinet on the balcony with your own hands: ideas and instructions for assembling furniture
According to the canon, all unnecessary things are stored on the balcony, but you must admit that gradually they fill all its space and the balcony becomes something like a landfill. To prevent this from happening, you need to properly organize the space of the room.
So, the ideal solution would be to make a cabinet that will help not only organize a lot of things, but also free up space. From this article you will learn how to make a cabinet on your balcony with your own hands without spending a lot of money.
The content of the article:
Main types of structures
Before you start making a cabinet for a balcony, you should decide on the design. In this case, there are two cabinet options - straight, the most spacious, and angular, suitable for small balconies.
An important role is played by the design of the doors, which can be presented in several configurations: hinged, sliding or folding doors, as well as roller shutters.
Hinged doors – a standard option that offers the most convenient operation and aesthetic appearance. The only drawback is the temporary obstruction that occurs while the swing doors are opening.
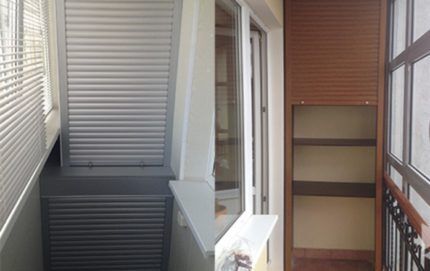
Sliding doors – have a similar principle as roller shutters, but look more aesthetically pleasing.The doors move along guides without taking up extra space. When opened, they occupy half the opening, which is why it is unlikely that it will be possible to place a large object.
Folding door - resembles an accordion screen. This option perfectly saves space and almost completely opens the opening. However, such doors are not reliable, because due to loose closure, moisture gets inside the cabinet.
Characteristics such as height and depth are determined depending on the size of the things that will be stored inside the furniture. So, to fit skis, you will need a vertical compartment, and for winter clothes it is enough to install a special hanger.
Often, hinged doors are installed on balcony cabinets, since this is the simplest and most inexpensive option. However, when designing the structure, it should be taken into account that open doors will take up some space.
If the door leaf is too heavy, then it should be divided into several parts. This will avoid overloading the door hinges and make the furniture more convenient to use. By the way, a wardrobe will help solve the problem of lack of space.
Materials required for work
If you have chosen one of the designs listed above, then it’s time to select materials. Considering the temperature characteristics of the balcony space, you will need durable material that is resistant to changes in humidity.
So, there are several most suitable options:
- Tree – perfectly amenable to processing, durable and aesthetically pleasing. However, due to its high cost, such material is not available to everyone.
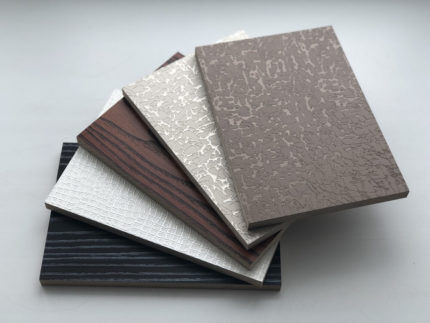
- Wood-based panels - a more economical option that imitates the surface of wood.By laminating chipboard you can give it any texture and color.
- MDF panels - an easy-to-use material that is inexpensive. Its only drawback is low strength.
- Drywall - an inexpensive and practical option. But due to their lightness, products made from drywall are not able to withstand heavy loads.
In addition to the quality parameters of the product, you should pay attention to its appearance. In other words, it is necessary to maintain the style of the balcony.
List of required tools
Once you have decided on the material for the future product, you should prepare the tools.
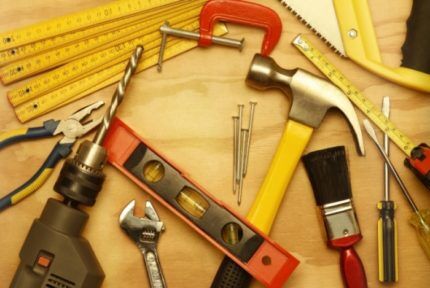
To complete all the necessary work you will need to prepare:
- hammer drill and drills;
- wood hacksaw;
- jigsaw;
- screwdriver;
- self-tapping screws with dowels;
- hammer;
- screwdrivers.
Among other things, to take accurate measurements you will need a tape measure, a building level and a special marker.
Based on the data obtained, a drawing is drawn up, so you should also prepare a simple pencil and a sheet of paper.
Drawing up a cabinet drawing
Using a tape measure, the height and width of the room are measured, as well as the required depth of the future cabinet. Next, an approximate drawing is made on paper, taking into account the size of the things that will be stored inside the structure.This will help you calculate the exact number of shelves, their height and the most appropriate depth.
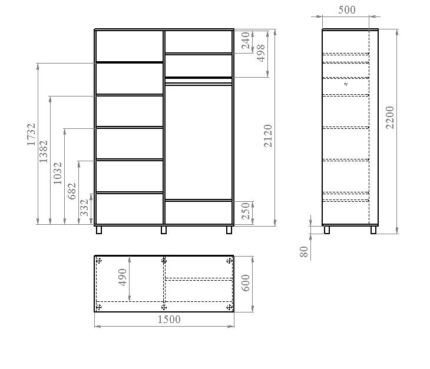
At the next stage, the drawing is carefully transferred to the prepared materials by scaling and special markings using a level.
Be sure to check all dimensions before you start cutting the material. If everything is correct, then you can safely cut out all the parts using an electric jigsaw and a hacksaw.
Wardrobe with wooden frame
Before starting installation work, make sure that the balcony is fully glazed and insulated. In addition, it is worth checking the foundation using a building level. If the height of the frame changes under the load of contents, it will simply warp.
It is also worth taking care of balcony curtains, since the influence of direct sunlight has a negative effect on any furniture.
If all the conditions are met, then you can safely begin building balcony furniture, relying on simple and understandable instructions.
The first step is marking. To do this, guide lines are drawn in those places where the frame bars will be attached. We recommend using a marker and level for this purpose.
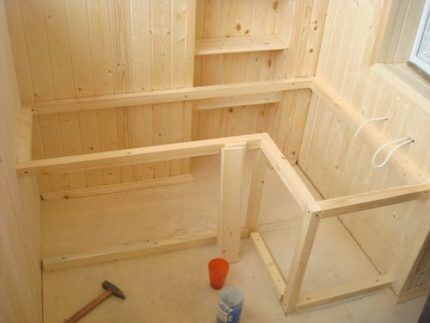
The next step is to attach the walls. The frame is sheathed with walls made of the selected material. All parts are attached using self-tapping screws, as well as furniture corners and ties.
Next you need to install the shelves.The material you can choose from is either wood or chipboard. If heavy items are stored inside, then drywall It's better not to use it.
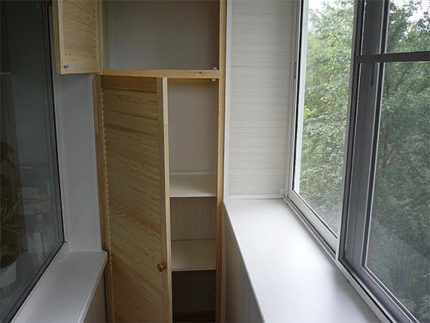
As additional protection from moisture, the finished structure should be covered with an insulating coating. In addition, upon completion of the work, you can install an electric lamp in the cabinet, which will make the process of operating the product more comfortable.
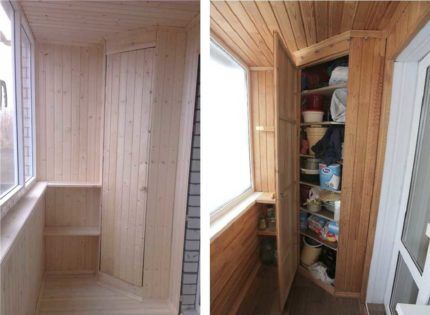
Features of installing a corner cabinet
The corner design is perfect for a small balcony, where it is extremely important to save useful space. In addition, such balcony furniture looks quite stylish, emphasizing the individual taste of the apartment owner.
You can build a practical wardrobe with your own hands, taking into account some of the nuances presented below:
- try to detect and correct wall defects in advance;
- when drawing up a drawing, even the smallest details should be drawn;
- use a pre-prepared stencil to make corner shelves.
Regardless of the chosen design, the principle of constructing a homemade product is the same.
You can also find instructions on our website cabinet assembly for rooms and original pallet furniture.
Interesting design ideas
Original ideas will help to decorate a “boring” design, allowing you to also complete the style in the interior.Thus, to achieve harmony indoors, you can use several extraordinary techniques.
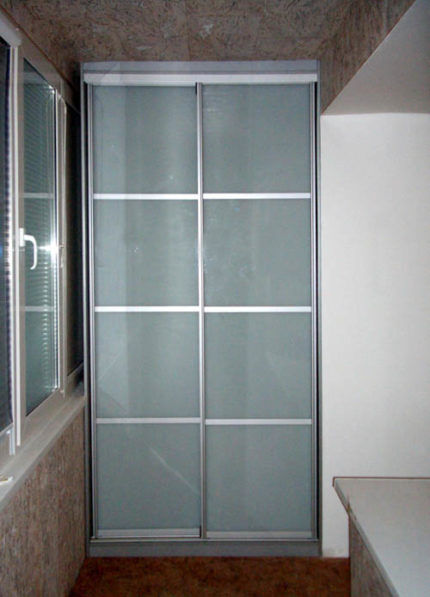
Mirrors placed on furniture doors will help to achieve an illusory increase in space. In this case, the ideal option would be a wardrobe with sliding doors equipped with built-in full-height mirrors.
Decorative shelves. It is not necessary to close such a structure with doors, because a cardboard box can be placed inside each shelf. If you wish, you can decorate the shelves with indoor flowers, figurines and other decorative items.
Conclusions and useful video on the topic
All about how to properly design and install a balcony cabinet:
Features of assembling a wooden balcony cabinet:
You can do any of the options yourself, based on detailed instructions and using the advice of experienced craftsmen presented in the videos. Simple recommendations will help you decide on the choice of material, as well as the selection of tools for constructing a balcony cabinet.
If you had to assemble a balcony cabinet yourself, please share photos of your own homemade products and tell us how they were assembled. Leave your comments below the article.


