Do-it-yourself storage water heater installation: step-by-step guide + technical standards
For owners of suburban real estate, organizing an autonomous water heating system is practically a necessity.After all, you must agree, what kind of comfort can we talk about if there is no hot water in the house? Electric devices for heating water are extremely popular when organizing autonomous water supply for a private home.
Such devices can also be used in apartments to avoid problems with hot water. They cost a lot, so installing a storage water heater yourself will significantly reduce costs.
This material will discuss the rules for installing these devices. We'll tell you how they work and what you need to know before installation. Also in the article you will find diagrams that allow you to correctly install a storage water heater. For clarity, the article contains videos with tips on installing heaters.
The content of the article:
How it works?
Electric storage water heaters are designed quite simply. Typically, such a device is a container, inside of which a heating element is installed - a powerful heating element. Since the device is designed to store hot water, it must be insulated.
There are two pipes built inside: through one of them, cold water is taken from the water supply system, through the second, a flow heated to a certain temperature is supplied to the hot water circuit. An automatic control unit is used to regulate the operation of the device.
This set of devices controls the water intake, the temperature of its heating, and turns the heating element on and off as needed. The control unit is also equipped with an automatic power supply shutdown module in case there is no water inside the container.
It is unacceptable to turn on the heater if the heating element is not covered with water, this situation will lead to rapid breakdown of the device.
You can read about how to choose a storage water heater and not make a bad choice In this article.

The procedure for installing such heaters
The simple design ensures exceptional reliability of storage water heaters. Installing such a device is not too difficult, but it is necessary to take into account a number of important nuances.
First you need to choose a place where the heater will be installed. After this, it is installed, as well as connected to the plumbing system and power supply.
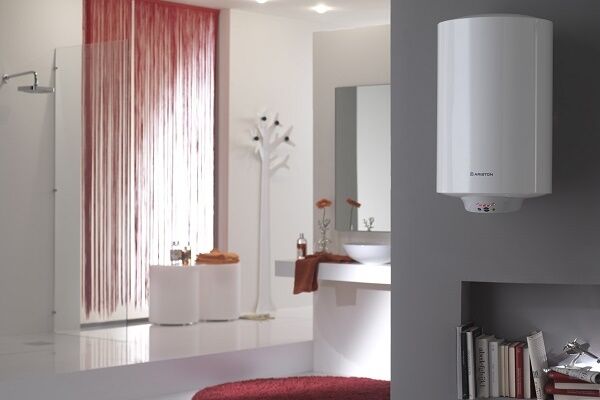
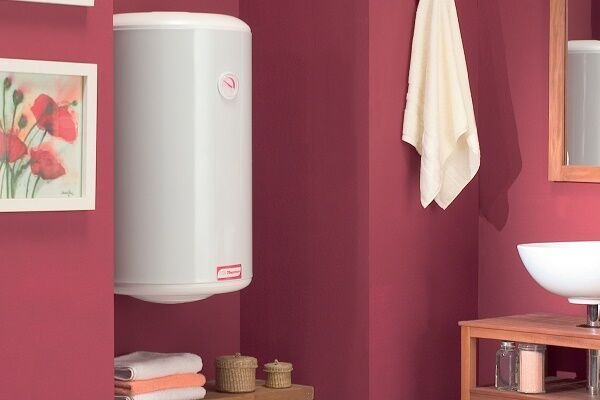
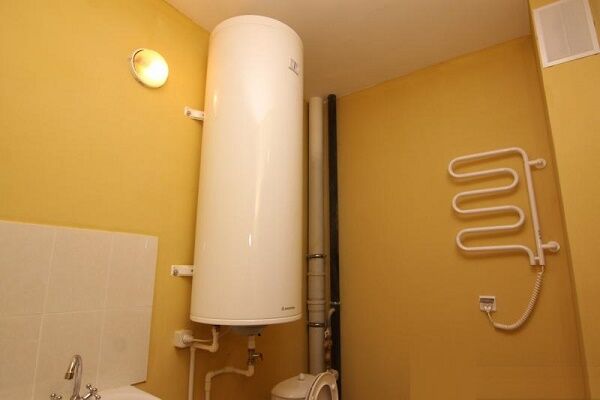
For domestic needs, relatively small wall-mounted models are most often used. They are suspended on special brackets. For a vertical type model, two brackets are used, and for a horizontal device you will need four such elements.
The procedure for fixing the brackets to the wall is simple; suitable screws and a screwdriver are usually used for this.

There should be a distance of 180 mm between the brackets on which vertical models of water heaters are installed. For mounting horizontal models, brackets with hinges are used.
In this case, it is necessary to maintain a distance between the protective cover and the surfaces of other objects of at least 300 mm for devices with a capacity of up to 80 liters, and at least 500 mm for heaters with a capacity of 100-200 liters.
Do not install a vertical model in a horizontal position or, conversely, place a vertical heater on its side.This is a gross violation of the operating conditions and safety precautions of the device, which can lead not only to equipment breakdown, but also to a dangerous accident.
Using a level, check the correct position of the individual brackets relative to each other. As for the installation location of the water heater, it is recommended to choose it as close as possible to the points of hot water collection.
This will allow hot water to be delivered to the consumer faster, i.e. reduce heat loss during transportation.

Inexperienced craftsmen sometimes make the mistake of attaching brackets to plasterboard partitions. The load-bearing capacity of such structures is too small to support the weight of the device.
Even if a water heater installed in this manner does not collapse immediately, it may do so after it is filled with water.
A separate case is the installation of a storage water heater on a plaster wall, behind which there is a load-bearing wall. In this case, you should use special fasteners of sufficient length so that they pass through the false wall and sink into the thickness of the supporting structure, which will take the main load.
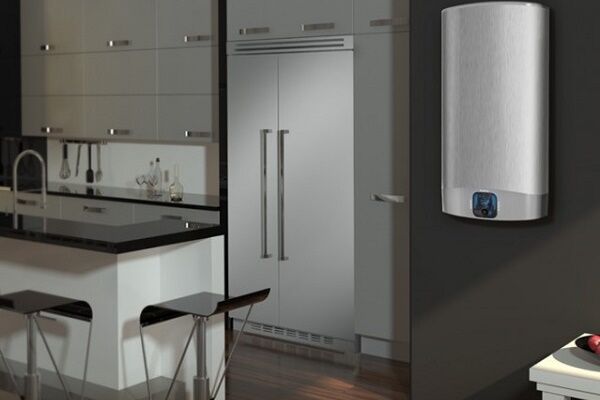
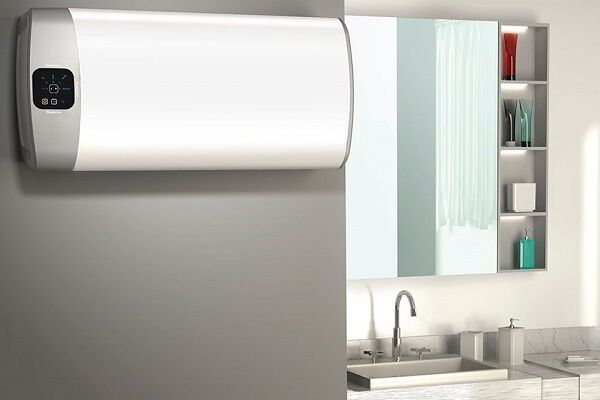
Of course, the place in which the storage heater is installed must be accessible for maintenance, adjustment of settings, repairs, etc. The design of such devices is usually quite attractive, so there should be no problems in combining them with other interior items.
Of course, before starting installation work, you should study the manufacturer's instructions to take into account the recommendations contained in this document.
If a storage water heater is installed in an apartment in a multi-storey building, if it breaks down there is a danger of flooding the premises located on the floor below. Therefore, it is recommended that before installing the device, take care of waterproofing the room intended for it.
An alternative option for protection against such troubles can be a special pan equipped with a drain hole and connected to the sewer system.
If your home has an automated leak protection system, it makes sense to install one of the sensors directly under the water heater. This measure will not completely prevent flooding, but it will help minimize the damage.
Since it is recommended to install the storage water heater as close as possible to the hot water intake points, you should make sure that the device is sufficiently protected from moisture.
If the heater is located next to a sink, washbasin or bathtub, splashes on the surface of the housing are almost inevitable. More serious contact with water is also possible, which poses a danger to any electrical appliance.
Before installing a storage water heater in an apartment, you should pay attention to the labeling of the device. The ability of the device to withstand external influences is reflected by a special index IPXX, where XX are numbers.
Values of the first indicator of the IP protection index:
- 0 - no protection;
- 1 - protection against large objects (sizes more than 50 mm);
- 2 - protection from medium-sized objects (sizes over 12.5 mm);
- 3 - protection from small objects (sizes larger than 2.5 mm);
- 4 - protection from small objects (sizes more than 1 mm);
- 5 — protection from dust;
- 6 - absolute tightness.
The first digit of the index reflects the resistance of the electrical appliance to contact with foreign objects. The second of them indicates the degree of protection of the device from moisture.
Values of the first indicator of the IP protection index:
- 0—no protection;
- 1 - there is protection against vertically directed drops;
- 2 - protection from drops falling at an angle of no more than 15 degrees from the vertical;
- 3 - protection from raindrops and splashes at an angle of no more than 60 degrees from the vertical;
- 4 - protection against splashes in any direction;
- 5 - protection against jets of water;
- 6 — protection from strong jets and sea waves;
- 7 - short-term immersion of the device to a depth of no more than one meter is allowed;
- 8 - the device can be immersed to a meter depth for up to half an hour.
This information will allow you to evaluate the operating conditions of the water heater from a safety point of view.This information will also be useful for installing other electrical appliances.
Most storage water heaters do not require an excessively high degree of protection, for example, for operation under water. Most often, such devices are labeled IP25. This level can be achieved at home.
Connection to the water supply system
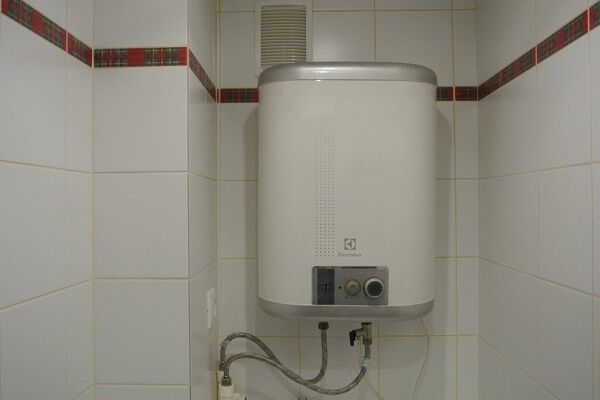
The drain hole for this type of heater, regardless of the model, is usually located at the bottom. First, you should assemble and install a so-called security group. This is a set of valves and fittings designed to prevent various emergency situations that may arise during operation of the device.
An adapter is installed at the top, which is often called “American”. Next, screw on the bronze tee. A check valve is attached to its lower part, which prevents water from flowing back into the plumbing system. Another tee is connected to the side branch of the tee.

A 6 bar safety valve is attached to it to provide the ability to automatically reduce the pressure inside the container if it has reached a critical level.
A special compression fitting for the water pipe is attached to the same tee. If there is excess pressure, it will drain some of the water from the storage tank into the sewer system.

After installing the device, be sure to make sure that the pressure valve hole remains open, otherwise the device simply will not work.
All threaded connections should be sealed and sealed. Experts recommend allowing the sealant to dry for at least four hours.

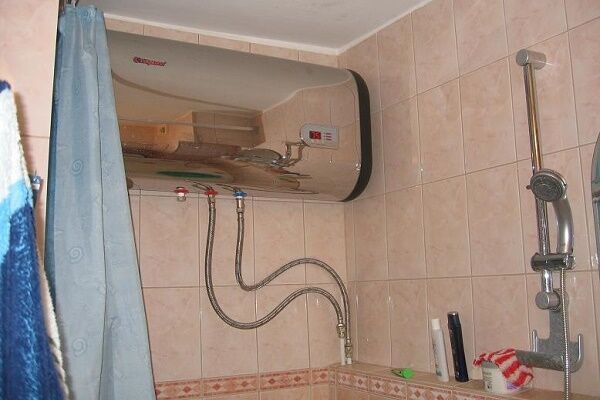
To connect the device to the cold water riser, you can use steel, copper, plastic or metal-plastic pipes. When doing the installation yourself, they most often use plastic pipes, since soldering them is relatively easy.
Some use flexible hoses for these purposes, but this solution does not justify itself. As practice has shown, such elements wear out quickly.

It is clear that before inserting pipes, hot and cold water entering the apartment should be turned off. A shut-off valve should be installed between the cold water riser and the heater so that, if necessary, you can turn off the water flowing to the device. All connections are carefully sealed.
Now you need to install another pipe that will connect the heater to the hot water supply system in the apartment. In this area you will need another shut-off valve: between the hot water riser and the heater.
This tap must always be turned off so that the heated water from the boiler does not enter the common hot riser of the house. Again, you need to ensure that all connections are sealed and sealed.
The shut-off valve for cold water between the heating device and the risers must be installed in such a way that, when closed, it does not impede the flow of water to other consumers, cutting off only the heater.
And the connection to the hot water supply system must be made in such a way that, if necessary, the supply of hot water from the common riser to the system in the apartment can be restored.
At this point, the connection to the water supply system can be considered complete. Some experts at this stage recommend performing a preliminary check: fill the container with water, then drain it and see if there is a leak. This check can only be done after the sealant has completely dried on all connections.
Water heater and autonomous water supply
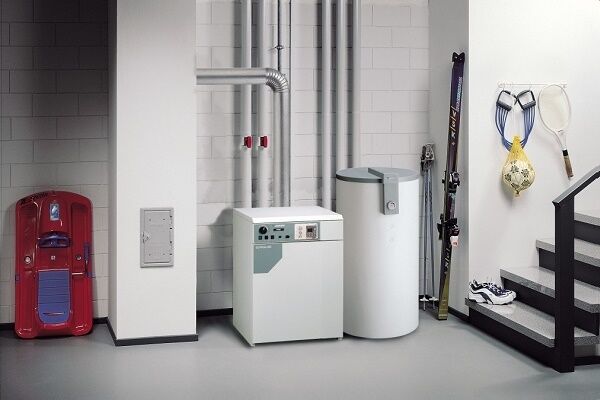
In private households, not centralized, but autonomous water supply is usually used. In such a situation, the use of a storage water heater is completely justified and possible. But the connection diagram must be slightly changed. The source of water in this case is usually a tank installed in the attic or upper floor.

You need to measure the vertical distance between this tank and the water heater. If it is less than two meters, then a tee is installed at the outlet of the tank to divert part of the cold water to the heating device so that the pipe is above the level at which the heater is installed. A tee with a check valve and a drain outlet is installed at the inlet of the cold water pipeline into the device.
If the vertical distance from the water tank to the heater exceeds two meters, then the outlet is performed lower than the level of installation of the heater. In this case, at the cold water inlet into the device, a tee is installed to drain excess water into the sewer system, and a check valve is connected just below.

Before installing the water heater, you should measure water pressure in an autonomous system at home. If it exceeds the level of six bar, it is necessary to supplement the installation diagram with a special reduction gearbox. Excessive water pressure entering the heater can cause equipment failure.
Electrical part of installation
Connecting a storage water heater to the power supply seems to be a very simple task, since you just need to plug the device into an outlet. Household heaters are usually designed for a standard voltage of 220 V.
But anyone who is at least a little familiar with the operation of electrical networks understands that a regular outlet may be completely unsuitable for such powerful devices.
First, you should assess the condition of the electrical wiring in your apartment or house and find out what maximum load it is designed for. Connecting several high-power devices to one line at the same time can be fatal to the system.
For example, if you turn on a heater and a household electric stove/automatic washing machine at the same time, the wiring may burn out, cause a fire, etc.
It is safer and more reliable to run a separate cable for the water heater from the electrical panel. The most important indicator in this situation is the cross-section of the electrical cable.The minimum cable cross-section can be calculated using special tables.
In this case, you should take into account the operating voltage, phases, material from which the cable is made, whether the wiring will be hidden, etc. For water heaters, a two-core copper or aluminum cable, voltage 220 V, single phase, is usually used.

If the heater is installed in a room with high humidity (bathroom, kitchen, etc.), you should use special waterproof sockets.
In addition, for two-phase boilers it is almost always necessary to install RCD — protective shutdown device. The cable must also be protected from moisture, as well as durable and sufficiently elastic.

You should not save on cable by buying products of dubious quality. In addition, you need to take the electrical cable to connect the storage heater with sufficient reserve. The wire should not be under tension.
Before connecting, you should carefully study the cable markings. Inexperienced beginners sometimes get confused and connect the phase to the ground loop.
If you have no experience in performing electrical installation work, it makes sense to seek advice from an experienced electrician or entrust him with performing this stage of installing a water heater.
It is imperative to ensure that the heater is grounded.To do this, you can use a piece of metal wire, one end of which is fixed to the heater body, and the other is connected to the ground loop.
Conclusions and useful video on the topic
A description of the installation procedure for a storage water heater is given here:

This video contains a number of useful tips for installing storage water heaters:

Storage water heaters are popular and reliable; they provide the house with hot water in the required quantity. Their installation is not that difficult, but you must strictly follow the manufacturer’s recommendations and safety precautions.
If you have the necessary experience or knowledge in installing storage water heaters, please share it with our readers. Leave your comments at the bottom of the article. There you can ask questions about the topic of the article.


Still, a horizontal water heater suspended from the ceiling, in my opinion, is much more practical than a vertical one, because it saves space in the kitchen or bathroom. It is worth approaching the installation with all responsibility - take longer and thicker anchors in order to fix them more firmly on the load-bearing wall. After all, if such a thing falls on a person, it will definitely not seem like much!
A horizontal heater saves space, but retains heat worse.
In fact, there is nothing difficult about installing a boiler storage tank yourself. I finished it in a little over an hour. We chose a wall-mounted model with a capacity of 30 liters. As it turned out later, it’s not enough for a family of three; you need at least 50 liters. Of course, it’s better to hang it on a stronger wall and use good anchors. Connecting to the water supply was also not difficult.
Let me add that it is better to take “L” (“G”) shaped anchors not at a right angle, but bent forward (from the wall) by 60 degrees, otherwise you will not hang the heater with holes in the mounting strip.
The holes for the bolts can be made not at right angles to the wall, then there will be no problems.